Italian Style Roasted Turkey for the Holidays
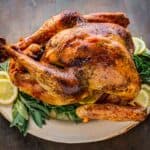
Roasted Italian turkey is a mouth-watering twist on the traditional Thanksgiving bird. Bursting with flavors of fragrant Italian herbs and garlic, this turkey recipe is seasoned with salty butter, lemon zest, sage and rosemary. It tastes as good as it looks, and is guaranteed to be a memorable centerpiece for your Italian-style Thanksgiving feast!
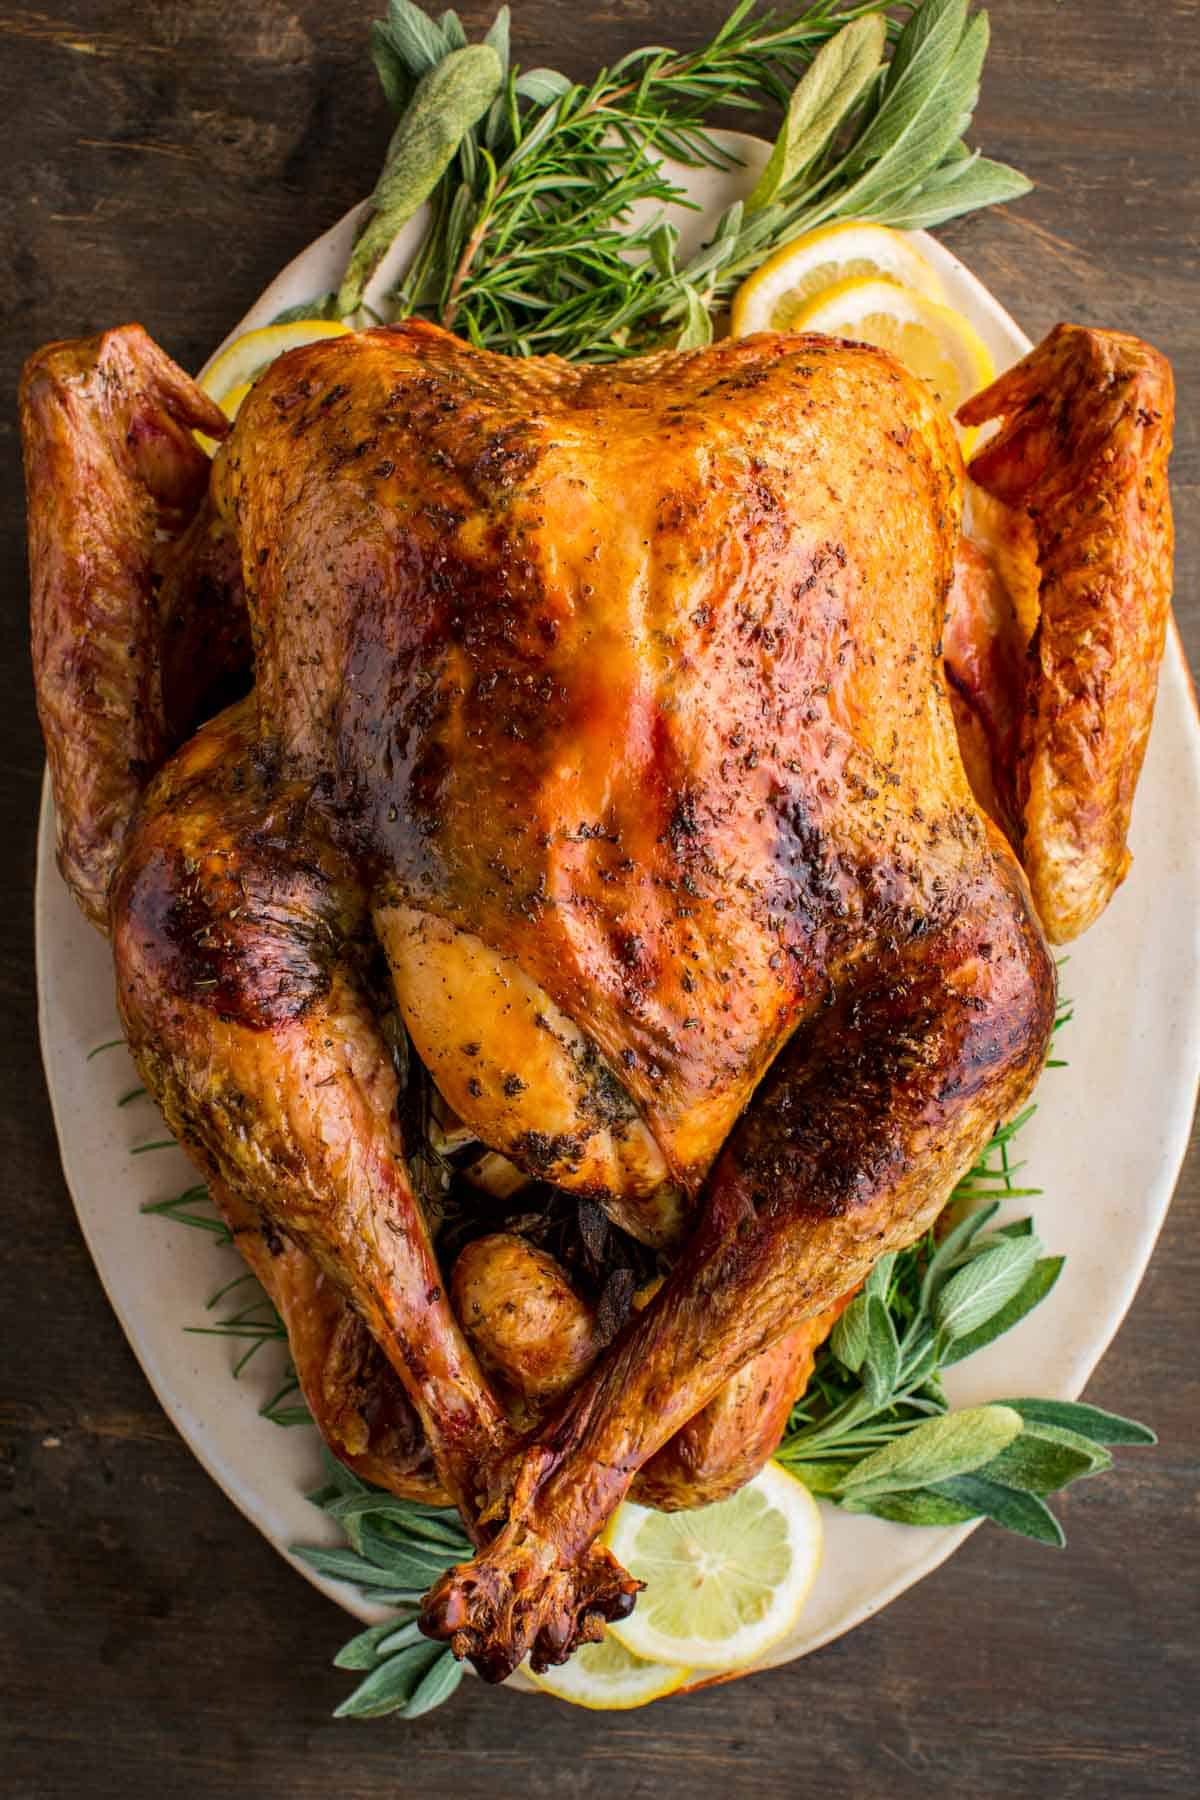
The Italian roast turkey recipe we're about to walk through is a delicious fusion of American Thanksgiving tradition and Italian culinary charm. Imagine the richness of a perfectly roasted turkey that is further elevated by the aromas of Italian herbs and spices.
You might wonder, "Is turkey a thing in Italy?"
Interestingly, while turkey isn't traditionally dominant in everyday Italian cuisine, it does make an appearance during festive occasions.
This turkey recipe wonderfully marries two cultures in one succulent feast!
While it's true that Italians don't celebrate Thanksgiving in the American style, they certainly know how to appreciate a good roast - a cornerstone of many Italian Sunday dinners.
By infusing an American Thanksgiving turkey with robust Italian flavors, we're taking the best of both worlds, creating not just a meal but a cultural fusion that is truly unique and memorable.
If you're looking for a fun and delicious way to bring a touch of Italy to your Thanksgiving table or simply want to spice up your weekend meals, this Italian roast turkey is an excellent choice!
Note: If you are looking to experiment with making an Italian turkey for the holidays this year, you can get some practice in by cooking a whole roasted chicken. Just season it as you would a turkey bird, so you can figure out your favorite flavor profile!

Why this recipe works
- This Italian roast turkey is simple yet very flavorful, thanks to a salty lemon herb butter that gets rubbed under the skin.
- It has Tuscany-style seasonings (such as rosemary and sage) for an Italian flair.
- No messy brine required!
- Roasting in a high-temperature oven results in perfectly cooked and juicy turkey meat.
- Has a delicious crispy skin that adds texture to the dish.
- No guesswork is involved because we simply use a thermometer to reach the perfect temperature.
- Can be prepped in advance, up to a day before, to save yourself some prep time on the actual day.
- This recipe is perfect for Thanksgiving, Christmas, Easter and other special occasions or just a regular Sunday dinner!
- Serve it with your favorite sides, such as roasted vegetables.
Ingredient notes
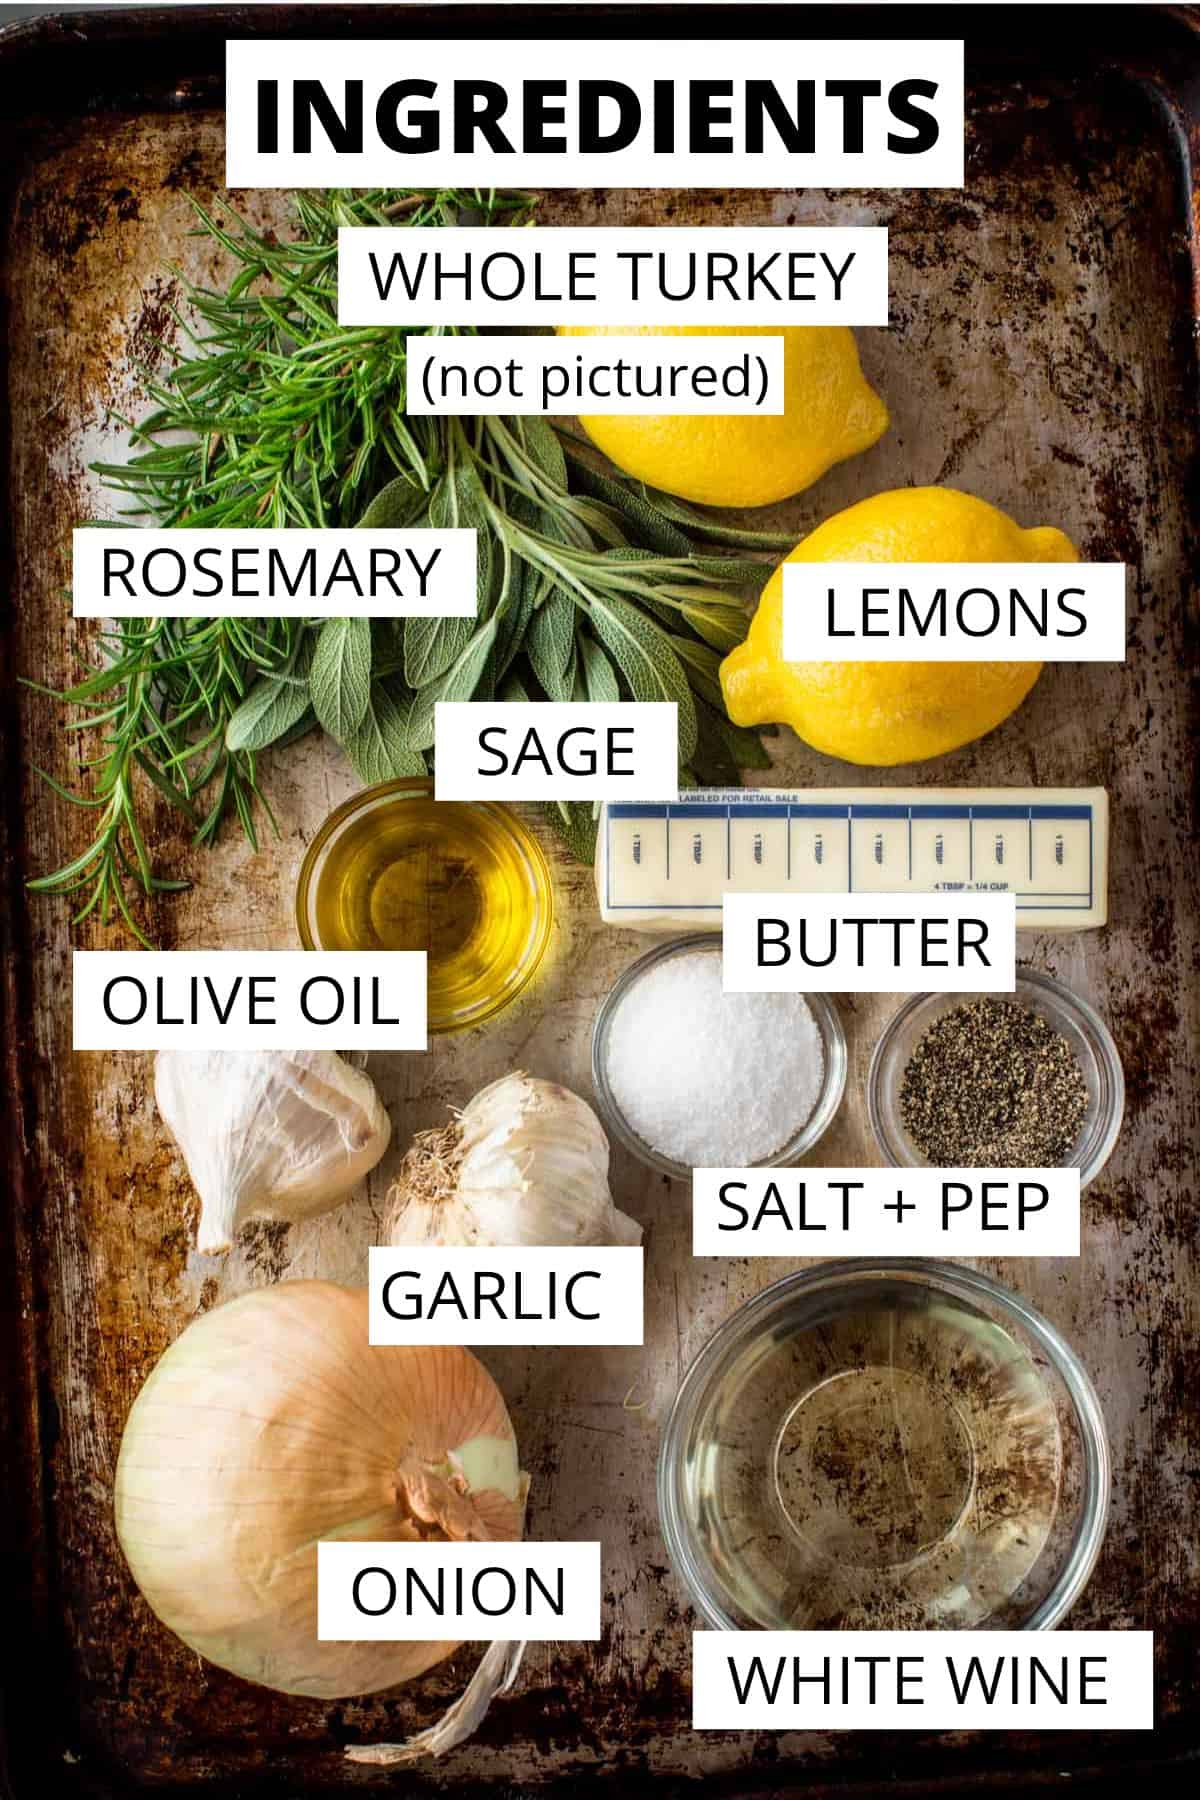
- Turkey - This is the star of the show, so pick a good-quality bird from a local farm if possible. The size of the turkey will depend on how many people you plan to feed. I recommend buying a 10-15 pound fresh turkey. If you buy a frozen one, plan to defrost it at least 3 days in advance.
- Herbs - Rosemary and sage are the main herbs used for this recipe, but you can also add fresh parsley, thyme, and oregano for an extra blast of flavor. If you prefer to buy herbs already chopped, make sure they are fresh and not dried out. I do not recommend using dried herbs for this recipe.
- Aromatics - Onion and garlic are the aromatics that provide a natural sweetness to this recipe. There's no need to peel or mince them ahead of time - they will be cooked with the turkey.
- Lemons - Lemon wedges and zest add a nice freshness to the bird. If you want more flavor and tartness, use oranges or a medley of different citrus fruits!
- Dry White Wine - A dry white wine is used to deglaze the pan after the turkey has been cooked. This step gives the bird an extra boost of flavor and is perfect for making gravy. I recommend using Pinot Grigio, Savignon Blanc or an un-oaked Chardonnay.
*Full ingredient list with quantities is in the recipe card at the bottom of this post.
Helpful equipment
- Roasting Pan with Rack - A large roasting pan with a rack will help you raise the turkey off of the bottom of the pan, allowing air to circulate around it while cooking so that it can get evenly browned on all sides.
- Kitchen Twine - This oven safe twine will help you truss your Italian turkey before it goes into the oven. This ensures that the bird cooks evenly and helps keep all of the delicious juices inside!
- Baster - Using a turkey baster or pastry brush for basting helps to make sure your Italian turkey stays moist during cooking. A baster is also great for adding juices back into the turkey after it's cooked.
- Meat Thermometer - A meat thermometer is a must when roasting an Italian turkey! You'll need to know when your turkey is safely cooked, and the thermometer will help you do that.
- Aluminum Foil - Use aluminum foil to cover areas of the turkey that may be browning too quickly or if you need to create a makeshift tent over the top of the bird while baking in order to keep it moist.
- Microplane Grater - If you're looking for an easy way to add flavor to your Italian turkey, a microplane grater or zester is the perfect tool! With it, you can easily create lemon or orange zest that can be used as a rub on the bird before cooking or mixed in with other ingredients.
Step-by-step instructions
Get ready to roast a perfect turkey with these easy steps. Start out by preheating your oven to 400°F. Make sure the racks are positioned in the lower half of the oven so the turkey has enough room.

1. Place the turkey on a rack in a roasting pan. Remove the giblets and neck, saving them for gravy if desired. Pat the turkey dry with paper towels to ensure a crispy skin.
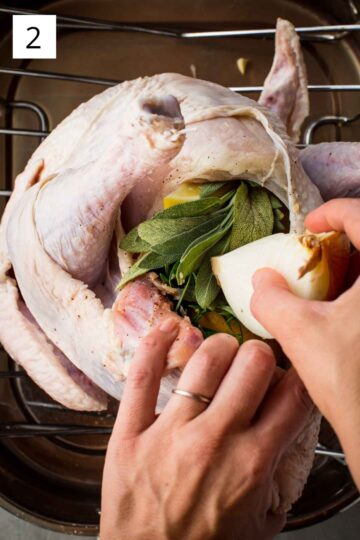
2. Next, season the inside of the turkey cavity with salt and pepper. Then, stuff it with lemon wedges, onion, garlic, sage, and rosemary.
Note: The amount of stuffing will depend on the size of your turkey.
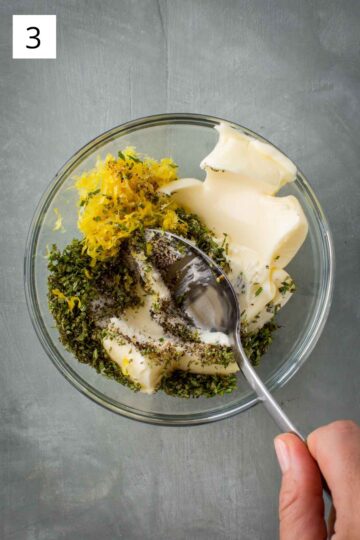

3. In a bowl, combine softened butter, minced sage, rosemary, salt, pepper and lemon zest.
4. Separate the turkey skin on the breast and legs and carefully slide the butter mixture underneath. Use your fingers to maneuver it until evenly distributed!
Tip: If you're prepping ahead, you can refrigerate the turkey at this point, uncovered, for up to a day. Just remember to bring it to room temperature for 30 minutes before cooking.

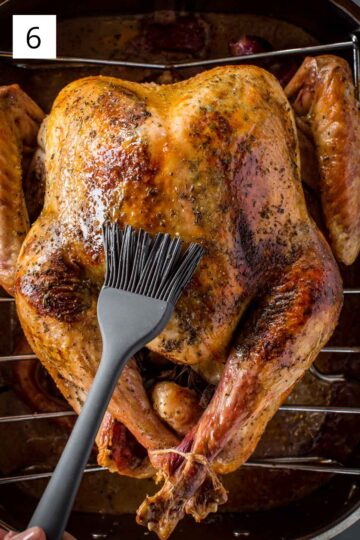
5. Rub olive oil all over the outside and sprinkle with salt, pepper, sage and rosemary. Tuck the wings under and tie the legs with twine to keep everything in place.
Tip: Pour white wine and water into the roasting pan for added moisture.
6. Cover the turkey loosely with foil and bake at 400°F for an hour. Then, uncover and reduce the heat to 350°F. Baste the turkey with pan juices during cooking (although it's not necessary).
Tip: Rotate the pan halfway for more even cooking.
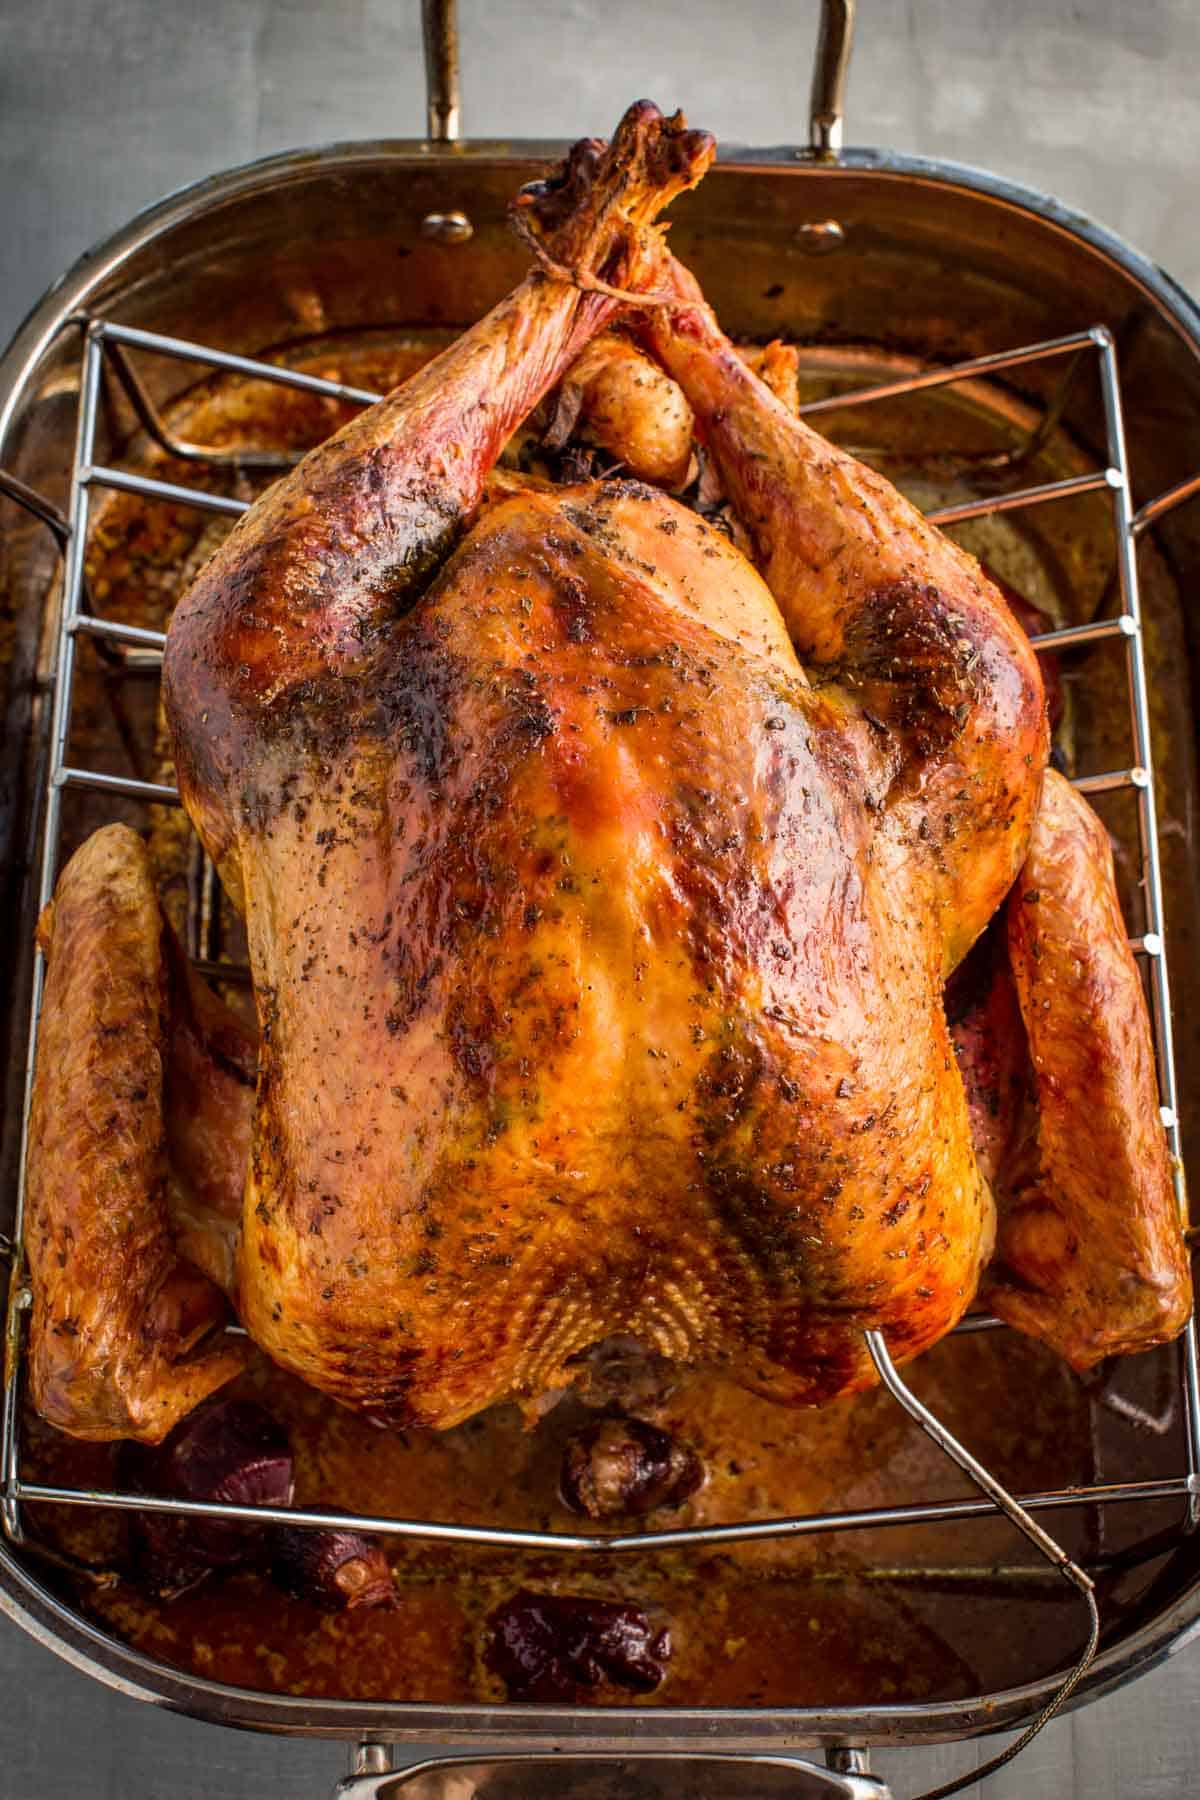
After about 2 hours and 15 minutes, check the internal temperature with a meat thermometer. Once it reads 160-165°F in the thickest part of the bird, it's ready to be removed from the oven.
Let the turkey rest, tented loosely with foil, for at least 20 minutes (30 is better).
How to carve an Italian turkey
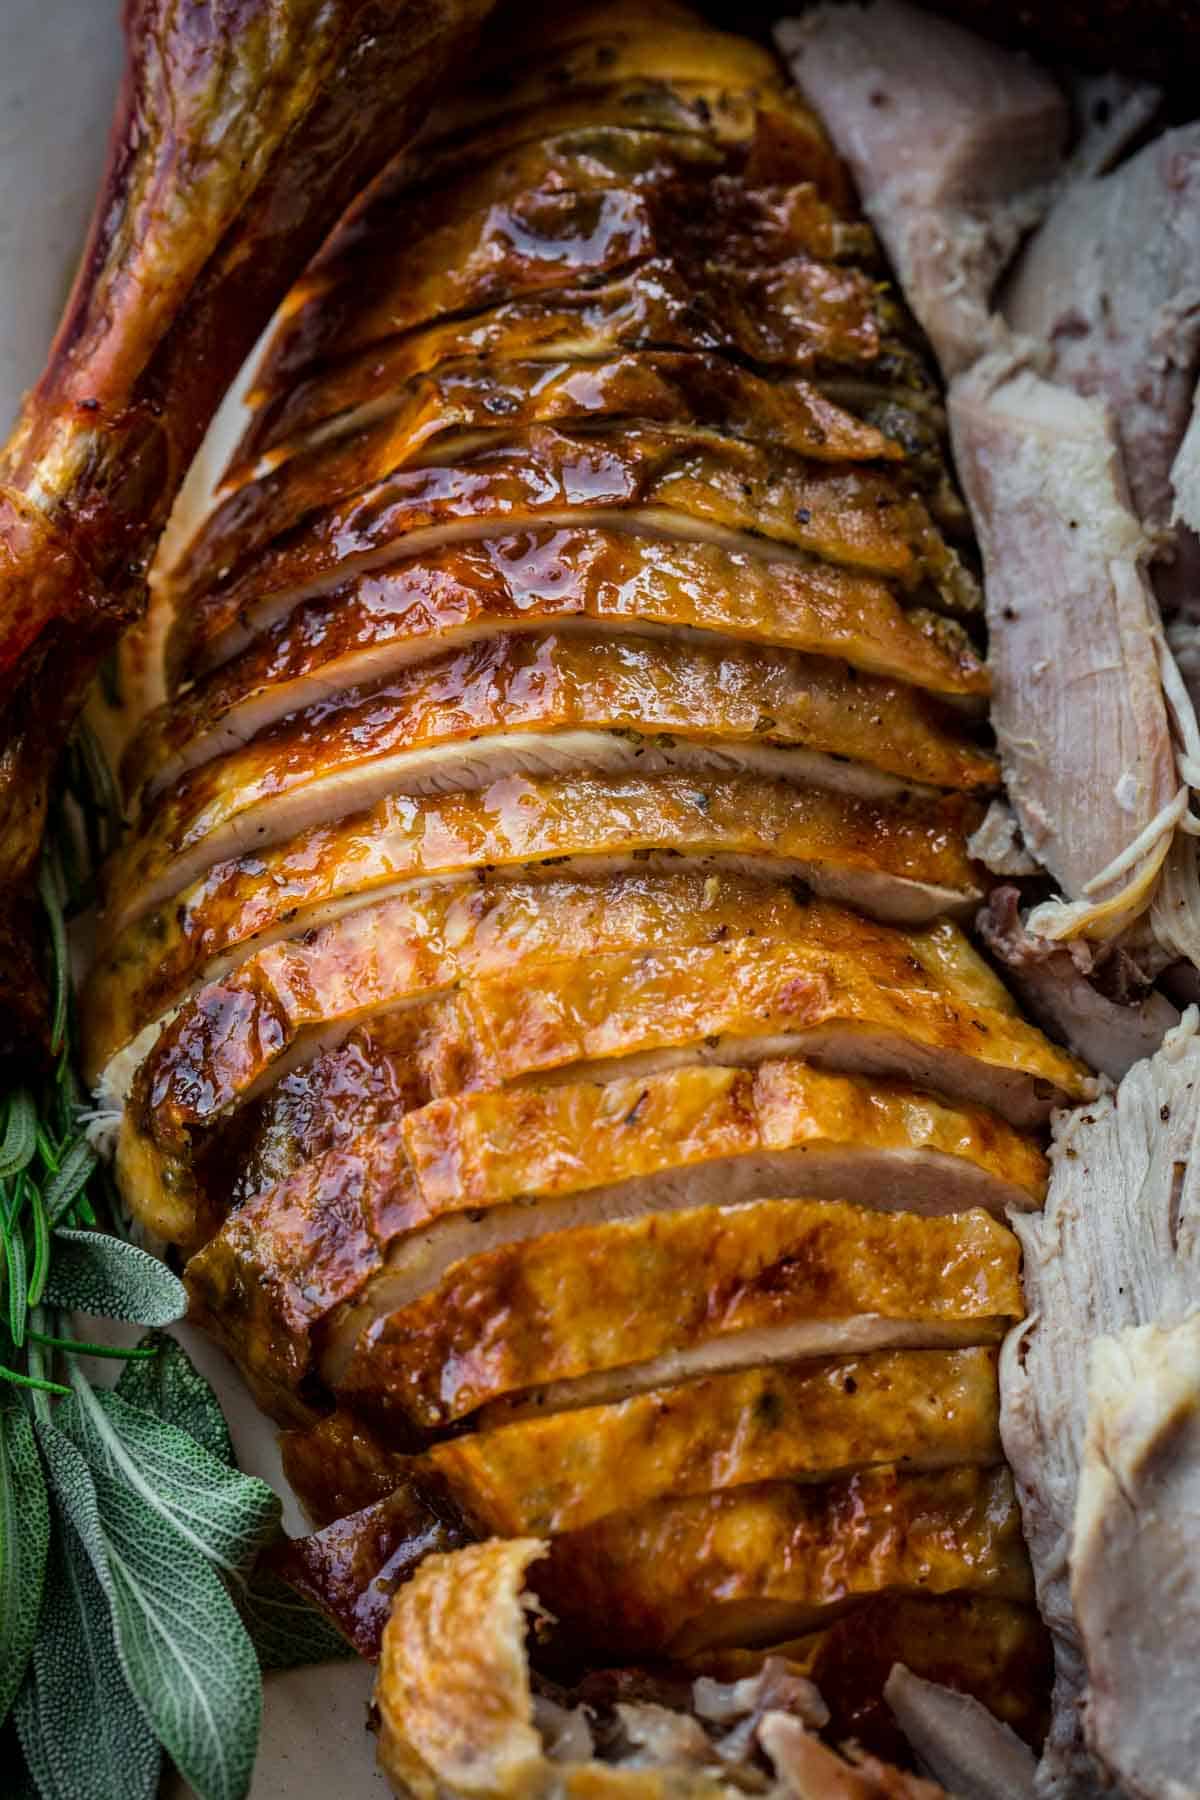
Now that your turkey is cooked, it's time to carve!
If you've never had the chance to do so, I have a very detailed step-by-step guide on how to properly carve a turkey.
You'll need:
- Knife (and a knife sharpener)
- Kitchen shears
- Carving board and fork
- Large platter
It might seem intimidating to carve your own turkey but trust me, it's not as hard as you think!
Tips for success
- Got a frozen turkey? Let it defrost for at least 3-4 days in the refrigerator for a nice slow thaw.
- Before you preheat your oven, make sure to rearrange and remove any racks to allow your turkey to fit.
- Do not rinse your turkey! There's no need (and it can be very messy).
- Let your turkey come to room temperature for 30 minutes to an hour before you plan to roast it in the oven.
- You'll need plenty of salt and freshly ground pepper to sprinkle inside and on top of the turkey. Mix it together in a small bowl beforehand so it's easier to distribute.
- If you can, try to use fresh herbs rather than dried ones. This allows for better flavor! Add a few big bunches of herbs inside the cavity of the turkey to infuse flavor while roasting.
- To get an evenly cooked Italian turkey, use a roasting pan with a rack to elevate the turkey from the bottom of the pan. If you don't have one, a baking rack or tin foil balls can be used as alternatives.
- Use a thermometer to determine the turkey's doneness rather than relying on cooking time. I highly recommend using a thermometer that can be left inside the turkey while cooking and alerts you when it's ready. Gage approximately 15 minutes per pound.
- The turkey is fully cooked when it reaches an internal temp of 165°F. To avoid dryness, remove it from the oven at 160°F, as the residual heat will continue cooking the turkey bird.
- Cover your turkey with foil if the top starts getting too brown so it doesn't burn!
Serving suggestions
For the perfect Italian Thanksgiving feast, start your holiday with some of your guests' favorite Italian appetizers and a cranberry, clementine, and rosemary cocktail.
One of the best things about Thanksgiving (besides a juicy, seasoned turkey) is all of the delicious side dishes that come along with it!
I suggest serving your turkey alongside:
- Italian sausage and herb stuffing
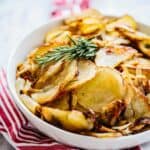
- Some type of potato dish (you can't go wrong with rosemary mashed potatoes or a classic potato gratin)
- Green beans almondine
- Wild mushroom risotto
- Homemade sweet potato gnocchi
- Roasted butternut squash
- Sicilian roasted cauliflower
- And a cranberry sauce (or sugared cranberries - a twist on the classics)
Don't forget to make some homemade turkey gravy using the neck and giblets you removed from the turkey before cooking!
Of course, our Italian Thanksgiving table is never complete without some pasta, usually either cauliflower Mac n cheese or lasagna.
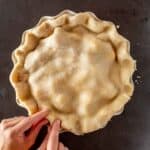
Finish off your meal with a few slices of your favorite Thanksgiving pie. You won't disappoint your guests if you make an old-fashioned apple pie and a creamy custard pie.
For something a bit less traditional, try a pumpkin tiramisu this easy cranberry tart with creamy almond frangipane, baked into a buttery shortbread crust. You can also make this Cranberry Meyer Lemons Pie with Gingersnap Crust that's kind of like a Thanksgiving version of Key Lime Pie.
FAQs
Yes! Just make sure to allow it enough time to thaw slowly - about 3-4 days.
No, you don't need to brine your turkey for this recipe. I find it to be messy and just a pain to handle, plus it really just isn't necessary. You can cook a great turkey without it!
For the best flavor, I recommend using fresh herbs rather than dried. Sage, rosemary, and thyme are all traditional Italian-style flavors that pair well with a roasted turkey.
Basting is the process of pouring liquid (usually fat) over roasting meat to keep it moist and full of flavor. In this recipe, you'll be using pan juices that have been seasoned with garlic, herbs, and white wine!
Use a turkey baster or pastry brush to pour the pan juices over the turkey every 30 minutes or so. This helps keep it flavorful and juicy!
Yes, but not the entire time. You'll cover the entire turkey (including the legs and wings) with a large piece of foil before roasting to keep the bird moist while cooking and prevent it from burning. Then, you'll want to remove the foil approximately 75 minutes before the bird is done cooking to allow the turkey to brown and crisp up.
There are so many options! Whenever I have leftover turkey (or turkey bones), I like to whip up a few batches of turkey stock and gravy to use throughout the year in various different recipes.
Consider making a delicious turkey pot pie or a comforting tortilla soup. You can always freeze any additional turkey slices and use them in recipes like carnitas tacos or a classic turkey sandwich!
The best way to store Italian roast turkey leftovers is in an airtight container or plastic food-safe bag. It should stay good for up to four days when stored properly.
You can also freeze the cooked bird for up to three months. Place it into a freezer-safe bag and make sure there's as little air as possible in the bag before freezing. This will help keep the turkey from drying out.
Related Recipes
Did you LOVE this recipe? Please leave a star ⭐️ rating and comment to let other readers know! I absolutely love hearing from you and do my best to answer all questions and comments. I love seeing your creations so please tag me on Instagram @ColeyCooks!
This post may contain affiliate links.
Want to Save This Recipe?
Enter your email & I'll send it to your inbox.
By submitting this form, you consent to receive emails from Coley Cooks.
Italian Style Roasted Turkey for the Holidays
Ingredients
- 1 10-15 lb whole turkey fully defrosted if frozen
- ½ cup 1 stick unsalted butter softened (reduce salt by ½ teaspoon if using salted butter)
- 3-4 large sprigs of fresh sage plus 3 teaspoons minced, divided
- 3-4 large sprigs of fresh rosemary plus 3 teaspoons minced, divided
- 1 tablespoon kosher salt plus more for seasoning
- 1 teaspoon freshly ground black pepper plus more for seasoning
- 2 lemons quartered, plus the zest from 1 lemon
- 1 medium yellow onion unpeeled, quartered
- 1 whole head of garlic sliced crosswise through the center
- 2 tablespoons olive oil
- 1 cup dry white wine such a pinot Grigio
- 2 cups of water for the roasting pan
Instructions
- Preheat the oven to 400 degrees and position the racks so that the turkey has plenty of room and is not too close to the top.
- Place the turkey in a rack inside of a roasting pan then remove the giblets and neck. Place them in the roasting pan for the gravy if desired. Pat the turkey very dry with paper towels.
- Season the inside of the turkey cavity generously with salt and pepper, then stuff the lemon wedges, onion, garlic, sage and rosemary sprigs - fit as much as you can, which will depend on the size of your turkey.
- Add the butter, 2 teaspoons sage, 2 teaspoons rosemary, salt, pepper and lemon zest to a bowl and mix until well combined.
- Use your fingers to separate the skin of the turkey on the breast and legs. Use a spoon to slide the butter mixture under the skin, then use your fingers to press and move it around so that it's evenly distributed throughout the breast and legs. You can refrigerate the turkey at this point, uncovered, for up to one day ahead. Bring to room temperature for 30 minutes before cooking.)
- Rub olive oil all over the outside of the turkey, then sprinkle lightly with salt and pepper all over, then sprinkle the remaining teaspoon of each sage and rosemary.
- Tuck the wings under, tie the legs together with a piece of twine, then pour the white wine and 2 cups water into the roasting pan.
- Tent the turkey loosely with foil and bake at 400 degrees for 1 hour, then uncover and reduce the oven to 350 degrees. Rotate the pan in the oven to help the turkey cook more evenly.
- At this point you can base the turkey if desired with the pan juices, but it's not necessary.
- Check the turkey with a thermometer after about 2 hours and 15 minutes to read the internal temperature. Remove the turkey once a thermometer in the thickest part of the meat reads 160-165 degrees.
- Remove and tent it loosely with foil for at least 30 minutes before carving - a larger turkey will need to rest longer and a smaller turkey can rest for slightly less.
Notes
- If using a frozen turkey, plan to give it at least 3-4 days to slowly defrost in the refrigerator.
- Remove top racks from oven before preheating to ensure the turkey fits.
- You don't need to rinse your turkey - it’s a messy and unnecessary step.
- The turkey should sit out at room temperature for at least 30 minutes to 1 hour before roasting.
- I like to mix together a dish of salt and freshly ground pepper to sprinkle inside and on top of the bird to make it a little easier and less messy.
- Use fresh herbs - it gives better flavor than dried herbs, and you need big bunches to fill the cavity which will perfume the meat as it cooks.
- It's important to keep the turkey off the bottom of the pan, so be sure to use a roasting pan with a rack. If you don't have one, you can use a baking rack or a few balls of tin foil.
- The only way to know your turkey is cooked to the correct temperature is with a thermometer, not time. However, budget about 15 minutes for each pound. For best results, use a thermometer that can stay in the turkey the entire time and alert you when it reaches the right temperature.
- Turkey needs to be cooked to 165 degrees F to be safe, but it can start to get dry if it goes above that. Because the turkey continues to cook once it's removed from the oven, I like to take it out at 160. Do so at your own risk, and make sure the thermometer comes up to 165 while it's resting.
- If the skin is getting too dark at any point, cover the turkey with foil.

