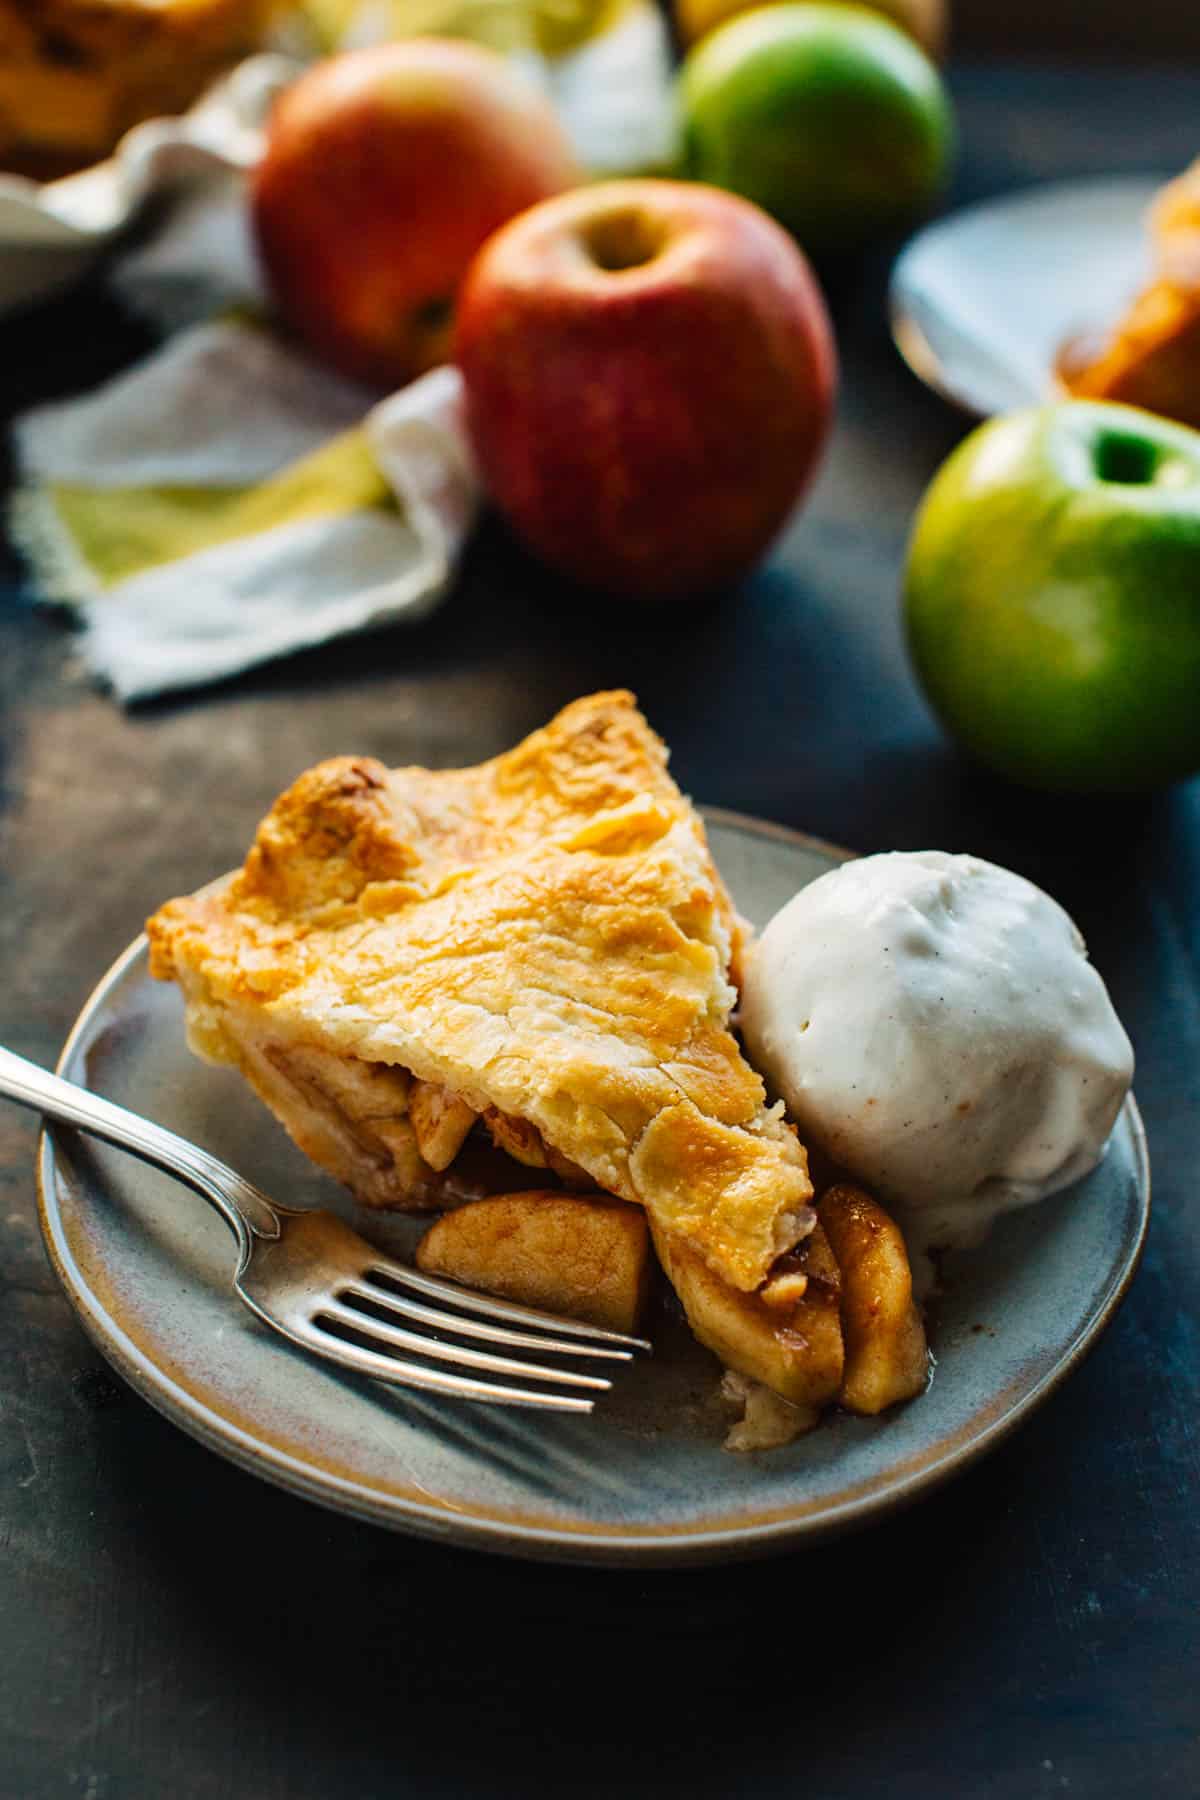
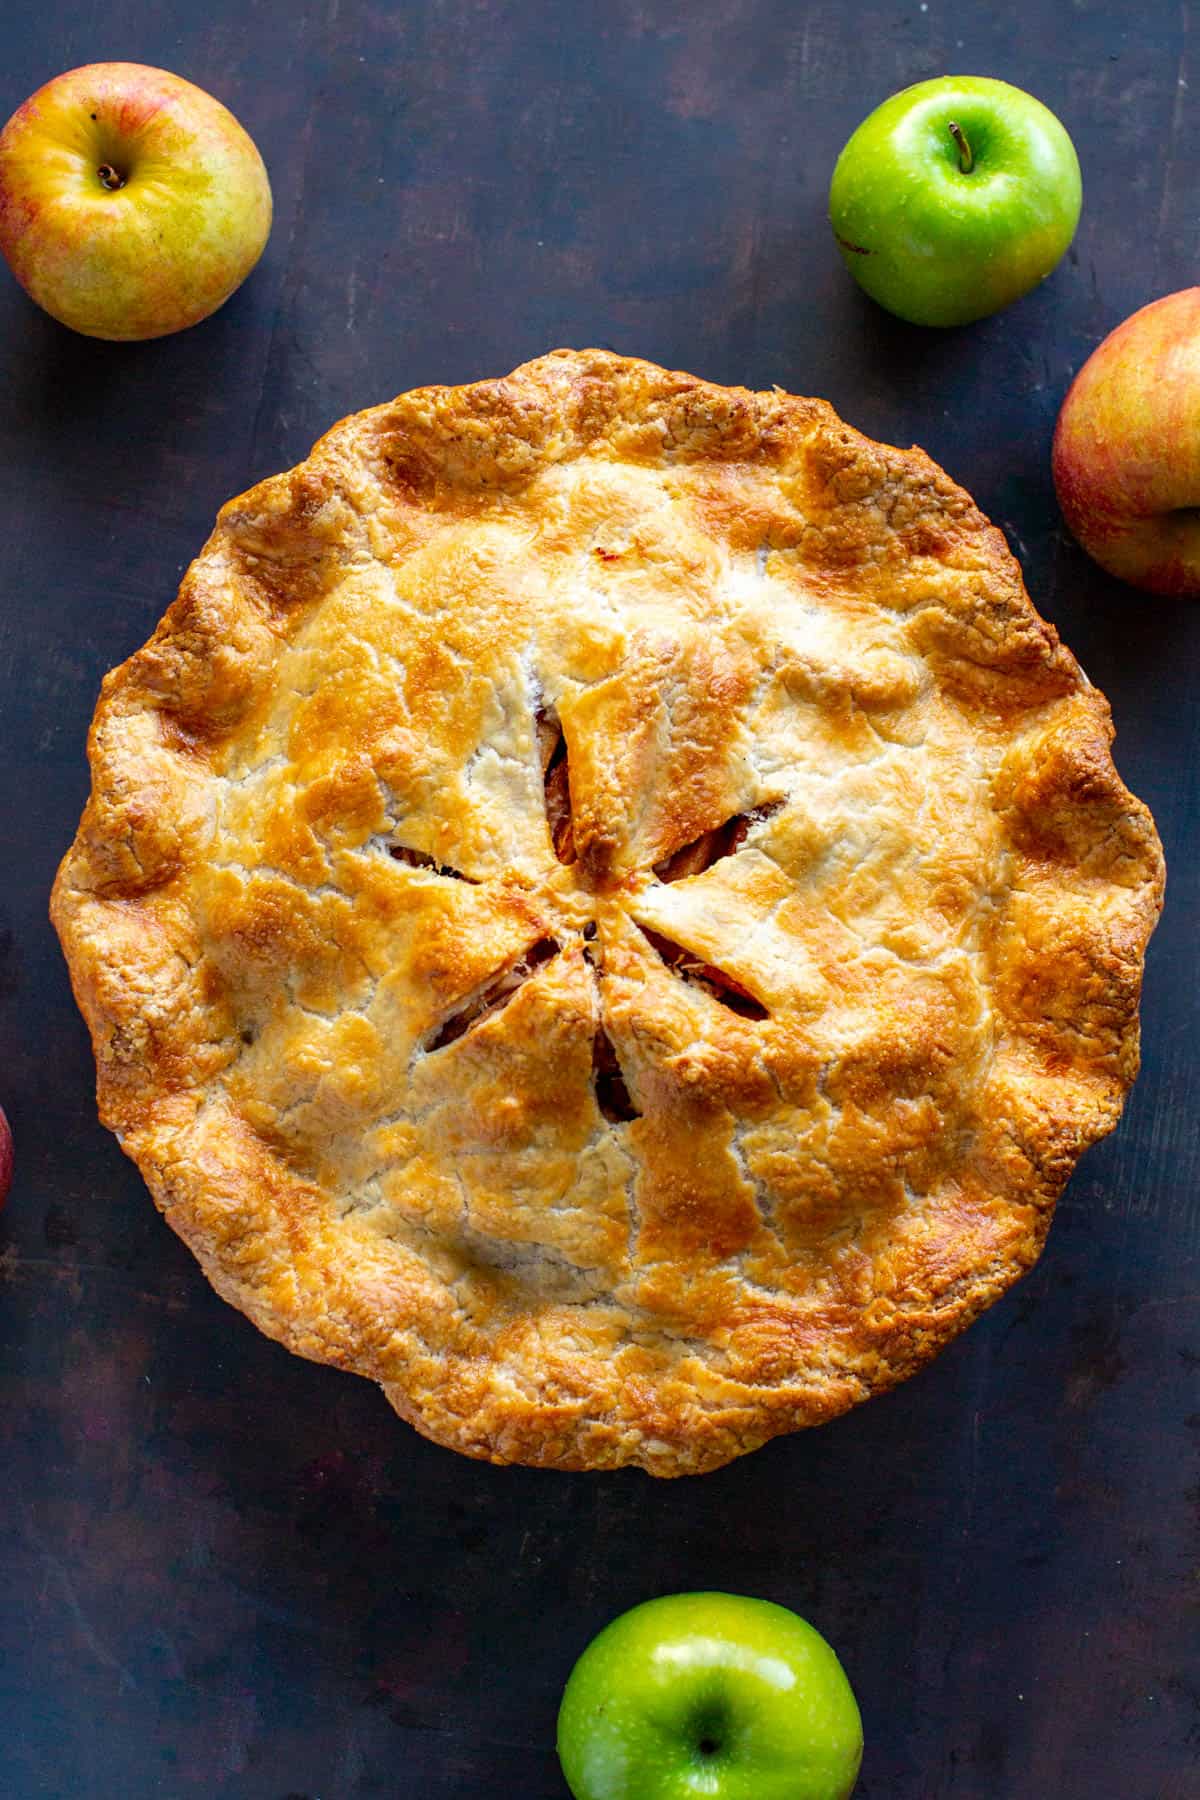
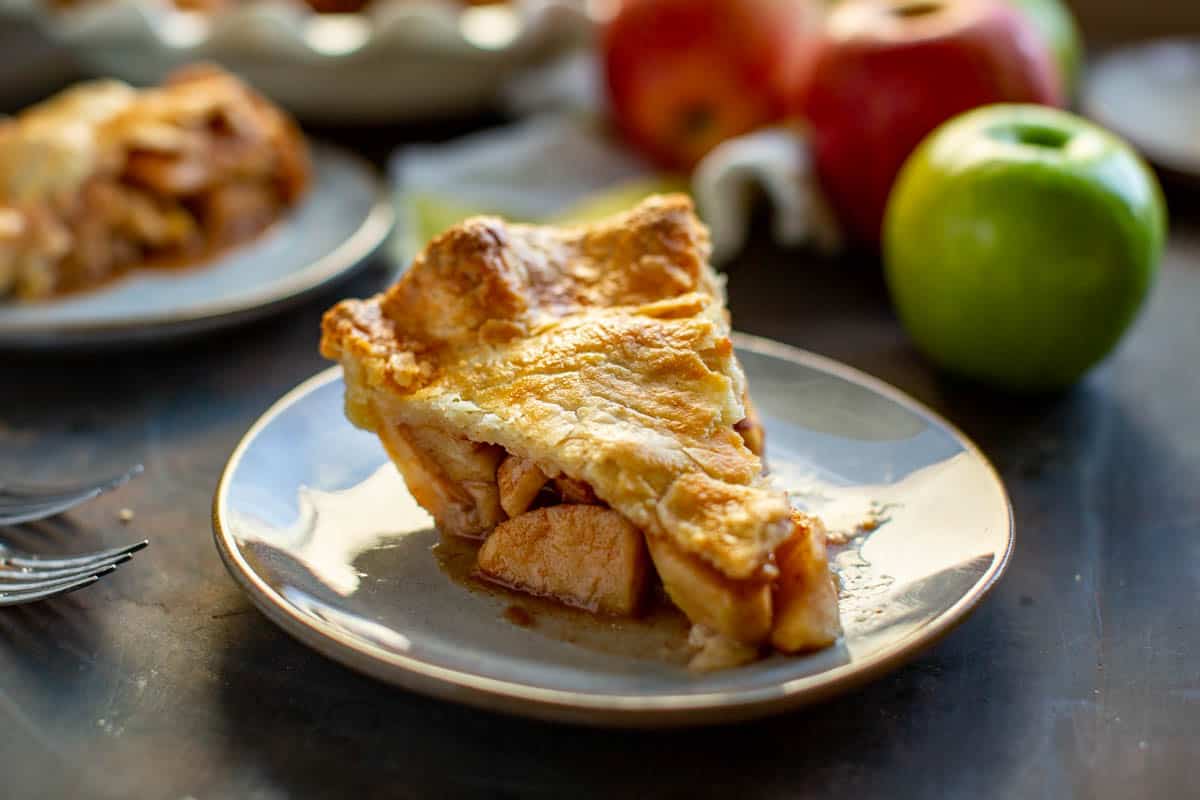
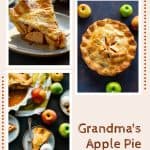
Grandma's Old Fashioned Apple Pie
This classic recipe for old fashioned apple pie is my family's go to every Thanksgiving. It's a simple, old-timey recipe that tastes so simple yet so delicious. Tender apples baked with warm cinnamon sugar encased in the most flaky, buttery pie crust ever. Grandma's pies are classic for a reason!
This post may contain affiliate links.
Every year my family and I gather the week before Thanksgiving to make a bunch of apple pies and then we freeze them to bake off and enjoy throughout the holiday season.
It's one of my most cherished traditions and one of the most special recipes on my website. I have recipes for my Grandma's old fashion custard pie and her blueberry pie too - each one is better than the next.
For more pie recipes, try my creamy cranberry pie with gingersnap crust, homemade peach pie or Italian ricotta pie.
Why This Recipe Works
- Two types of apples makes for a better flavor and texture.
- Simply spiced with warm cinnamon and sugar for a classic, homey flavor.
- A buttery, flaky pie dough that's easy to work with, but you can also use store bought.
- Can be frozen up to 3 months in advance and baked right from the freezer.
Baking Apples - It's important to use apples that are suitable for baking, as some apple varieties will turn to mush when cooked. My favorite is a combination of Rome apples, which are sweeter, and Granny Smith, which are tart. This gives the pie an amazing balance of flavor, sweetness and acidity, but any type of baking apples will work - and there are plenty of them. Not sure? All Recipes has an excellent guide.
Good Quality Pie Dough - Grandma ALWAYS makes homemade dough and I have a recipe for foolproof flaky pie dough that you can follow. But if you're not up for it, Trader Joe's makes a good one.
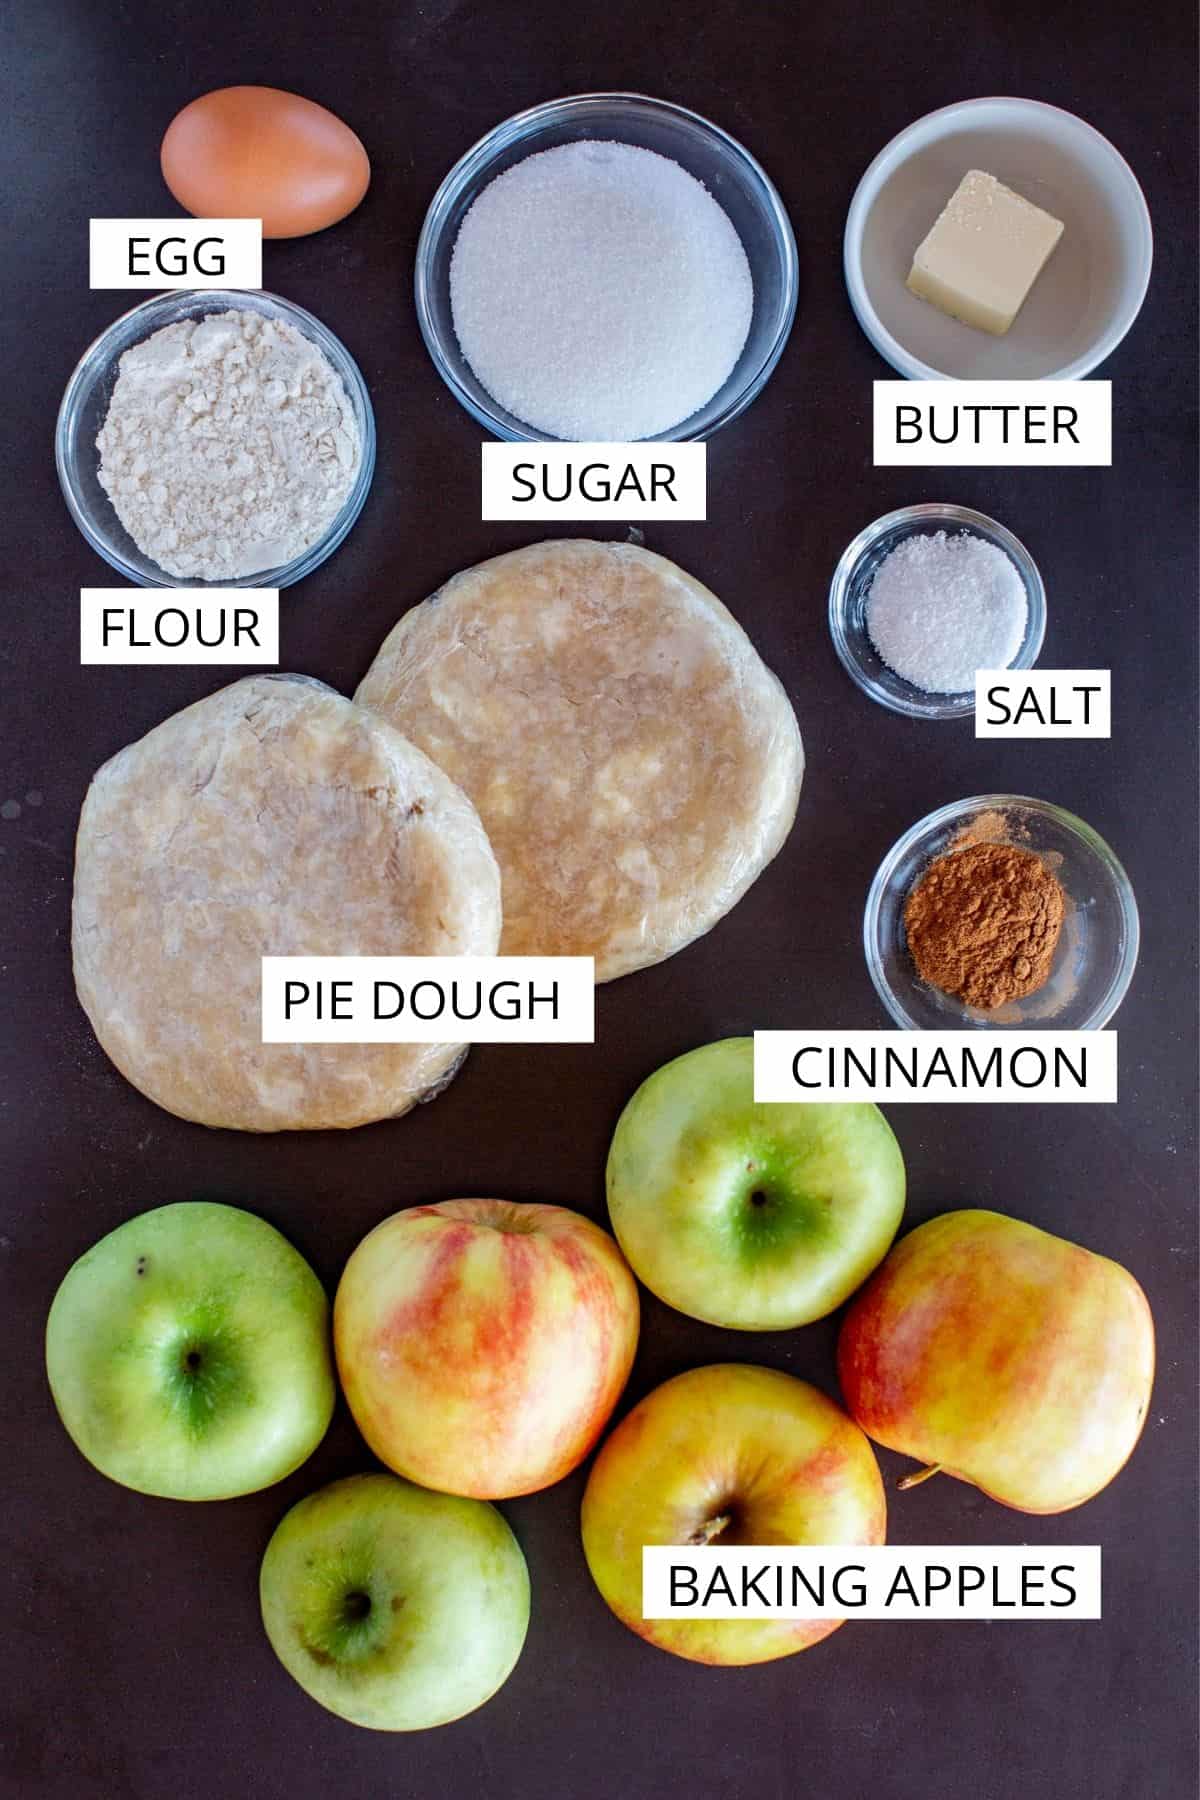
*Find the full ingredient list in the recipe card below!
Helpful Equipment
How to Make Grandma's Old Fashioned Apple Pie
Make The Pie Filling
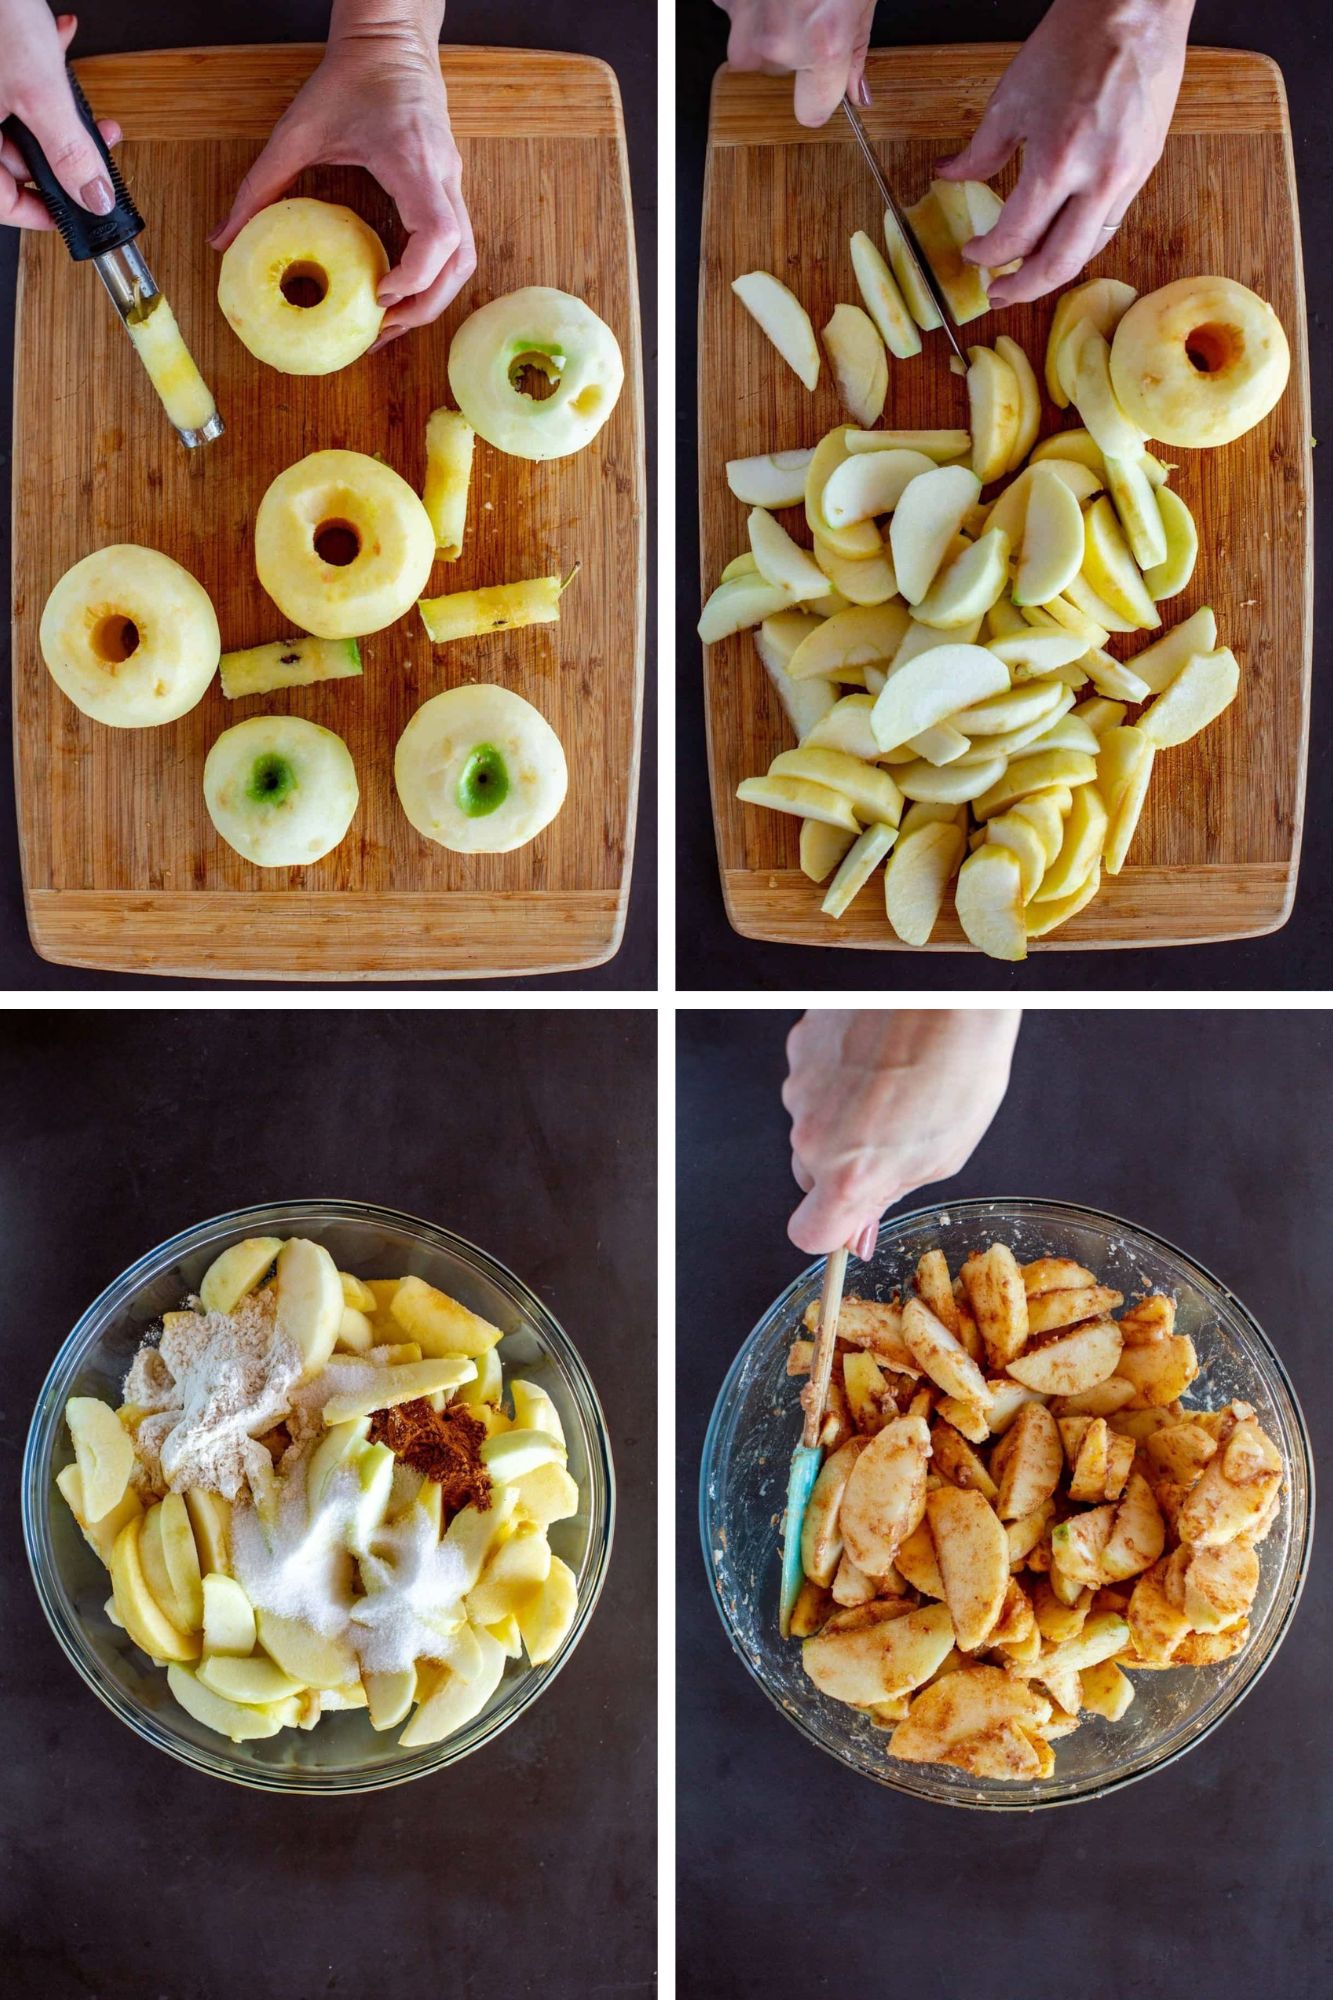
- Peel the apples and remove the cores.
- Slice each apple in half, then cut each into ¼ - ½ inch slices, then add them to a bowl.
- Add the cinnamon, flour, sugar and salt.
- Mix until each slice of apple is thoroughly coated. Set aside for at least 30 minutes.
Pro Tip: I find letting the apples macerate with the cinnamon, sugar, flour and salt for at least a half hour before filling the pie creates a better filling. If you have the time, let them hang out.
Prepare The Pie Dough

Pro Tip: Keep your pie dough refrigerated until you're ready to roll. Keeping the dough cold will help ensure it bakes up nice and flaky and will make it easier to work with. If the dough is a little too firm to roll, let it sit at room temperature for 5 minutes, then proceed.
- Preheat the oven to 350°F, then generously dust a work surface with flour, then place one disc of dough in the center. Generously dust the dough, a rolling pin and a bench scraper (if using) with flour.
- Begin rolling the dough by starting at the bottom and rolling away from your body. After 2-3 rolls, rotate the dough 90 degrees, then repeat this until the dough is roughly 12 inches around (about 3 inches bigger than a pie plate).
- Roll the dough up on to the rolling pin, then use it to help you transfer the dough to the pie plate. Unroll the dough and adjust to it fit. Set aside somewhere cool (the refrigerator, a drafty room, or outside on a chilly day).
- Remove the second piece of dough from the refrigerator and roll it out exactly the same way as the first.
Fill And Bake The Pie
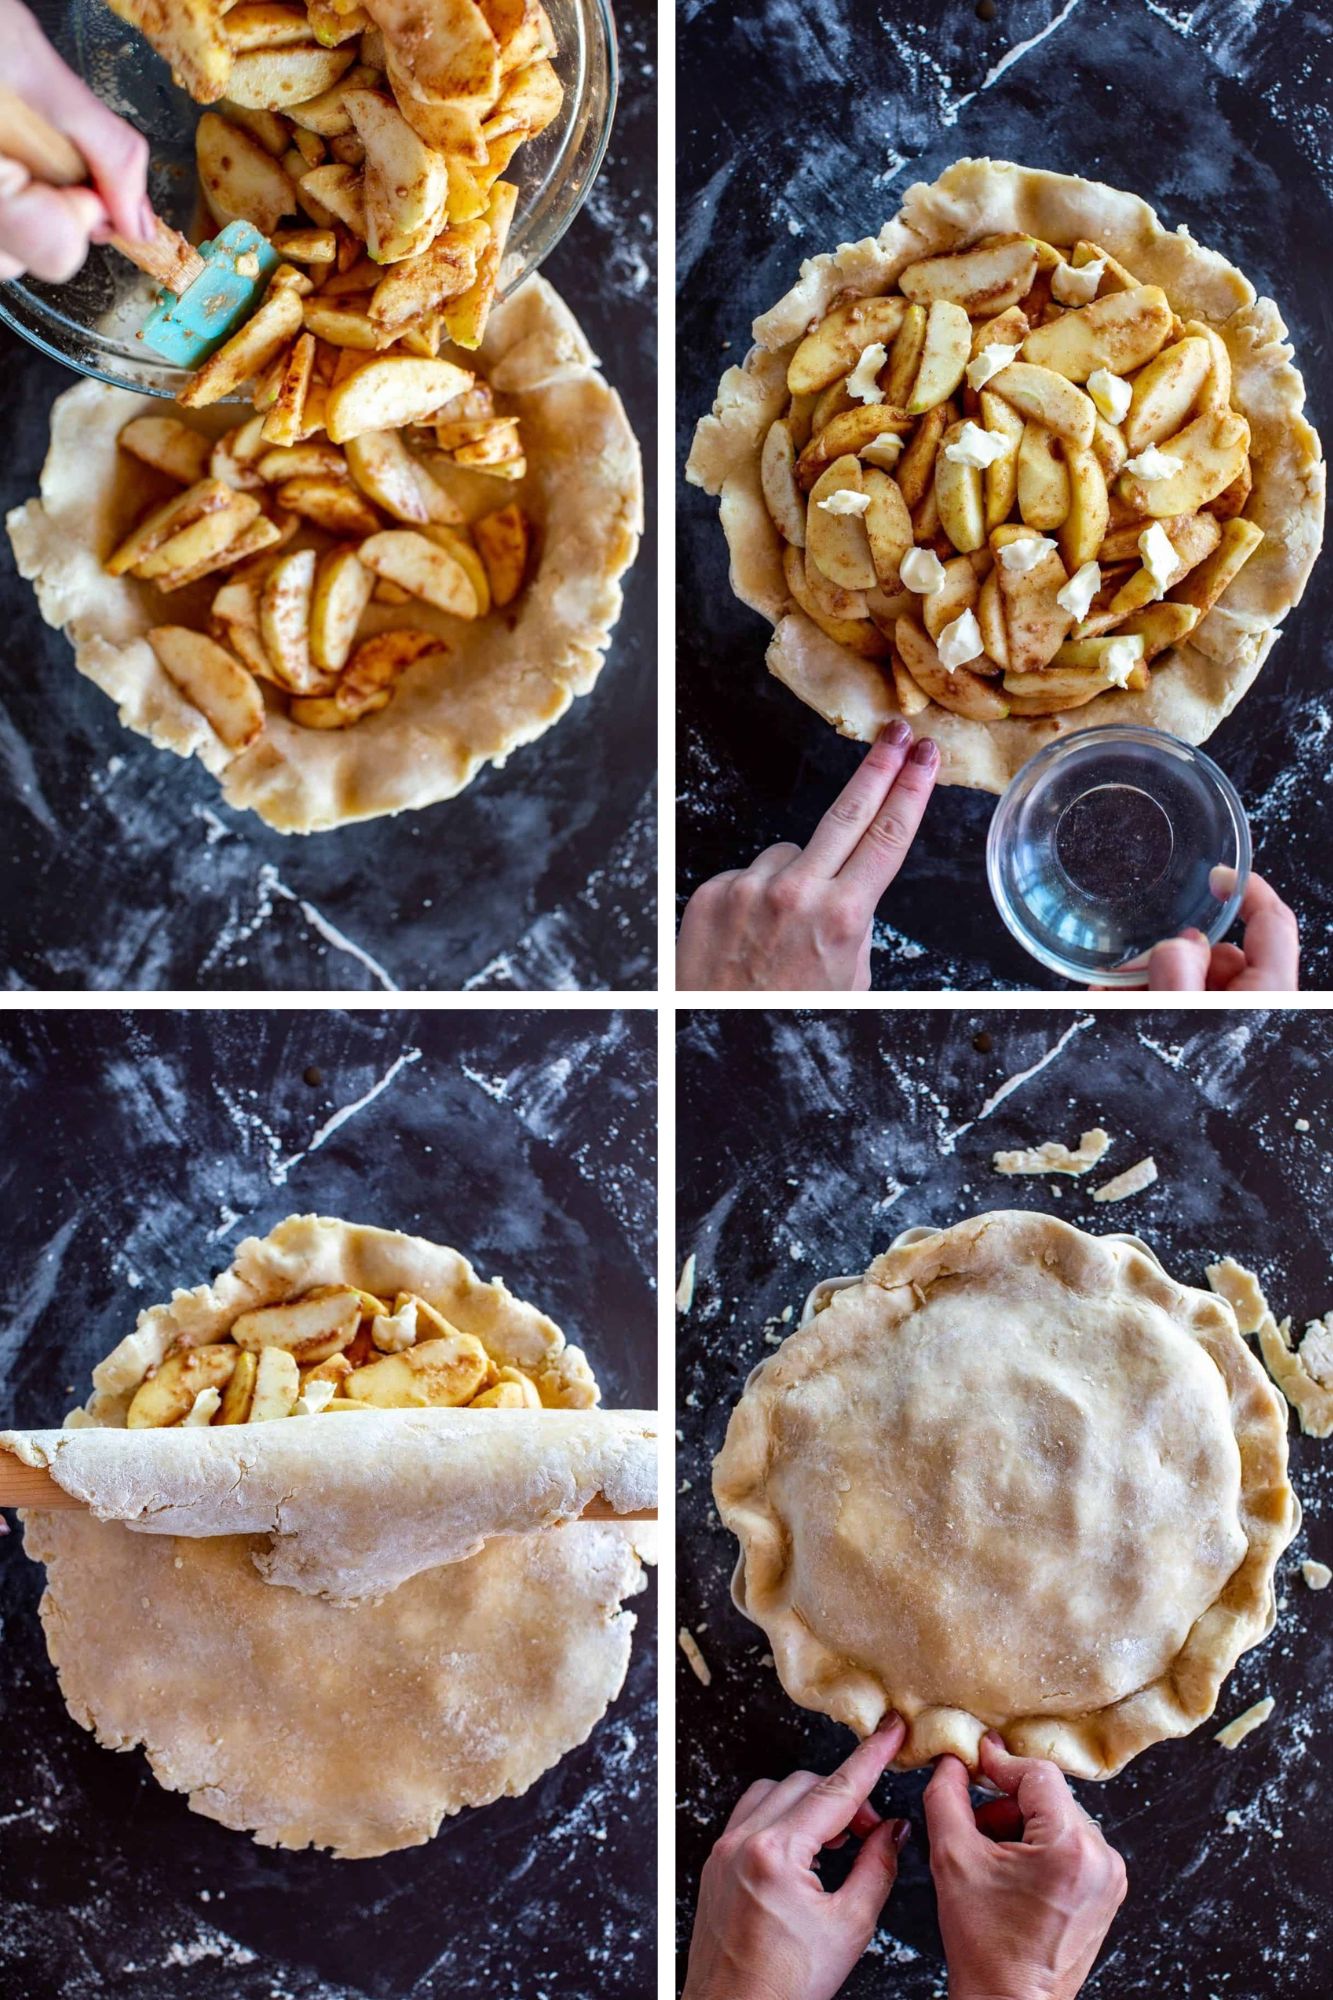
- Add the apples to the pie plate with the bottom crust.
- Dot the top of the apples with butter, then use your fingers to lightly wet the perimeter of exposed dough around the edges with water.
- Use the rolling pin to transfer the second piece dough to the top of the pie. Unroll to cover the apples, then go around and press the dough together to seal in the filling.
- Trim off any excess so that there's an even amount on all sides. Tuck the edges under neatly, then use your fingers to create a crimped edge.
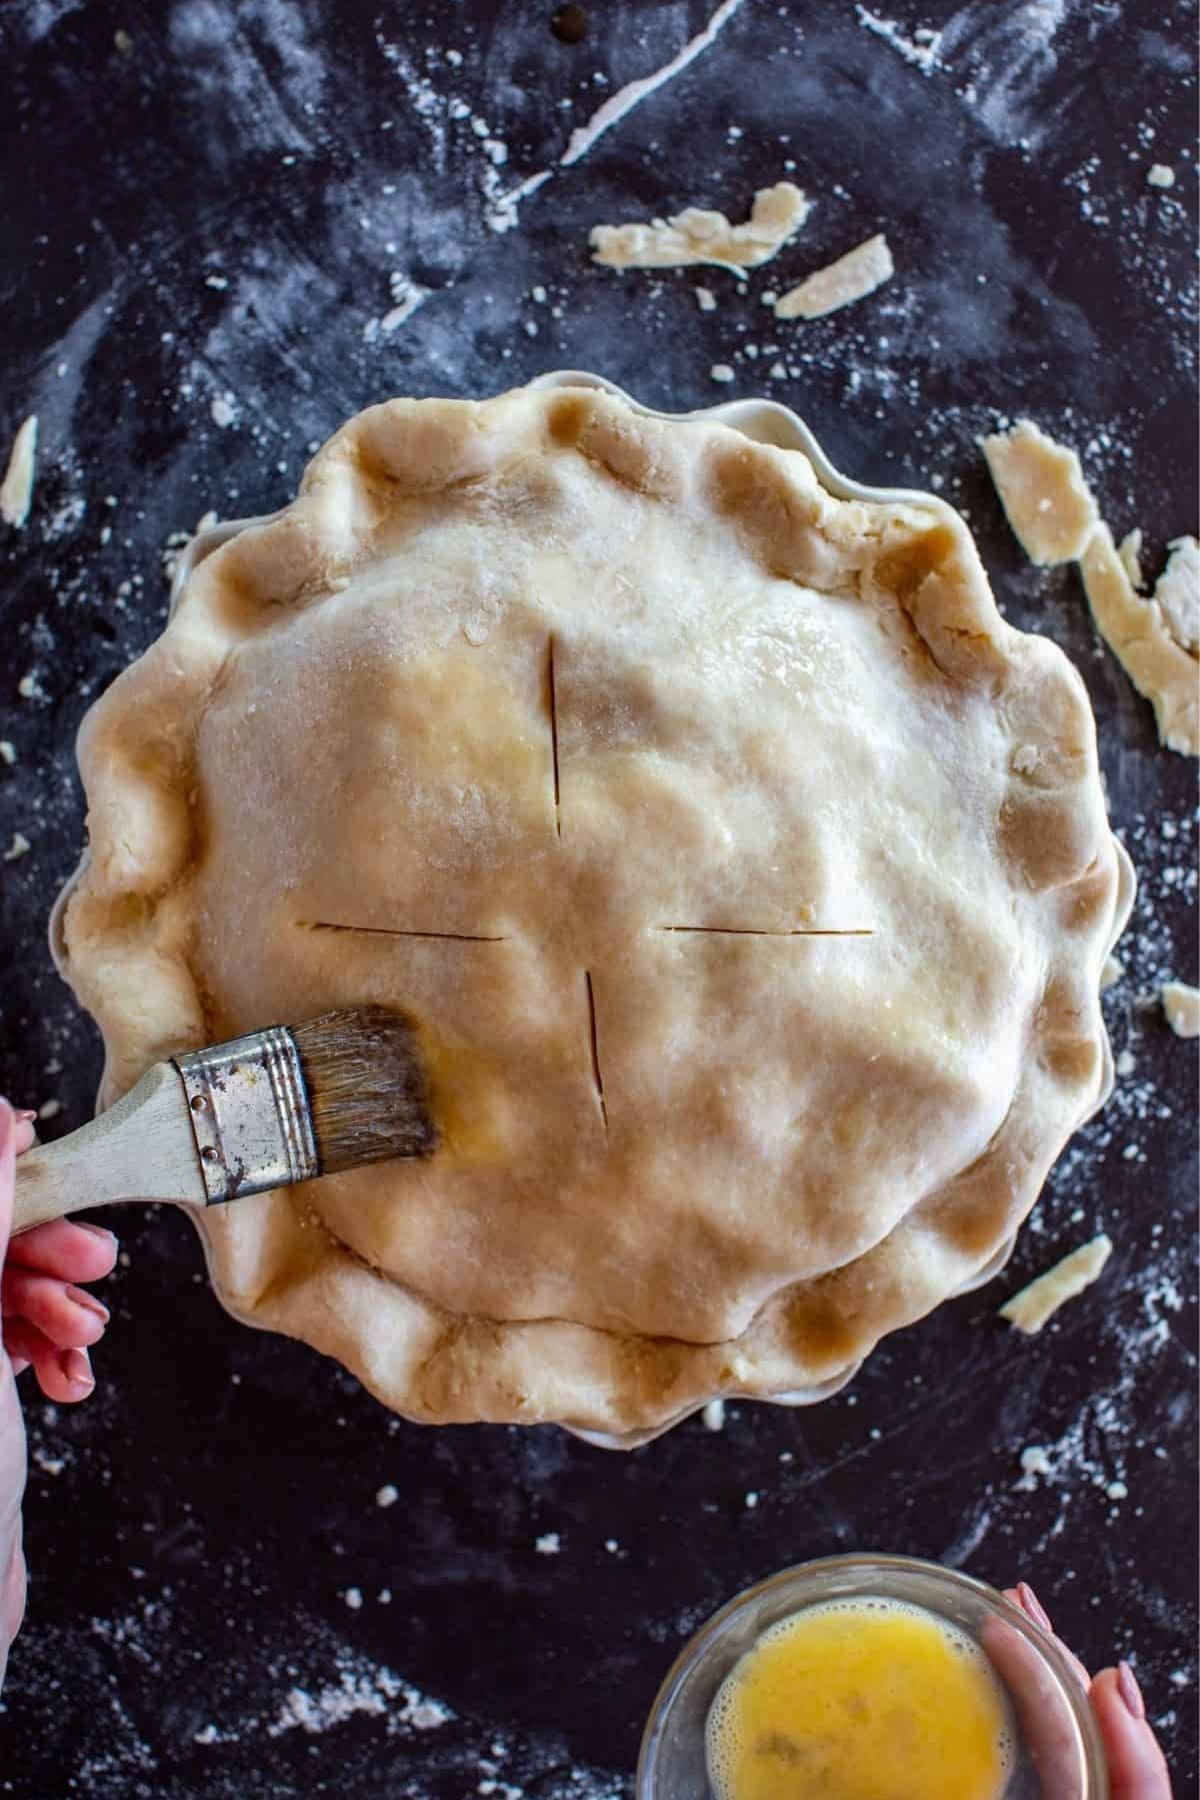
- Use a sharp knife to cut a few vents in the top, then brush all over with egg wash.
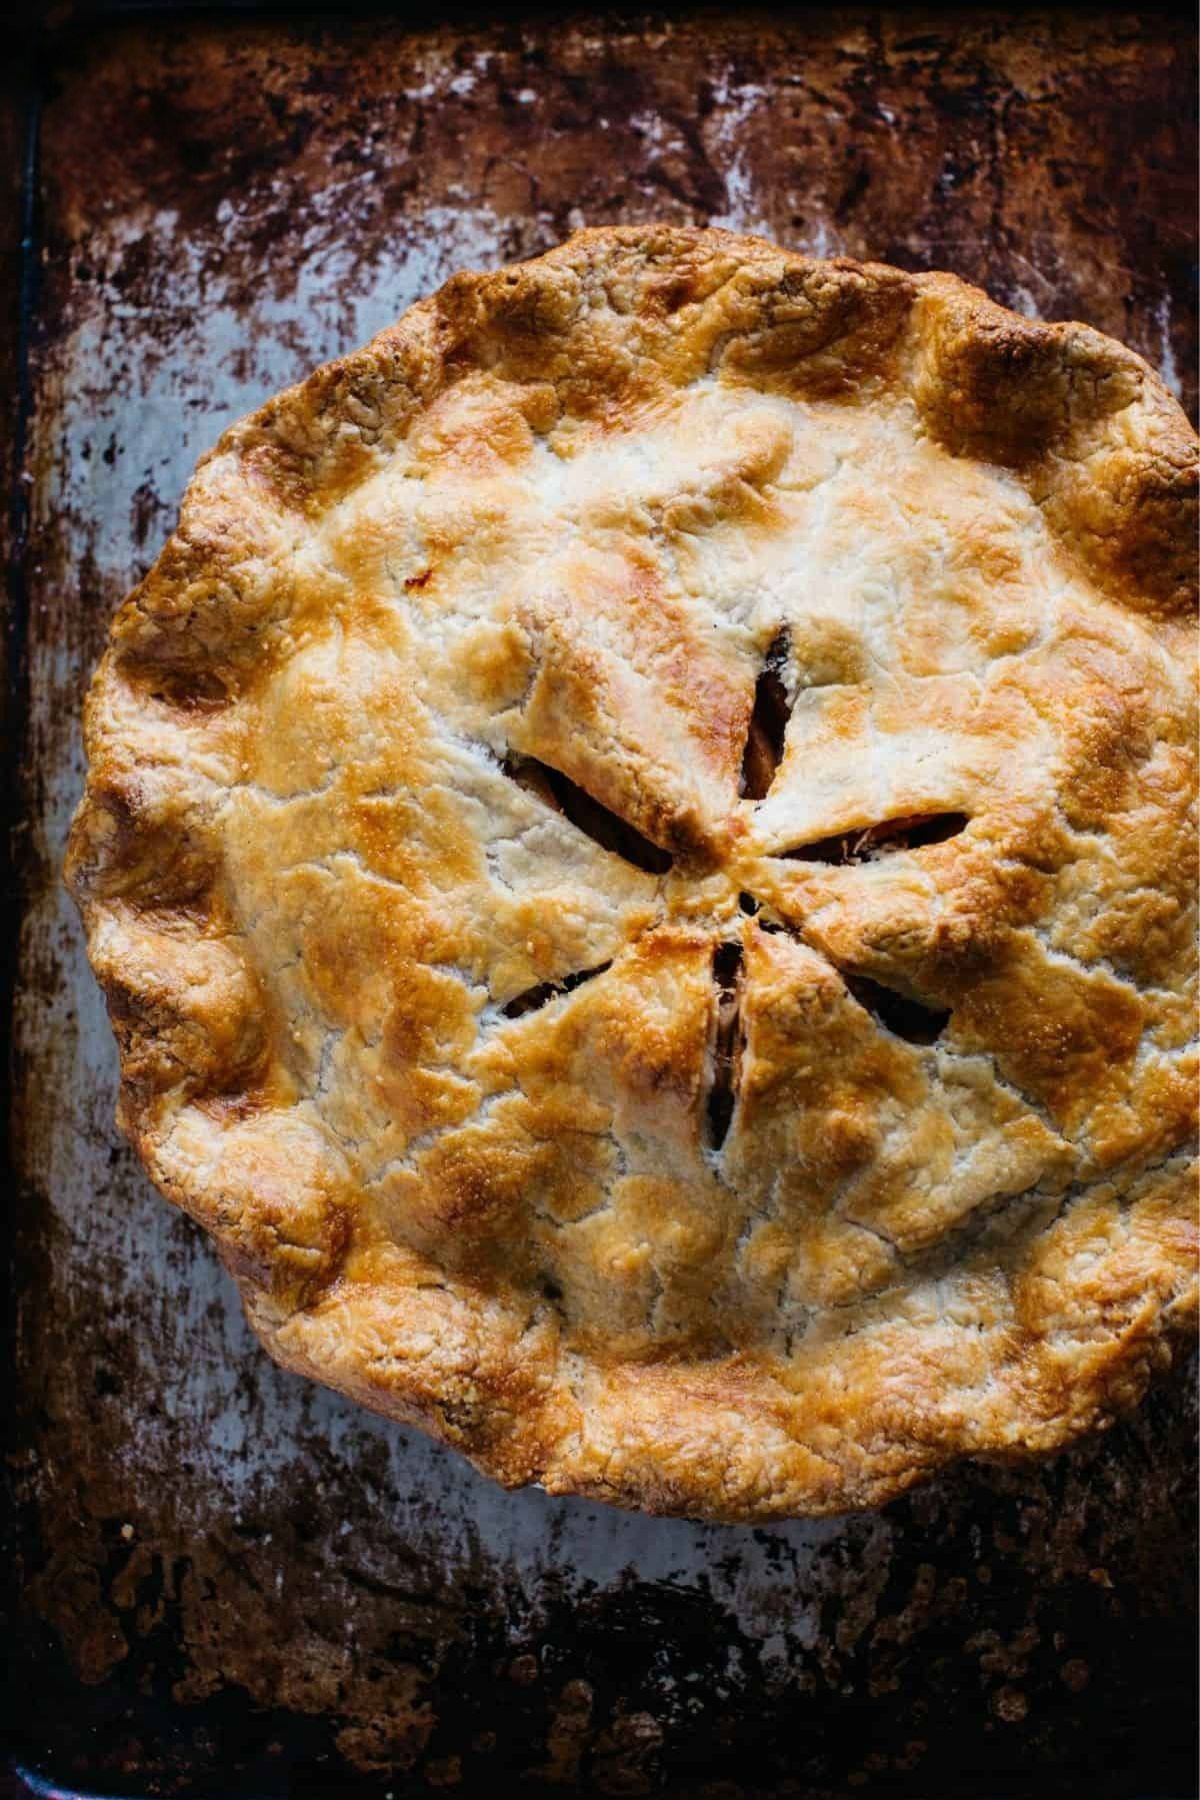
- Bake for about 60 to 90 minutes or until the crust is golden brown and the filling is bubbling out of the vents.
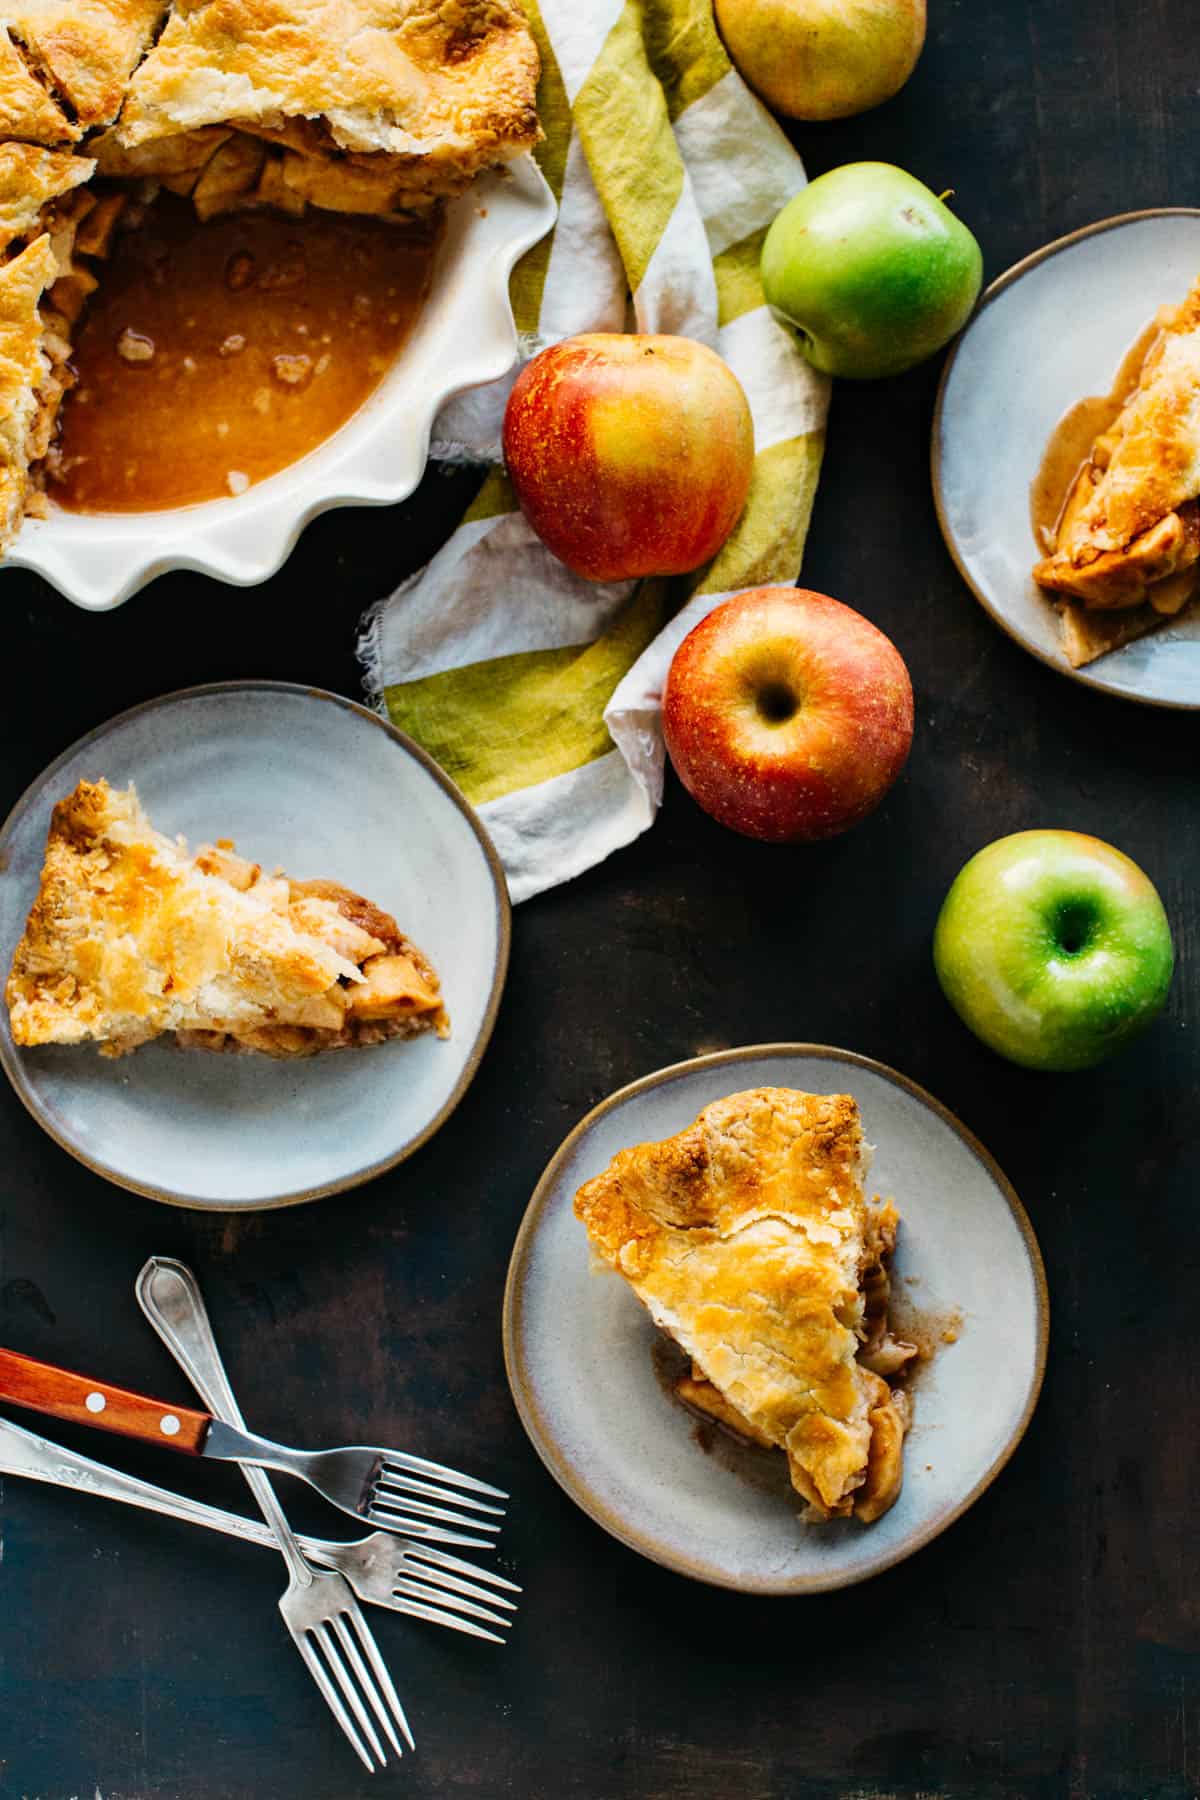
- Allow the pie to rest for at least one hour before cutting into it. Serve with ice cream or whipped cream.
Tips for Success
- This pie bakes up beautifully straight out of the freezer. If using a glass pie plate, let it sit out at room temperature for 20 minutes prior to baking to prevent the glass from shattering.
- If the outer crust starts getting too brown before the center, cover the edges with foil and continue baking until done.
- It's important to let the pie rest for at least 1 hour before cutting. This helps the filling set up so it won't ooze out all over.
FAQs
Yes, but unpeeled apples will add more texture to the pie which some may find undesirable. Peeling the apples will ensure a nice, smooth filling with no bits of tough, stringy peels.
Some pastry chefs might argue that it's better to cook the apples prior to baking them into a pie, but I think Grandma knows best. This is a simple, rustic pie.
Yes! Just be sure to use a good quality gluten free pie dough and substitute the all purpose flour with a 1-1 cup to cup gluten free all purpose flour blend. My favorite is Cup4Cup.


Did you LOVE this recipe? Please leave a star ⭐️ rating and comment and tag your creations @ColeyCooks on Instagram!
Want to Save This Recipe?
Enter your email & I'll send it to your inbox.
By submitting this form, you consent to receive emails from Coley Cooks.
Grandma Old Fashioned Apple Pie Recipe
Ingredients
- 6 large baking apples My favorite is a combination of Rome and Granny Smith
- ½ cup granulated sugar
- ¼ cup all purpose flour
- 2 teaspoons cinnamon
- ½ teaspoon salt
- 2 tablespoons butter
- 2 discs of pie dough find my recipe here
- 1 egg beaten for egg wash
Instructions
Make The Pie Filling
- Peel, core and slice the apples about ¼ - ½ inch thick, then place them in a large mixing bowl.
- Add the sugar, flour, cinnamon and salt, then toss until the apples are evenly coated. Let sit for at least 30 minutes or until the apples start giving off their juices.
Prepare The Pie Dough
- Preheat the oven to 350℉ and prepare the counter and rolling pin by dusting everything liberally with flour.
- Remove one disc of dough from the refrigerator and roll out to about 12 inches around, rotating the disc as you go to keep it from sticking to the counter. Use bench scraper to help remove the dough from the counter if it starts to stick.
- Transfer the dough to a pie plate, making sure it's distributed evenly around the sides.
- Roll out the second disc of dough just like the first, then set aside while you fill the pie.
Fill And Bake The Pie
- Pour the apples into the pie plate, then dot the top with little knobs of butter. Use your fingers to lightly dampen the perimeter of exposed dough around the edges with water.
- Roll the top crust on to the rolling pin and transfer it over top of the apples.
- Press around the edges with your fingers to to seal the top crust with the bottom crust, then neatly tuck it all under. If the dough is uneven or there's a lot of excess, trim it with a pair of kitchen shears.
- Use your thumb and index fingers form the crust into a fluted edge.
- Use a sharp knife create a few vents in the top, then brush all over with egg wash, being careful not to close up the vents you just created.
- Bake for about 1 hour to 90 minutes, rotating half way through to ensure even browning. It should be golden in color with filling oozing around the vents.
- Allow the pie to rest for at least one hour before cutting into it. Serve with vanilla ice cream.
Notes
- I find letting the apples macerate with the cinnamon, sugar, flour and salt for at least half an hour before filling the pie creates a better filling. If you have the time, let them hang out even longer.
- Keep your pie dough refrigerated until you're ready to roll. Keeping the dough cold will help ensure it bakes up nice and flaky and will make it easier to work with. If the dough is a little too firm to roll, let it sit at room temperature for 5 minutes, then proceed.
- This pie bakes up beautifully straight out of the freezer. If using a glass pie plate, let it sit out at room temperature for 20 minutes prior to baking to prevent the glass from shattering.
- If the outer crust starts getting too brown before the center, cover the edges with foil and continue baking until done.
- It's important to let the pie rest for at least 1 hour before cutting. This helps the filling set up so it won't ooze out all over.


Follow up on my previous comment: pie turned out ABSOLUTELY AWESOME. I'm guessing why in my previous comment, I DID NOT let pie cool down, I'm eating a slice as I write this, AWESOME, THANK YOU
Haha, thats fantastic!! I'm glad to hear it was just because the apples were still too warm. Thanks for writing back to let me know!
Excellent instructions, followed almost to a T, used cornstarch instead of flour. I made a deep dish using my butter crust recipe. Baked for 60 minutes, add (you had suggested maybe 90 minutes) 30 minutes as my pie was a deep piled high. Crust was excellent, flavor was over the moon, BUT my apples were more mushy than what I liked. I did use 4 granny Smith to 2 gala apples. Where did I goof up???
Amazing! Thanks for leaving such a detailed review. Granny Smith apples are especially good for baking, but sometimes I find the sweeter apples, even those considered good for baking, can become a little mushy. Slicing them too thin can also sometimes cause them to fall apart after a long bake time. I don't think you goofed up at all, sometimes it's just the luck of the draw with getting a "bad apple."
Made this pie last year for Thanksgiving and everyone raved about the pie. It was gones in 10 minutes. Should have made 2 pies. 5 star rating and thank you.
So glad you loved it! Thanks so much for your review! 🙂
A classic holiday staple. The crust really makes the pie!
Thanks Meliss!
Coley ~ grandma always used a fork to vent the top ~ Uncle Mark
You can vent it however you want!!!
Thanks for your recipe I’m making grandma’s apple pie
For thanksgiving 🦋🌹🦋
I hope you love it as much as we do! <3
I used ida red apples and let the ingredients sit for 45 minutes. Family and friends raved about how great the 🥧 is. Thank you for sharing this recipe. Outstanding!
SO glad you all loved the pie!! 🙂
Turned out great, thanks
Thanks Kathy!
Great recipe! I did this 2 different times. One was with green apples and other one red apples. Green turned out really sweet for me so i like the red ones. I dont know if it was just by luck with the fruit.
So glad you enjoyed the recipe, Jane! I'm surprised the green apples were sweeter for you, I'm sure it just depends what specific variety they were and where they were grown. That's why I often use a combination!
Easy to follow recipe. I struggled with the crust a bit because I think I didn't add enough water but ill know for next time. Simple classic flavor which is what i wanted
This pie is so homey and comforting. Grandma knows best!
Count me in for next year! My dad and grandma Alice were the pie makers. They used old fashioned lard.
Gobble...Gobble...I did read the whole thing...Love following you and reading all about your family. Someday I just may have to try and make a pie!!!
Thanks for sharing the LOVE and of course the pie!! Can't wait to make it! Love me some apple pie!
Thanks Stella! So glad you're going to make it. Happy Thanksgiving!!
My Romanian grandma made a similar apple pie except she put a little brandy on the apples!!
Nothing wrong with adding a little booze!
Well I'm honored to have the recipe. Haven't had a grandmother since I was 4 so I'm so happy to be blessed with yours!
You're so sweet Holly! It was great seeing you and your sisters Sunday. My aunt said to me after meeting you all that "They seem like they could be related to us" and I told her I've always thought that! Happy Thanksgiving to you all! 🙂
What a synchronicity! Reading your post while watching Michael Jackson. How awesome is that? Cannot wait to eat pie.
Love it!
I will just call her aunt Rosalie! Great post! Happy Thanksgiving to everyone down there from MA.
Thanks Licia! Happy Thanksgiving to everyone in Glouceter!! xo