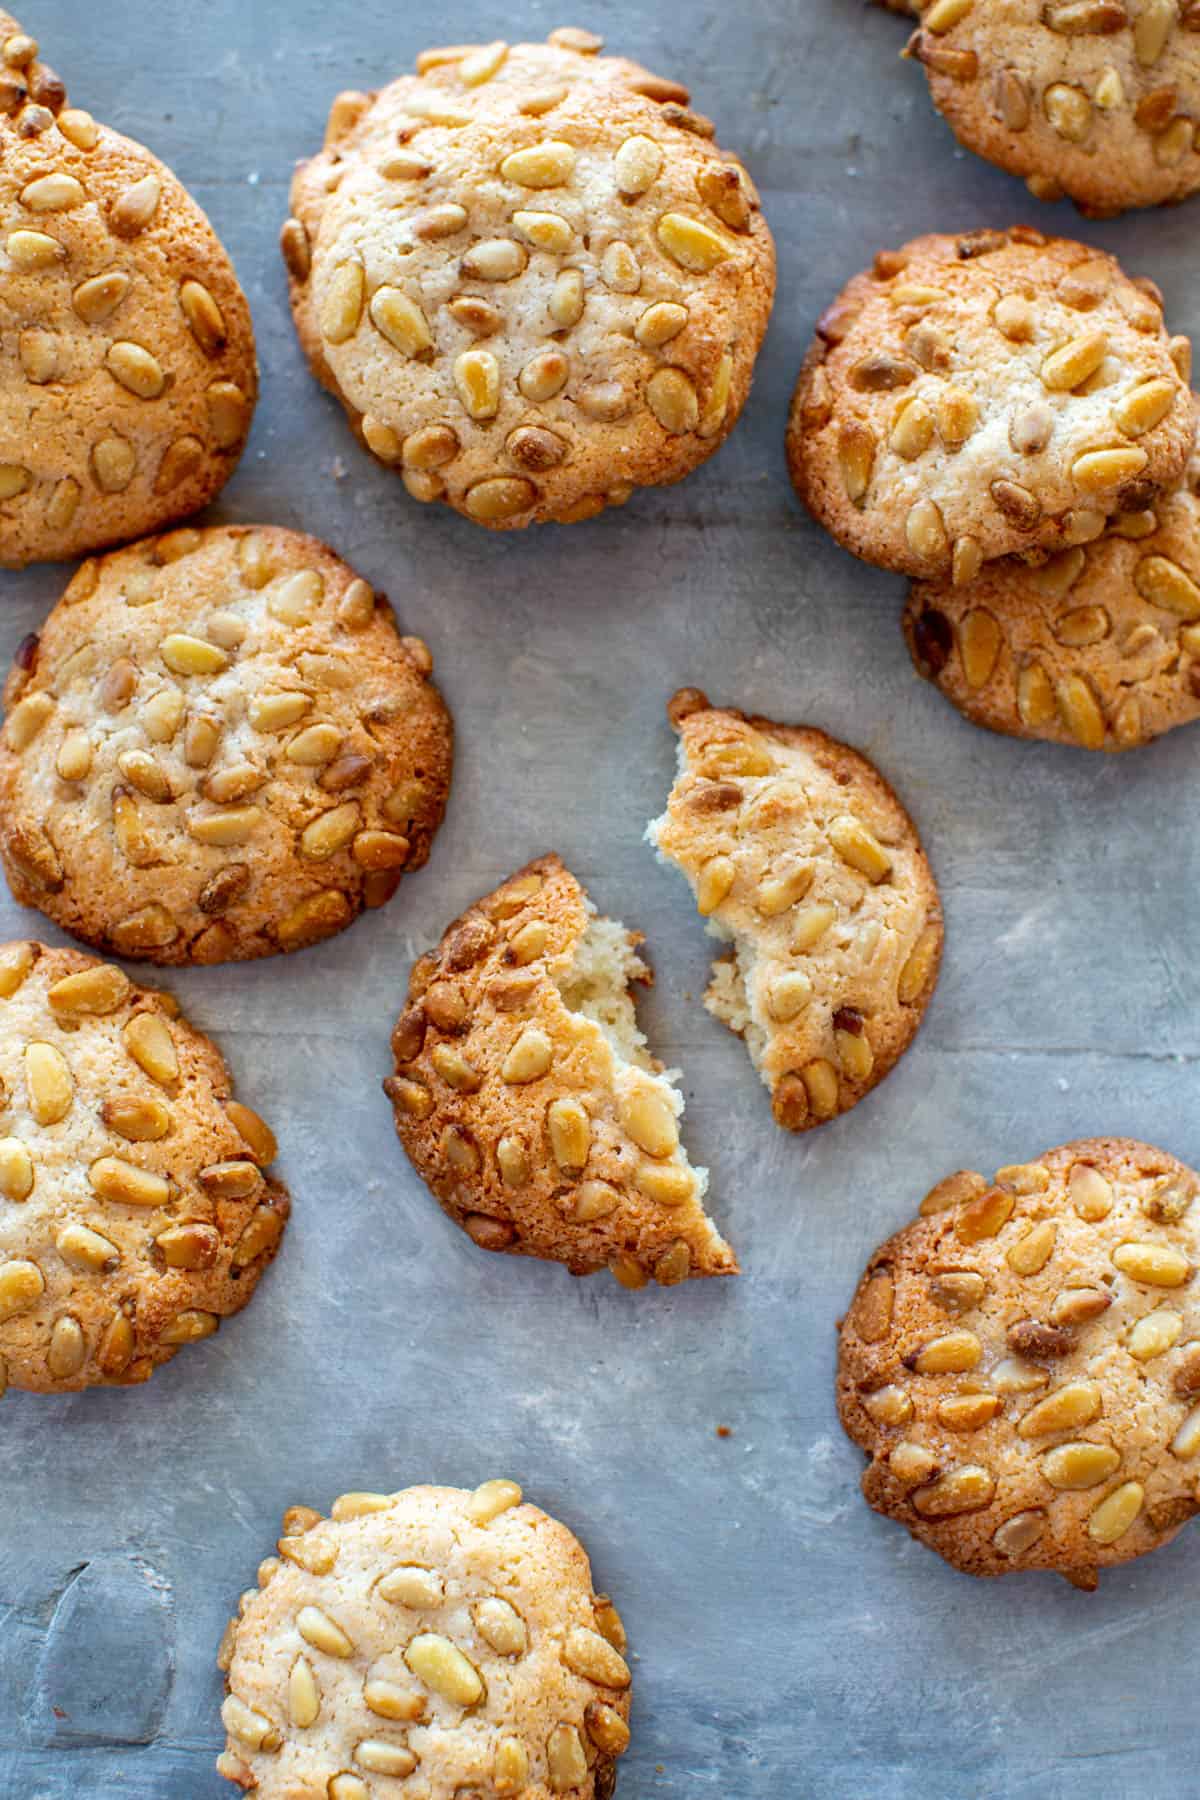
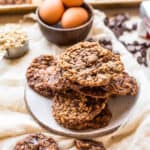
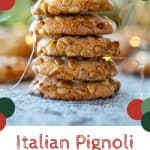
Italian Pignoli Cookies
Pignoli cookies, or pine nut cookies, are a classic Italian confection. They're chewy, sweet and only require 5 ingredients! This is one of my all time favorite cookies to bake during the holidays.
This post may contain affiliate links.
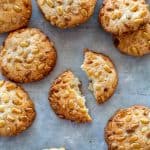
Called amaretti con pignoli in Italian, these cookies can be found at just about any good Italian bakery, but not all are created equal. This authentic recipe for amaretti con pignoli has been a tradition in my family for as long as I can remember.
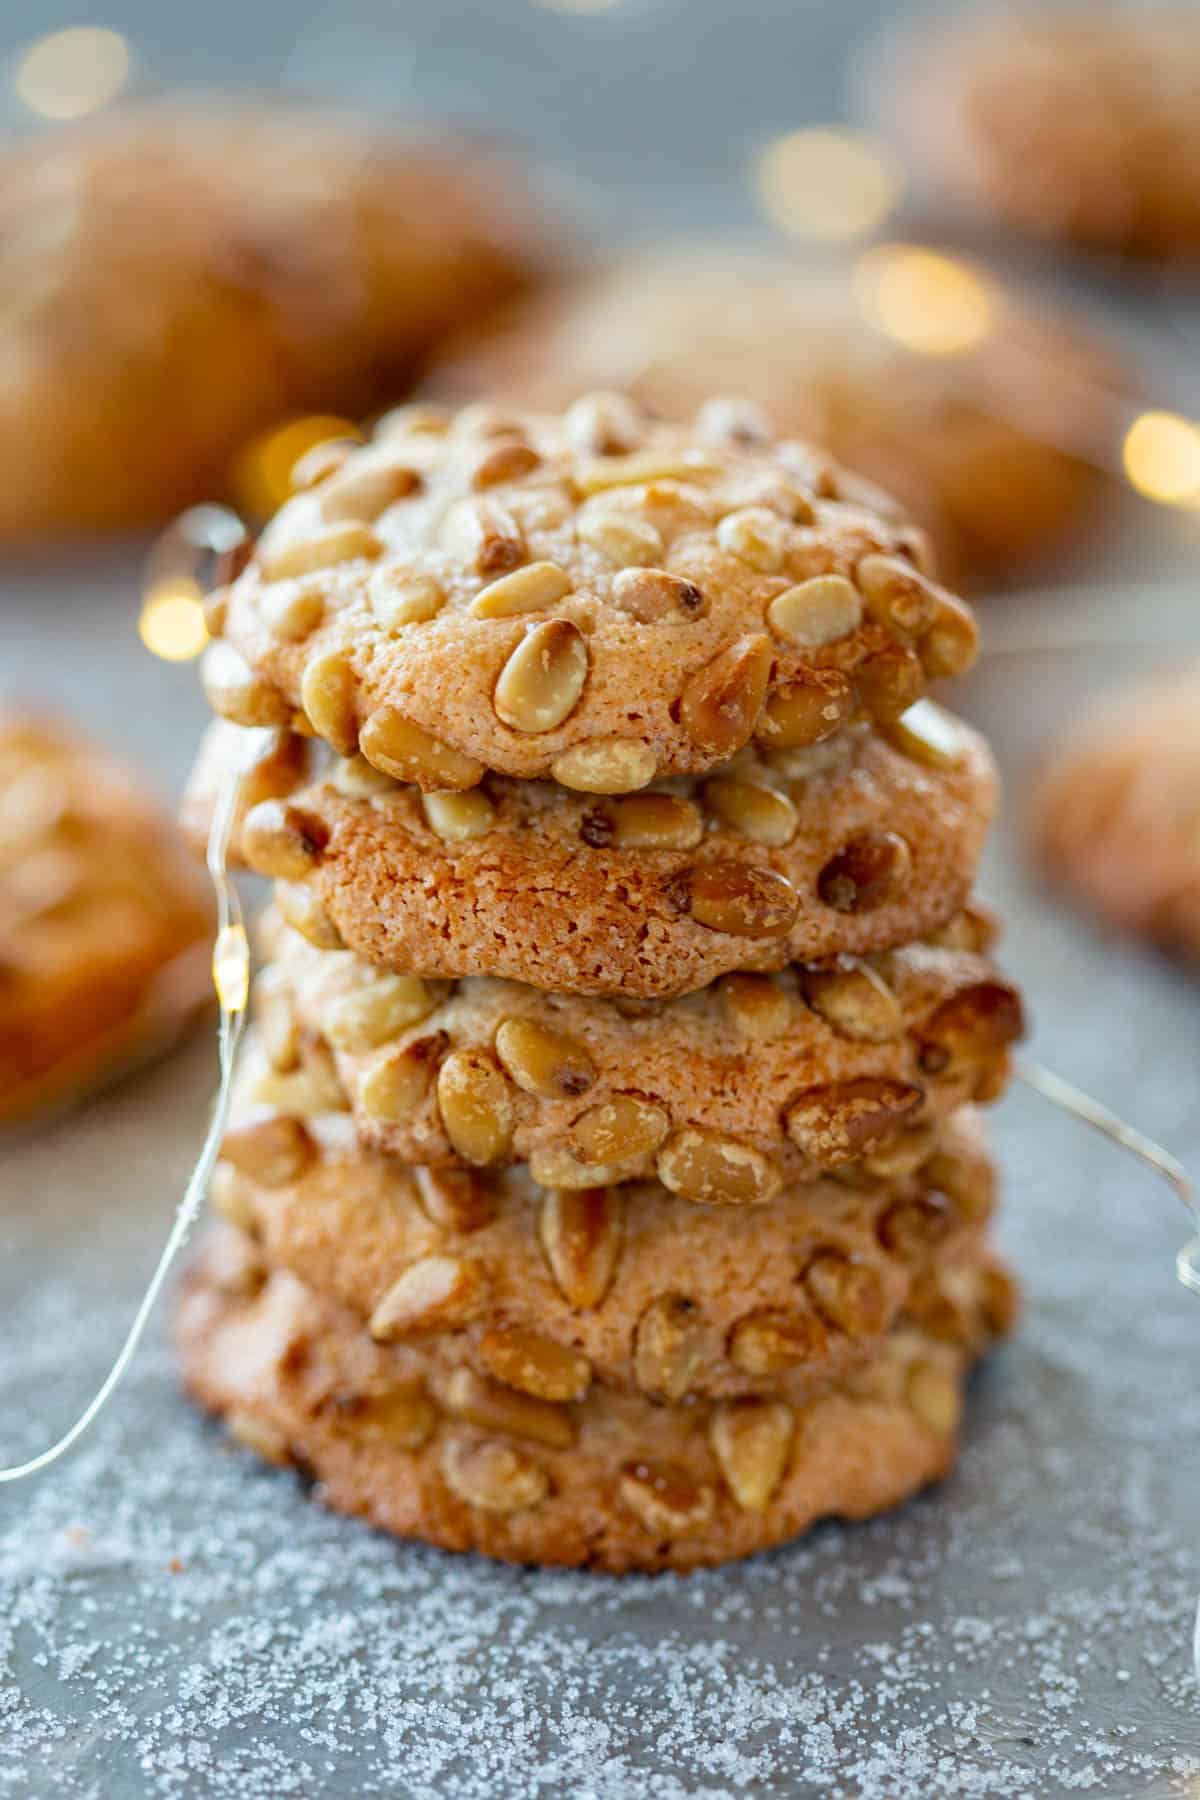
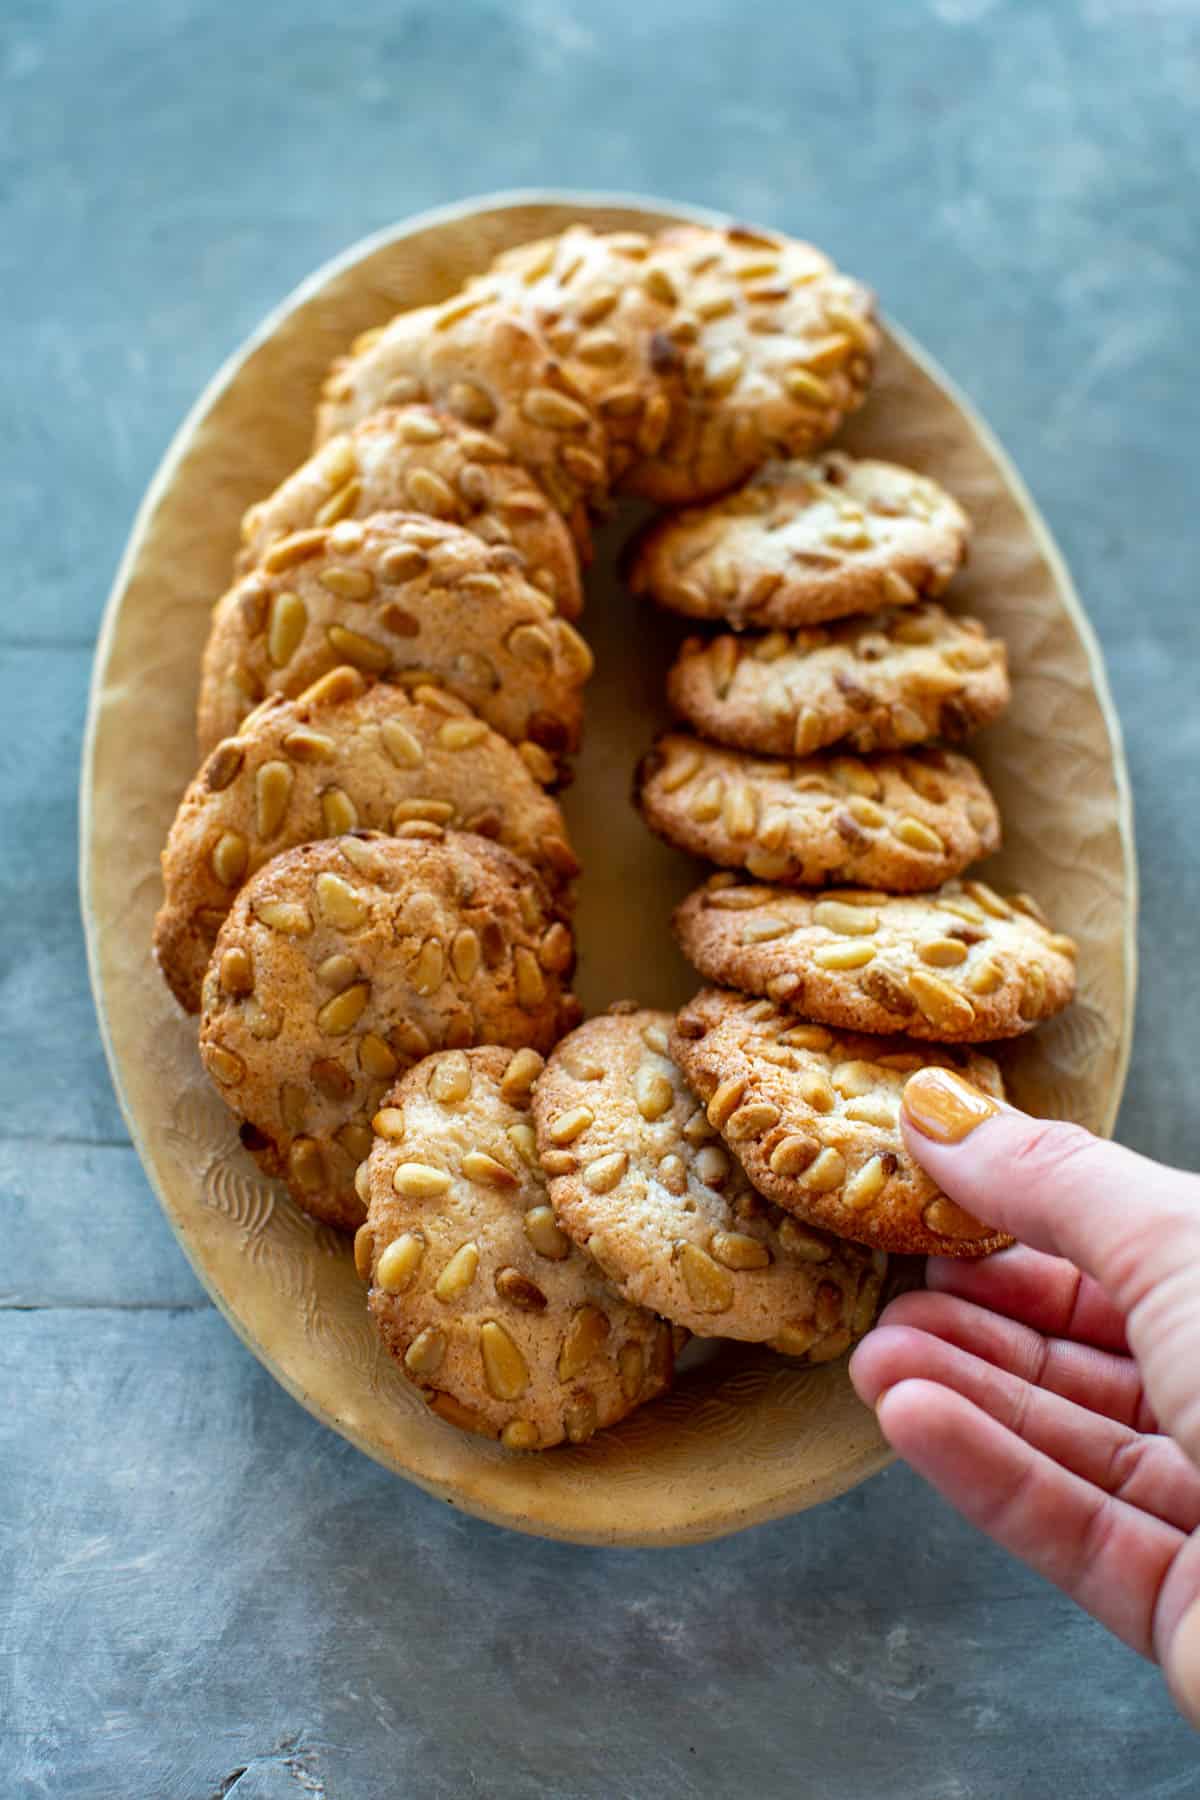
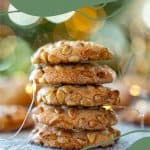
These cookies are really simple to make, but have this incredible texture - moist, chewy middles with crisp, toasty pine nut coated edges. They almost have a creamy quality even though they're not made with any dairy or gluten.
The pine nuts and almond paste give them a velvety, buttery texture that will melt in your mouth! They make an amazing Christmas cookie and gift because they keep for quite a long time, but I love these chewy confections any time of year.
This is truly the BEST pignoli cookie recipe you will EVER try!
For more cookie recipes, try my chocolate toffee chip cookies, Meyer lemon + pistachio sandwich cookies, or cinnamon toast cookies.
Why This Recipe Works
- 5 simple ingredients and 20 minutes of active prep time.
- Amazing chewy texture, similar to a macaroon.
- Uses a precise amount of pine nuts so that none go to waste.
- WAY less expensive than buying at an Italian bakery.
- Allergy friendly - They just happen to be dairy free and gluten free!
Ingredient Notes
Pine Nuts - Called pignoli in Italian, these nuts are one of the most expensive, but they're worth it. Use Mediterranean pine nuts if you can find them - they're the best quality. Chinese pine nuts are more common, but lesser quality. Still, they will work fine for pignoli cookies.
Almond Paste - The best, most authentic pignoli cookies are made with almond paste and not marzipan or anything else. I recommend Solo brand.
*Find the full ingredient list in the recipe card below!
Helpful Equipment
How to make Pignoli Cookies
- Crumble the almond paste into a food processor and pulse until it's the texture of sand.
- Add the sugar, egg whites and salt and process until smooth - about 15 seconds. Use a spatula to scrape the mixture into another bowl and refrigerate for about 30 minutes. This will help make the dough easier to roll into balls
- Preheat the oven to 350°F, then line two baking sheets with parchment paper and spray all over with cooking spray to prevent sticking. Add pine nuts into a shallow bowl or dish.
- Fill a small bowl with water and keep it at your work station to wet your hands. This will make rolling the dough easier.

- Remove the dough from the refrigerator and use a spoon to scoop out a small piece, roughly the size of a rounded tablespoon.
- Wet your hands, then roll the dough into a ball.
- Drop the ball into the pine nuts and press to coat and flatten into a disc. Be careful not to coat with too many nuts or you'll run out before finishing.
Pro Tip: Try to limit the amount of pine nuts that stick to each cookie, especially in the beginning when there are lots of them. It's easy to coat a ball of dough in too many, and you will run out before rolling all of the cookies and you will need to use more.
- Lay the cookies on the baking sheet about 2 inches apart and repeat until all the dough and nuts are gone.
- Bake for about 11-14 minutes or until they're golden brown around the edges. Allow to cool completely before serving.
Tips for Success
- Keep your dough chilling in the refrigerator until you're ready to start rolling to make it firmer and easier to work with. You can keep the dough refrigerated for up to 24 hours before making the cookies.
- Keep a small bowl of water handy to wet your hands so that the dough doesn't stick while you roll them into balls.
- Baking times will vary by oven, and while some say pignoli cookies are best on the lighter, less-baked side, I prefer them more browned and toasted.
FAQs
Pine nut cookies will keep in a tightly sealed container at room temperature for up to 10 days. They will gradually lose their freshness, but they keep much longer than most cookies. They can also be frozen in a zip top bag for up to 3 months. If you plan on feeding, undercook them slightly, then thaw in the refrigerator and re-crisp in the oven at 300 degrees F for about 5 minutes.
Definitely don't throw them away! Add them to your scrambled eggs or carbonara sauce to make it extra rich or save them for a custard or homemade ice cream. Freeze them in ice cube trays, then store in a zip-top bag for later use.
Yes! I recommend following the same technique only using a hand mixer (with beaters) or stand mixer (with a paddle attachment) instead. Because of the thick texture of the almond paste, they are challenging to mix by hand, but with a lot of grit and elbow grease it can be done.
Almonds, pistachios, or really any other nut - even coconut - will make a nice substitution.

Did you LOVE this recipe? Please leave a star ⭐️ rating and comment and tag your creations @ColeyCooks on Instagram!
Want to Save This Recipe?
Enter your email & I'll send it to your inbox.
By submitting this form, you consent to receive emails from Coley Cooks.
Pine Nut Cookies
Ingredients
- 8 oz almond paste * recommended: Solo brand
- ⅔ cup sugar
- 2 large egg whites*
- ½ teaspoon salt
- 1 cup pine nuts raw, untoasted
- cooking spray as needed
Instructions
- Crumble the almond paste into a food processor and pulse until it is the texture of sand.
- Add the sugar, egg whites and salt and process until smooth - about 15 seconds or so.
- Use a spatula to scrape the mixture out into another bowl and refrigerate for about 30 minutes. This will help make the dough easier to roll into balls.
- Preheat the oven to 350℉ and line two baking sheets with parchment paper, then spray with cooking spray.
- Add the pine nuts to a shallow bowl or plate and have a small bowl of cold water next to it.
- Remove the dough from the fridge and use a spoon to scoop out a small piece about the size of a rounded tablespoon.
- Wet your hands a little in the bowl of water, then roll the dough in your hands to form a ball. around to form a ball.
- Drop the ball on to the pine nuts and press to flatten and coat on both sides. Be careful not to coat it with too many nuts or you'll run out before finishing.
- Lay the cookie on the baking sheet and repeat until all the dough and nuts are gone.
- Bake for about 11-14 minutes or until they're golden brown around the edges. Allow to cool completely before serving - they're better that way.
Notes
- *Do not use Marzipan, it is not the same thing and will not produce good results.
- **Make sure you only use large eggs or the cookies may not turn out right.
- Try to limit the amount of pine nuts that stick to each cookie, especially in the beginning when there are lots of them. It's easy to coat a ball of dough in too many, and you will run out before rolling all of the cookies and you will need to use more.
- Keep your dough chilling in the refrigerator until you're ready to start rolling to make it firmer and easier to work with. You can keep the dough refrigerated for up to 24 hours before making the cookies.
- Keep a small bowl of water handy to wet your hands so that the dough doesn't stick while you roll them into balls.
- Baking times will vary by oven, and while some say pignoli cookies are best on the lighter, less-baked side, I prefer them more browned and toasted.


Do you have to use a food processor. Or can you use a mixer instead
You can use a mixer! Just make sure the almond paste is broken up well and fully incorporated and smooth.
definitely spray non stick spray on the parchment paper!! these cookies are amazing !!! i followed each step the way it’s written and the family said this cookie will Be the New tradition at Christmas!!
I'm so glad you loved them! And yes, spraying the parchment does help the from sticking!
My grandmother baked a lot of Italian cookies, but not pignolis. We got pignolis from the bakery, and I didn't like them. Fast forward, it's my friend's birthday. She loves pignoli cookies, so I used your recipe and made her a batch. They smelled so good, I had to taste one. THEY ARE DELICIOUS!!! I liked them so much I made another batch. My husband, two friends who stopped by that day, and I ate them all in one day. Treat yourself and make these cookies.
I'm so happy you love the recipe! Thanks for leaving such a wonderful review!
Hi Coley,
How do you think it would work if I mixed the pine nuts into the batter? Thank you.
I have never tried doing that so I can't say for certain how they would turn out. I'm not sure if the pine nuts would get toasted. Traditionally they are always on the outside. Let me know if you try it!
Perfect/. Taste was exactly as I hoped for and easy to follow recipe. Just would like to know how to make them darker in color. If you can respond with some tips, I would greatly appreciate it.
So glad they turned out great for you, Pat! To get a darker color, just bake them for a few minutes longer. But keep an eye on them so they don't burn. I like mine a little on the darker side too!
I've been making this recipe forever and am finally leaving you a comment. My mother said on Easter they remind her of the ones they used to get from the bakery when she was little. She was thrilled! Thanks for such a special family recipe.
You're so welcome! That's so amazing to hear- thanks for your comment! <3
Made your recipe today. These are my sons favorite cookie! My one comment to you I’s that I found that if you just use parchment paper without any spray the cookies don’t spread as much. If you let them cool on the paper they can be easily peeled off without ant breakage.
So happy you love the recipe! Great tip about the parchment - I will keep that in mind next time I bake them!
Love love love this recipe. My favorite cookies, they are easy to make and always come out so good. And they keep fresh for a long time!
Thank you!
Turned out great
SO glad you enjoyed it!
Pine nuts were too expensive so I made them with slivered almonds and they turned out great. Will be making agin
Thanks Joyce!
Incredible - just like the pignoli cookies from the Italian bakery... but so much less expensive to make at home!!!!!
SO glad you enjoyed them!
These are my favorite cookies and this is the first recipe I've tried that I actually liked.
So glad to hear it!
These are excellent. Just like the ones we used to get from the Italian bakery that used to be in town.
These are the absolute BEST Pignoli Cookies! So chewy and love that they're gluten free.