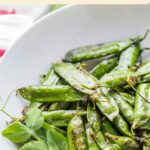
Grilled English Peas
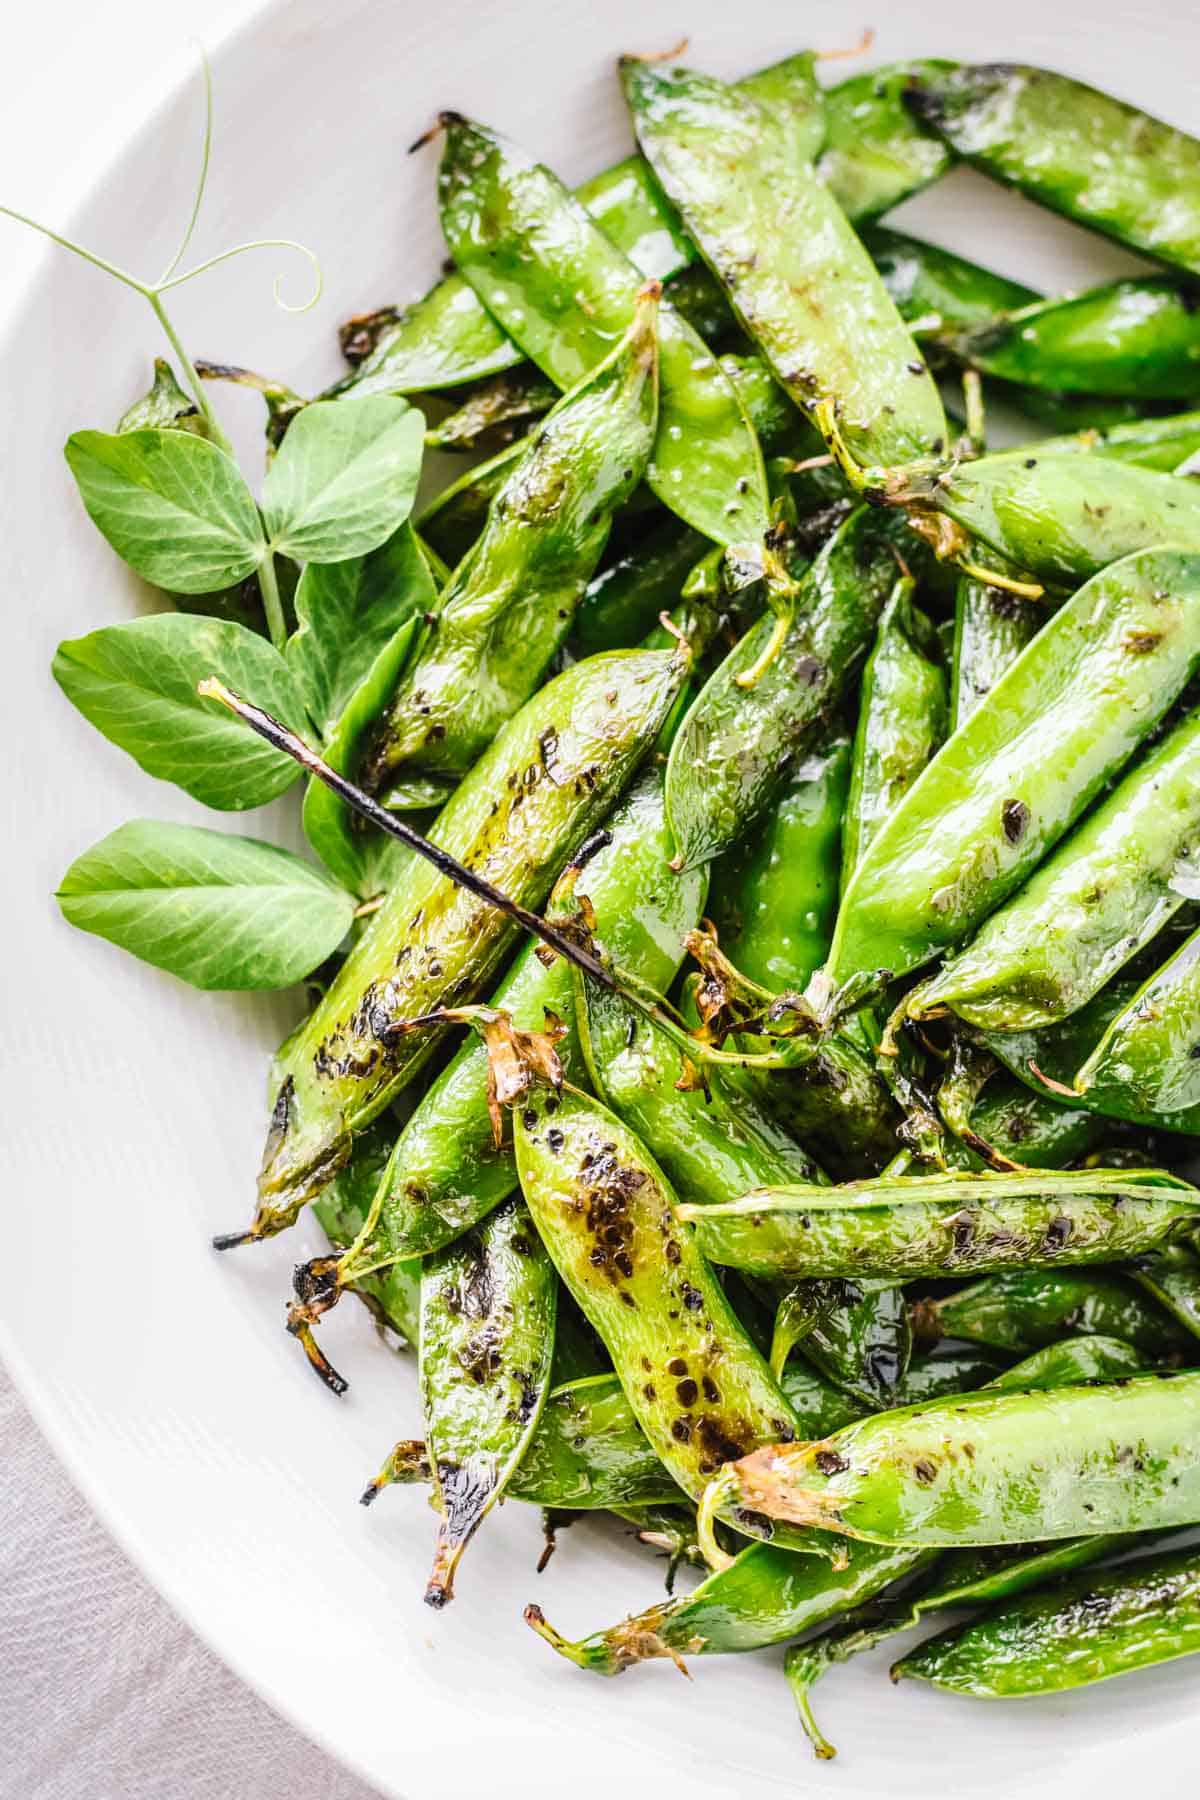
These Grilled English Peas deliver the perfect seasonal treat - charred, smoky pods with sweet, tender peas inside. Ready in under 10 minutes, it's a super simple recipe that transforms spring's freshest produce into a killer snack with very low effort!
Peas are one of my favorite crops to grow in my garden since they're the sweetest as soon as they're picked.
This is my favorite way to eat them. A little char plus some flaky sea salt, and you have one tasty little snack!
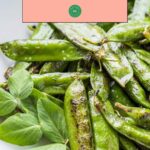
Charring over high heat concentrates their natural sweetness while adding that irresistible smoky flavor you can only get from grilling.
Bite down on the pod and slide them out with your teeth, like edamame!
Mastering the Grilling Technique
The technique here is simple. You want your grill screaming hot to achieve that beautiful char on the outside while keeping the inside juicy and vibrant.
This intense heat prevents the peas from drying out or becoming mushy, preserving their incredible fresh spring flavor and satisfying pop!
Want more great spring recipes with fresh peas? Try my spring vegetable risotto, these indulgent peas with prosciutto and ricotta, or my melt-in-your-mouth sweet pea gnocchi that showcases their delicate sweetness.
Why This Recipe Works
- Lightning-fast grilling adds a delicious smoky flavor while preserving the peas' natural sweetness and texture.
- Minimal ingredients let the fresh, sweet flavor of spring peas shine!
- Serve as an appetizer, side or snack!
Ingredient Notes
Fresh English Peas in the Pod - Look for fresh, young English peas at farmer's markets and specialty produce shops in the spring. The fresher the peas, the better, so ask the farmer or produce department worker to let you know when the peas have just been picked so you can snatch them up ASAP! Choose firm, bright green pods without blemishes.
Olive Oil - Use a good quality extra virgin olive oil with a robust flavor that will stand up to the high heat of grilling.
Flaky Sea Salt - This finishing touch is crucial - those delicate, crunchy flakes adhere to the charred pods while they're hot, enhancing their natural sweetness and adding textural contrast. I love Maldon!
*Find the full ingredient list in the recipe card below!
Helpful Equipment
- Grill
- Perforated grill pan or tray
- Tongs
- Large mixing bowl
Step by Step Instructions
- Preheat your grill until very hot.
- In a large bowl, toss the pea pods with olive oil, salt, and black pepper until evenly coated.
- Place a perforated grill pan or tray on the grill to prevent the peas from falling through the grates.
- Spread the pea pods in a single layer on the grill pan. Toss once, close the grill, and cook for about 2 minutes.
- Open the grill, toss the peas again, and continue cooking for another 2-3 minutes, or until the pods are nicely charred and tender-crisp.
Pro Tip: Don't walk away during cooking - peas can go from perfectly charred to overdone in seconds. Stay vigilant and keep them moving for even cooking.
- Remove from the grill and transfer to a serving bowl.
- Sprinkle with flaky sea salt to finish. Serve immediately, while hot.
Tips for Success
- Work in batches if necessary to avoid overcrowding the grill pan - you want each pod to have direct contact with the hot surface.
- The entire cooking process should take only 4-5 minutes total - any longer and you risk drying out the peas.
- Season generously with the flaky salt while the peas are still hot from the grill so it adheres properly.
- Look for pods that feel heavy and full when you run your fingers along them - this indicates plump, well-developed peas inside.
Variations
- Toss the hot grilled peas with grated Parmesan cheese and lemon zest for a more indulgent side dish.
- Sprinkle with red pepper flakes and minced garlic along with the finishing sea salt for a touch of heat and extra flavor.
- Drizzle with good balsamic vinegar after grilling for a sweet-tangy pop.
- Finish with chopped fresh herbs like mint, chives or basil.
How to serve grilled peas
These grilled English peas make a stunning spring appetizer alongside my buttered radish toasts and this light and refreshing asparagus salad with shaved pecorino and lemon vinaigrette.
Or, serve them on the side with my herb-roasted fish with Meyer Lemon vinaigrette or this Dijon herb-crusted rack of lamb for a lovely spring meal.
Complete your seasonal menu with either my tangy rhubarb cake or these heavenly strawberry rhubarb shortcakes to showcase spring's finest flavors!
How to Store and Reheat
These grilled peas are best enjoyed immediately after cooking when they're at their peak of flavor and texture. However, if you have leftovers, store them in an airtight container in the refrigerator for up to 2 days.
To reheat, toss them quickly in a hot skillet just until warmed through - avoid lengthy reheating which can make them mushy. Alternatively, they can be enjoyed cold in salads or as a nutritious snack.
FAQ
This recipe specifically requires fresh English peas in their pods, as the pods themselves are what get charred on the grill. Frozen shelled peas won't work for this method.
Absolutely! A very hot cast iron skillet, wok or grill pan on the stove will work nearly as well. Use high heat and follow the same timing guidelines.
Look for noticeable charring on the outside of the pods, with the pods still maintaining their bright green color. They should be tender-crisp, not soft or mushy.
English peas have thick, fibrous pods that aren't typically eaten, while sugar snap peas have edible, crisp pods. Either will work in this recipe, though the eating experience is slightly different.
You can either pop the whole pod in your mouth and pull it through your teeth to extract the peas, discarding the pod, like edamame. Or, split the pod open and scoop out the peas with your fingers or a fork.


Did you LOVE this recipe? Please leave a star ⭐️ rating and comment and tag your creations @ColeyCooks on Instagram!
Want to Save This Recipe?
Enter your email & I'll send it to your inbox.
By submitting this form, you consent to receive emails from Coley Cooks.

Grilled Peas in the Pod
Ingredients
- 2 lbs English peas in the pod cleaned and dried
- 2 tablespoons olive oil
- freshly ground black pepper to taste
- flaky sea salt for finishing (such as Maldon)
Instructions
- Preheat your grill until very hot.
- In a large bowl, toss the pea pods with olive oil, salt, and black pepper until evenly coated.
- Place a perforated grill pan or tray on the grill to prevent the peas from falling through the grates.
- Spread the pea pods in a single layer on the grill pan.
- Toss once, close the grill, and cook for about 2 minutes.
- Open the grill, toss the peas again, and continue cooking for another 2-3 minutes, or until the pods are nicely charred and tender-crisp.
- Remove from the grill and transfer to a serving bowl. Sprinkle with flaky sea salt to finish.
- Serve immediately, while hot.
Notes
- Look for pods that feel full when you run your fingers along them - this indicates plump, well-developed peas inside.
- Work in batches if necessary to avoid overcrowding the grill pan - you want each pod to have direct contact with the hot surface.
- The entire cooking process should take only 4-5 minutes total - any longer and you risk drying out the peas.
- Season generously with the flaky salt while the peas are still hot from the grill so it adheres properly.
- To eat, remove the peas from the pod with your teeth, as if you're eating edamame.
Nutrition
This post may contain affiliate links.


SO EXCITED TO TRY THIS. JUST KNOW IT WILL BE WONDERFUL THANK YOU!!!
I hope you enjoy!
OMG There is a restaurant down here in Delray that did this before and it was one of the most incredible things I have ever tasted. It's such a great idea!
I know! When I first saw it, I was like how did I not ever think of this before?!