Pizzelles
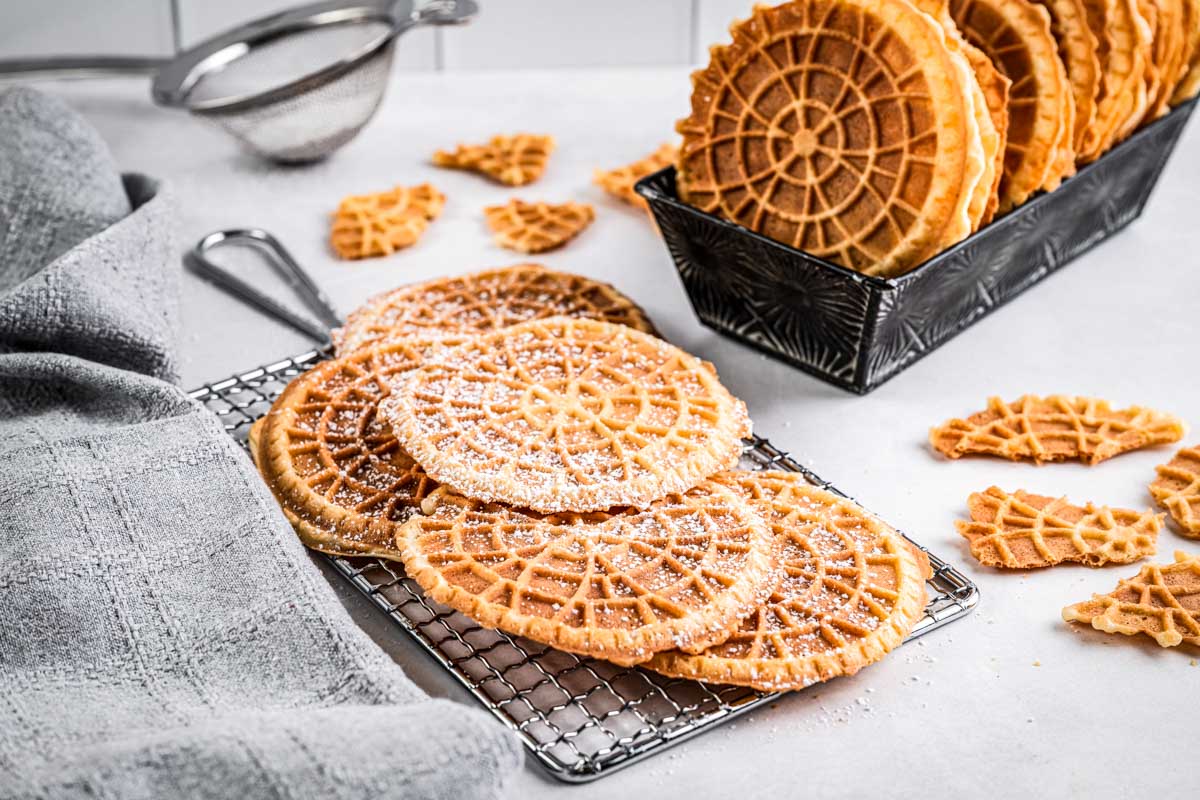
This recipe for traditional Italian pizzelles is the one I grew up with and still make every holiday season. They're thin, crisp and flavored with your choice of anise, vanilla or other fun variations. They stack well, travel well and make the sweetest homemade gift. All you need are six simple ingredients and a pizzelle iron to keep this Italian tradition alive!
This post may contain affiliate links.
What are the holidays without pizzelles on the table? While they're not really a Sicilian thing, they're huge among Italian Americans here in New Jersey.
These traditional Italian waffle cookies are simple, nostalgic and always taste like Christmas to me. My family didn't make them, but they were always around, either gifted from a friend or purchased from an Italian bakery. Eventually, I learned how to make them myself and I've been doing it ever since!
There are a ton of "original recipes" for these classic cookies that often came from the back of the box of a pizzelle maker. They're all more or less the same ingredients, just with different proportions.
After doing a little research, I played around with a friend's family recipe to come up with what I consider the perfect texture and flavor!
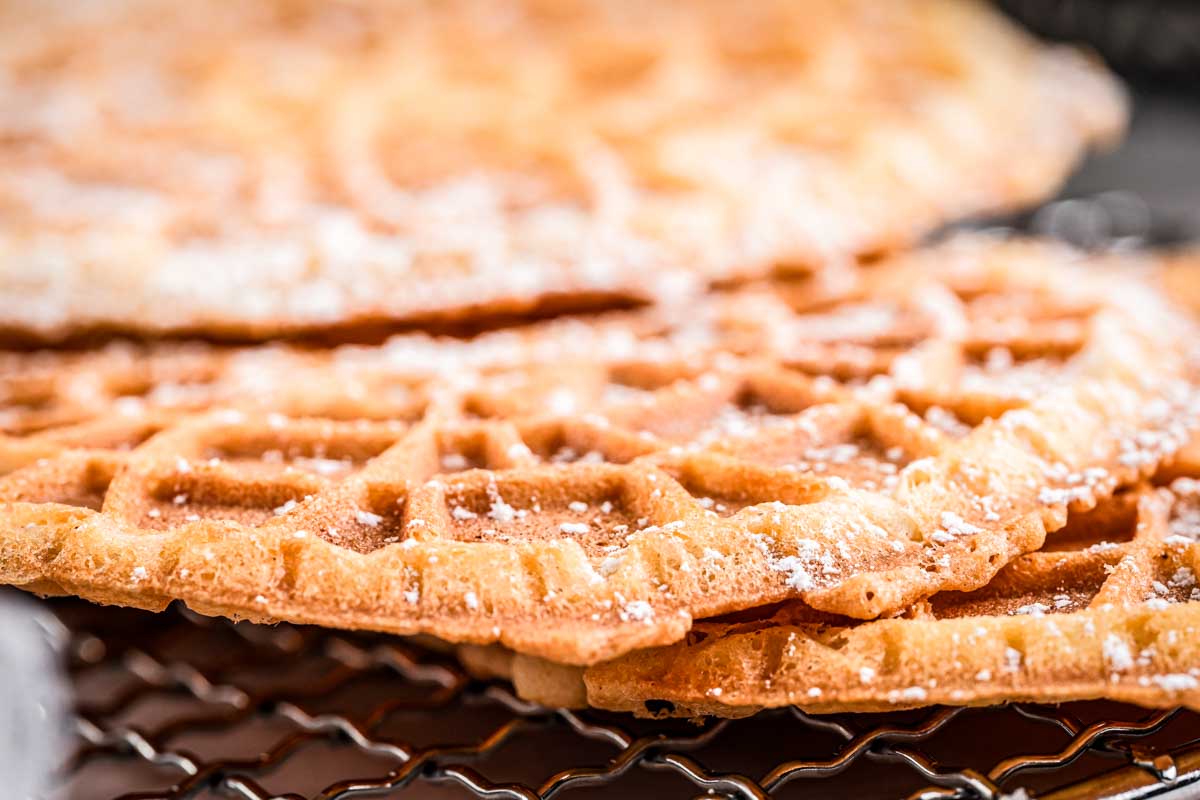
They're light and crisp and never too sweet which is why I love them so much. I could eat a dozen in one sitting! These are my favorite cookies around the holidays.
Anise is the traditional flavoring, but I love switching it up with vanilla and other flavors. If you're looking for the perfect pizzelle recipe, this is the one!!
What Are Pizzelles?
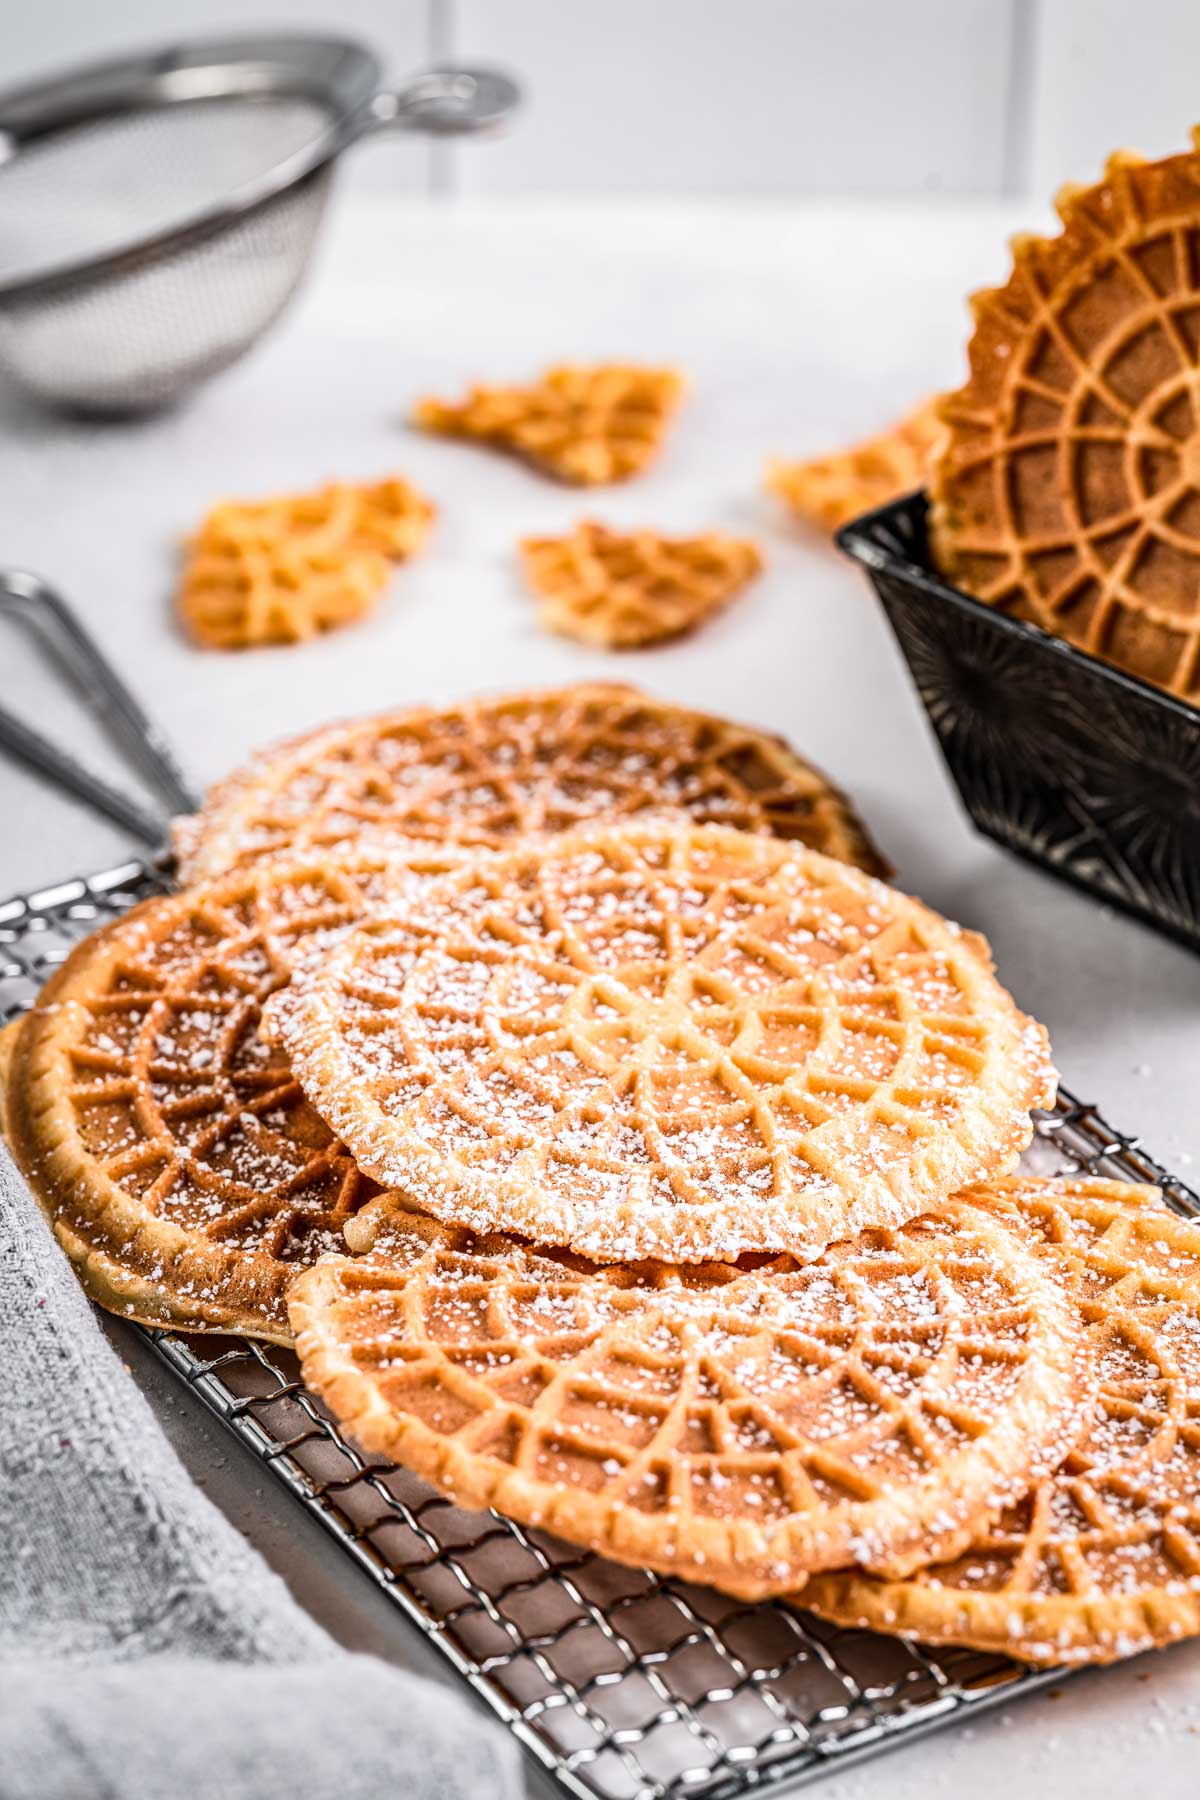
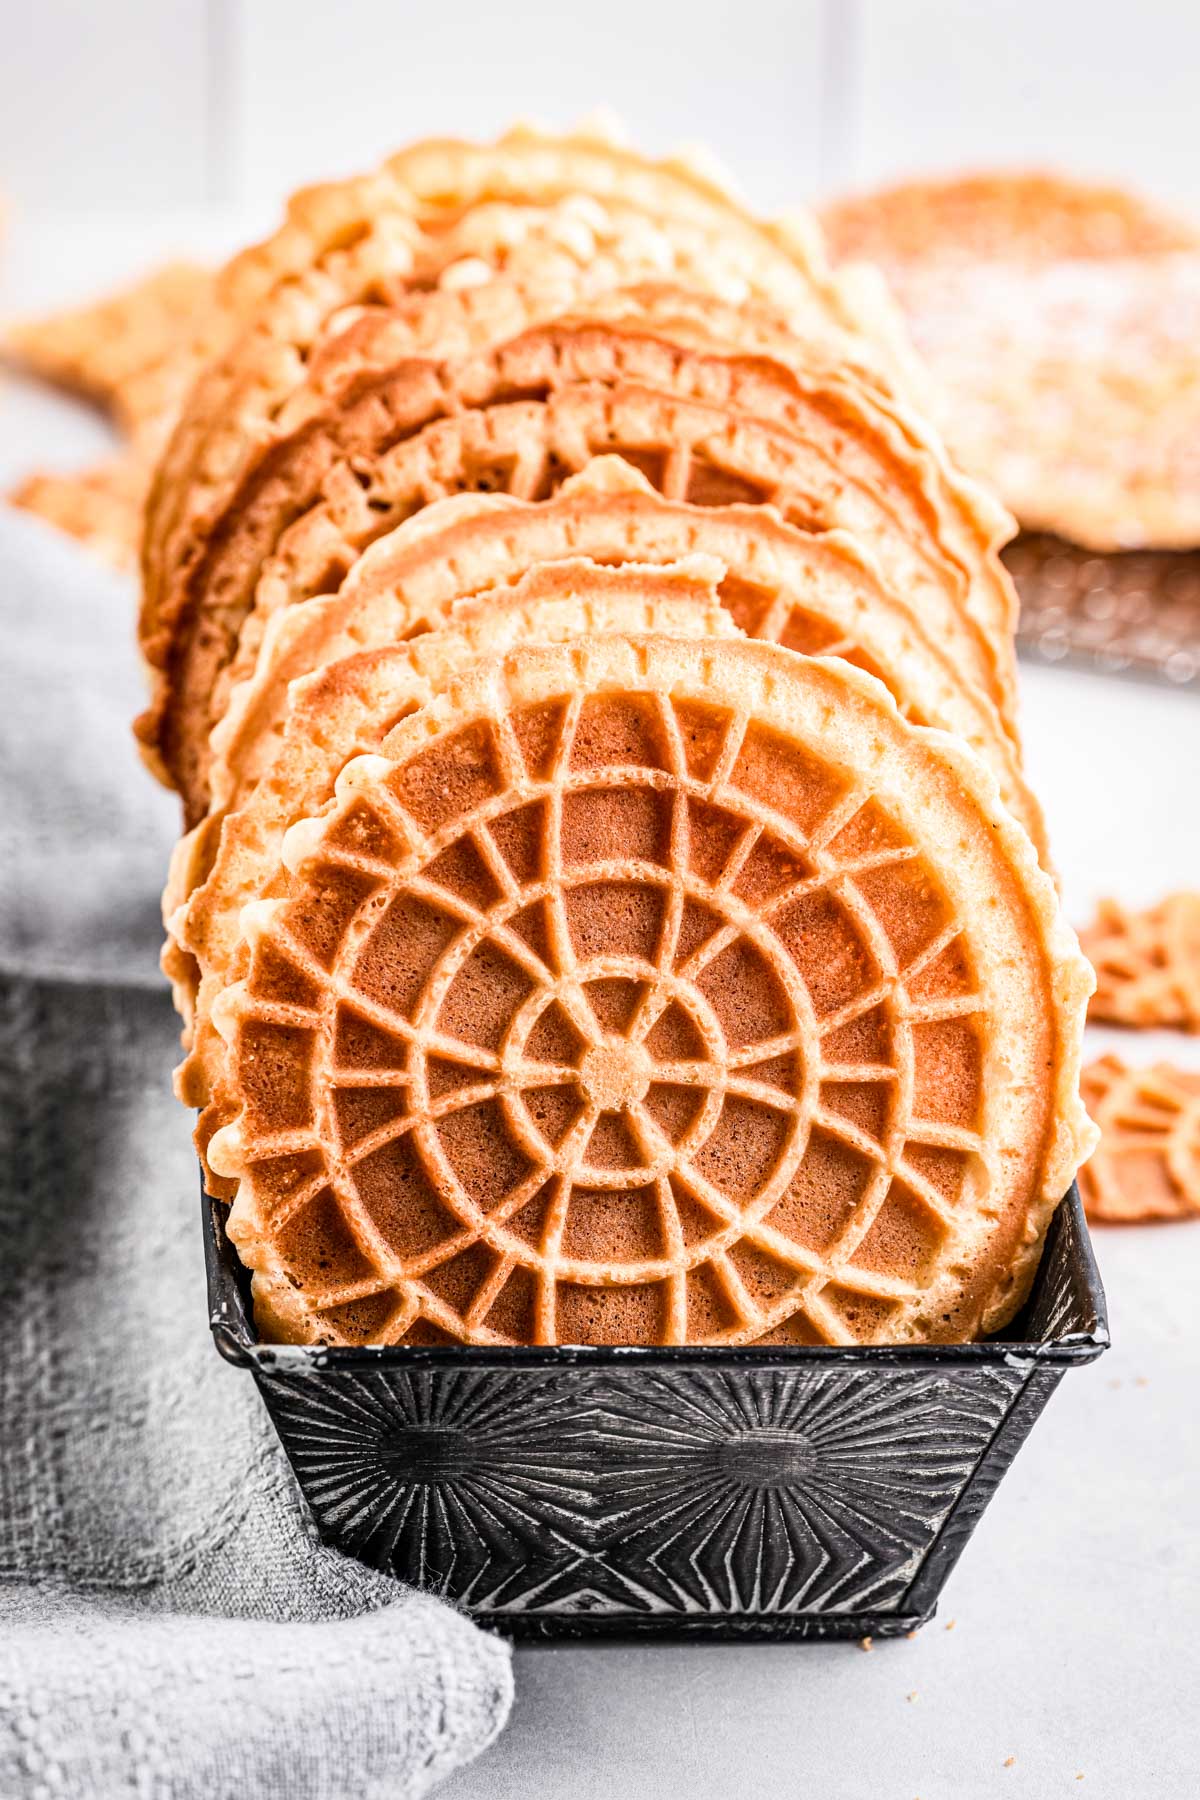
Pizzelles are traditional Italian cookies that originated in the Abruzzo region of Italy. They're thin, wafer-like cookies that are made by pressing a lightly sweetened batter between two hot patterned plates. They're light and crisp with an intricate pattern, often a snowflake design or family crest.
These thin wafers are considered the oldest known cookie on record and are popular during Christmas, Easter holidays and other special occasions.
Pizzelles require a special iron to press them to get that pretty pattern and signature thin texture. Unfortunately they just don't work any other way. I've tried making them on the stovetop, in the oven and even in a waffle maker, but it isn't the same. The texture is off and you lose the decorative shape.
Every pizzelle maker works a little differently, so the time it takes to get them perfectly golden brown may vary slightly.
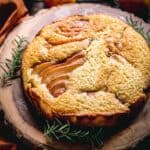
Want more classic Italian dessert recipes? Try my cozy Pignoli Cookies, this rich Torta Caprese, or my traditional Italian Ricotta Pie that's perfect for the holiday season.
Why You'll Love This Pizzelle Recipe
- A classic Italian recipe tested and perfected by a chef!
- An easy batter made with only 6 ingredients.
- Can be flavored with traditional anise, vanilla or other variations.
- Thin, crisp and not too sweet.
- A pizzelle iron guarantees the best texture, a nice pattern and consistent results.
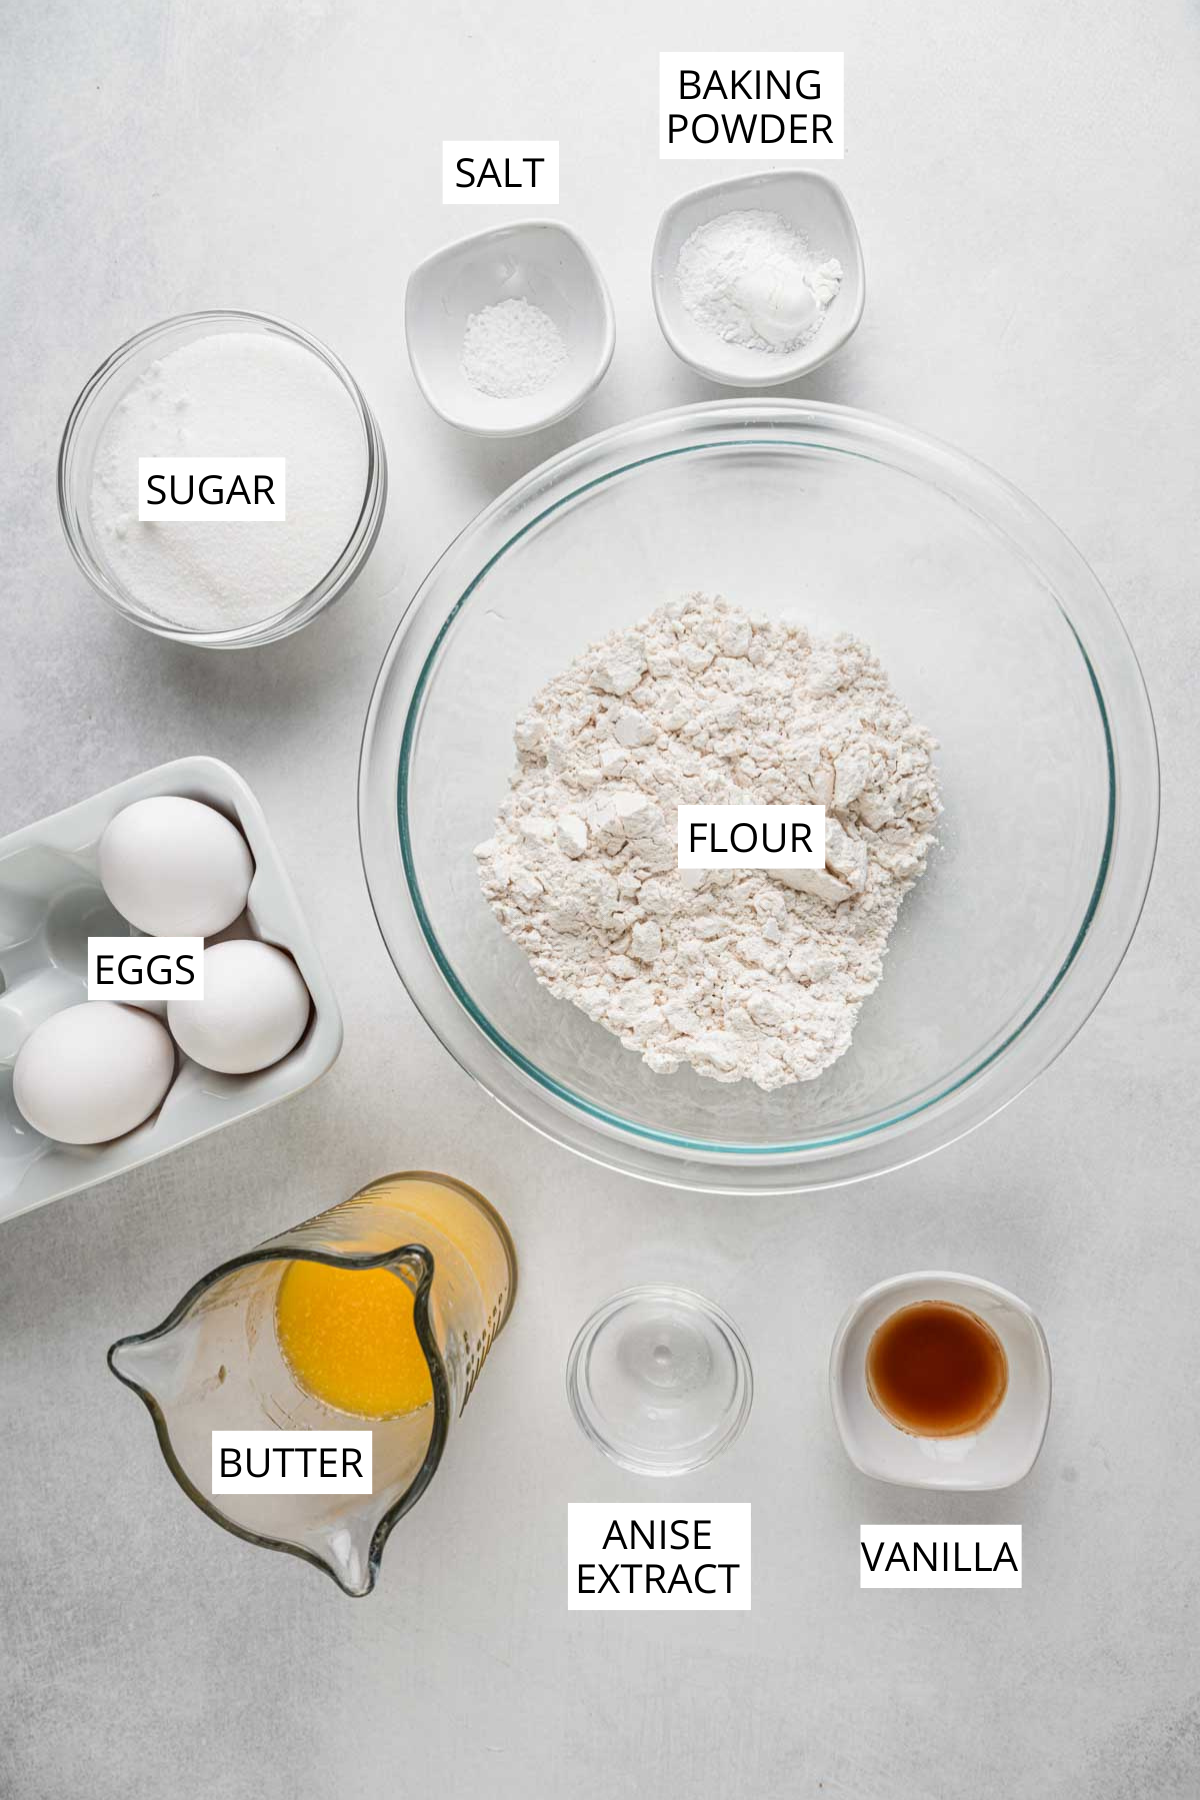
Pizzelle Cookie Recipe Ingredients
Flavorings - Anise extract is traditional, but you can replace it with additional vanilla extract, almond extract, Fiori di Sicilia, lemon zest, orange zest, cinnamon or a combination. You can add anise seed in addition to the anise flavoring for an even more pronounced anise pizzelle.
Butter - Skip the salt if using salted butter. Melt the butter fully so it blends smoothly into the batter.
Baking powder - Make sure your baking powder is fresh so the cookies rise just enough to stay crisp.
Eggs - Use good quality pasture raised eggs for the best color and flavor.
Granulated sugar - Don't use less sugar. It's important for caramelization which gives the pizzelles their classic texture.
Salt - I use Diamond Crystal Kosher salt, which is less salty than other brands. You may need to adjust to taste.
*Find the full ingredient list in the recipe card below!
Helpful Equipment
- This is this pizzelle maker I use at home.
- Large mixing bowl
- Small mixing bowl
- Electric mixer
- Wire rack
- Cookie scoop
- Baking sheet
- Rubber spatula
How to Make Pizzelles


- In a small bowl, whisk together the flour, baking powder and salt.
- In a separate large bowl, beat the eggs and sugar with an electric mixer until pale and thick, about 2-3 minutes.
- Add the melted butter, vanilla and anise, then mix until smooth.
- Use a rubber spatula to gently fold in the dry ingredients until just combined, being careful not to overmix. The cookie batter should be spoonable and thicker than pancake batter but thinner than cookie dough.
Pro Tip: Let the batter rest for a few minutes to help it thicken slightly, which makes it easier to portion.


- Preheat a pizzelle iron according to the manufacturer's instructions.
- Drop small spoonfuls of batter, about a heaping teaspoon, onto the center of each pizzelle iron plate. You may need to adjust the amount based on your iron size.
- Close and cook according to the manufacturer's directions or until lightly golden, about 45 seconds to 1 minute depending on your machine. Adjust the timing as needed for your preferred level of color and crispness.
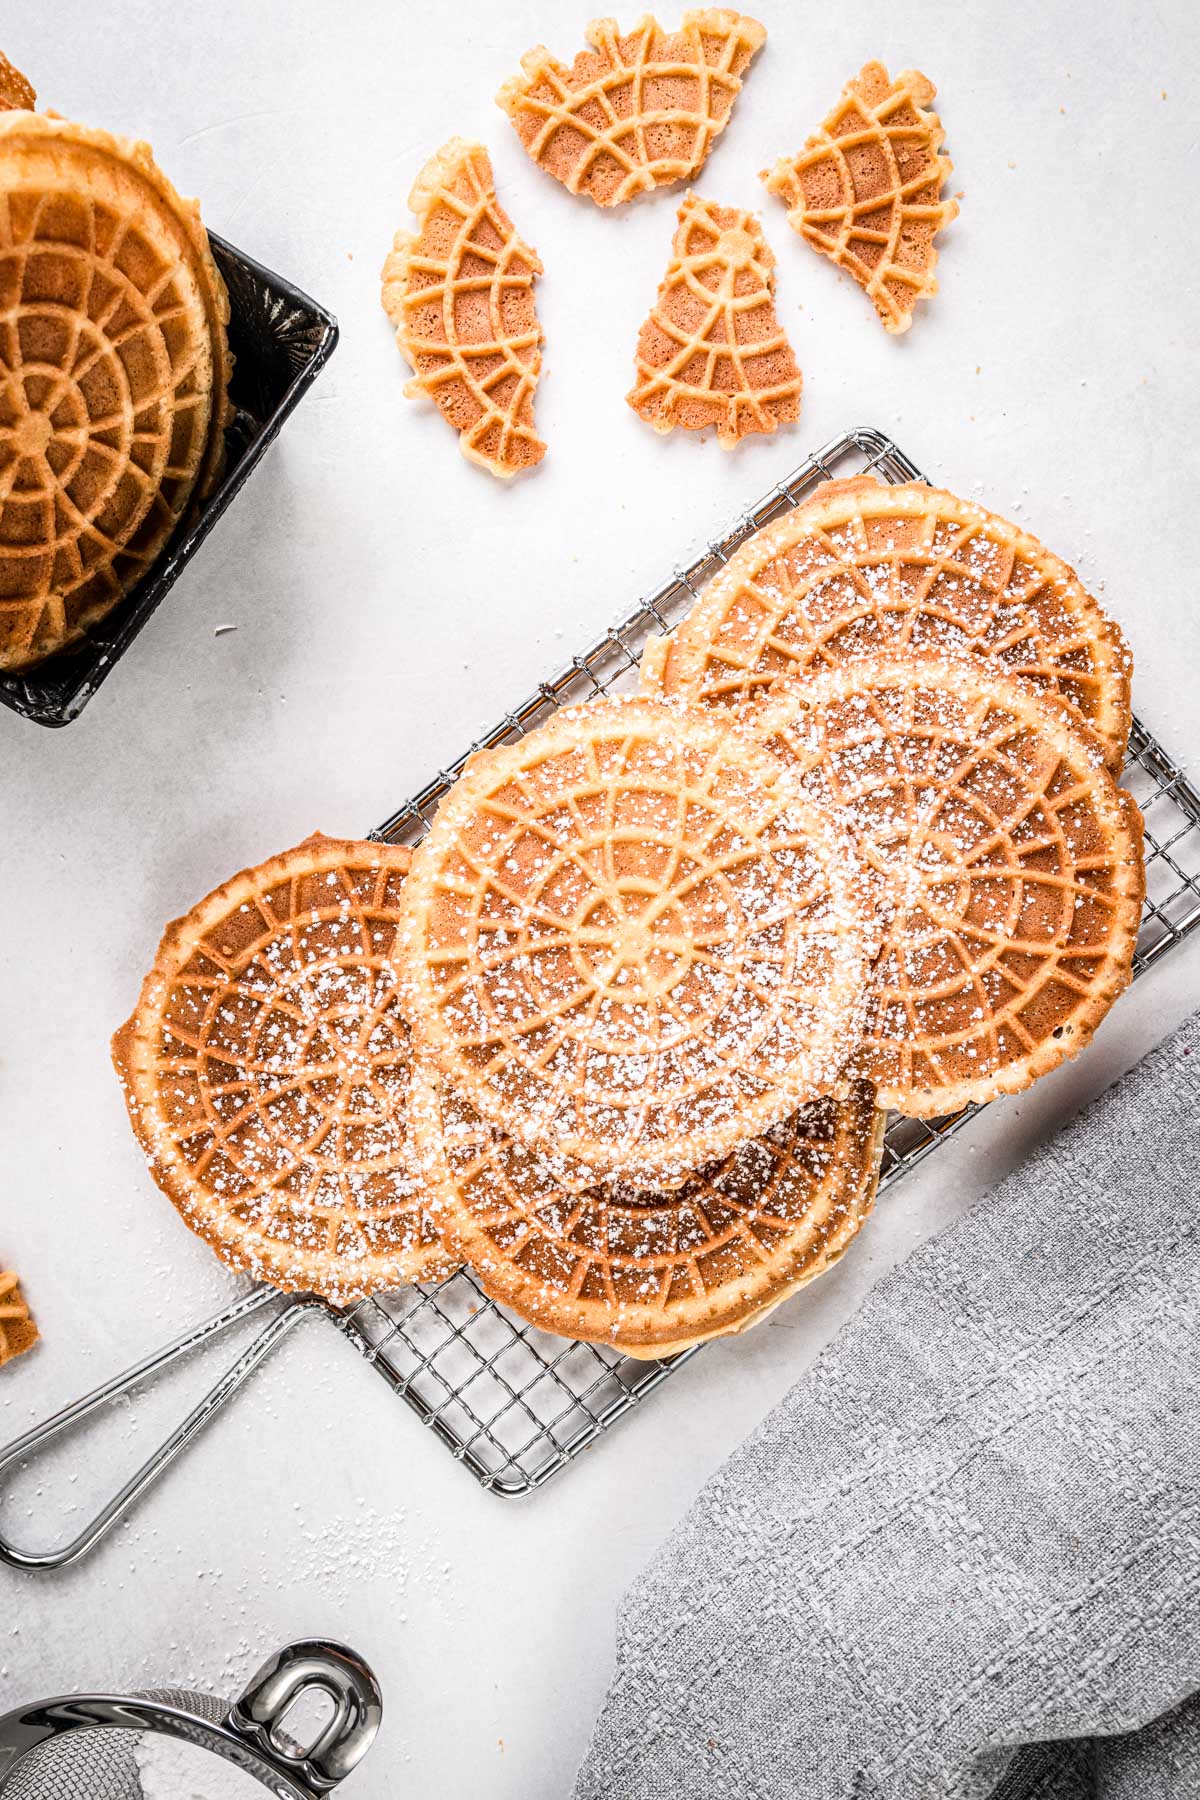
- Transfer the warm pizzelles to a wire rack and let them cool completely. They'll crisp up as they cool. Dust cooled pizzelles with powdered sugar if desired. If they're still warm, the sugar will melt.
Pro Tip: If you want to shape them into mock cannoli shells, roll the warm pizzelle around a wooden dowel before they cool and harden. Fill them with homemade cannoli cream for a special faux cannoli!
Pizzelle Cookie Recipe Tips
- A proper pizzelle iron is necessary. Every model heats differently so the timing may vary.
- Let the cookies cool uncovered for several hours before storing so they stay crisp.
- If they soften, place them on a baking sheet in a 250°F oven for 3-4 minutes, then cool again completely.
- For the most even results, measure the amount of batter needed to make the perfect shape, then to scoop the same amount of batter each time.
- If your iron creates rough edges, trim them while the cookies are still warm.
Pizzelle Recipe Variations
- Swap the vanilla and anise for almond extract to make an almond pizzelle.
- Sprinkle a little cinnamon or citrus zest into the batter for a different flavor.
- Shape warm pizzelles into cones or cups for serving with ice cream, or turn them into pizzelle cannoli shells.
- Add anise seeds for an extra strong black licorice profile.
- For a chocolate pizzelle recipe, replace 1 tablespoon of flour with cocoa powder.
Serving Pizzelle Cookies
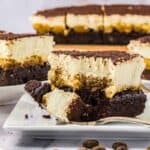
Serve pizzelles with an assortment of other cookies and desserts like these crispy Chocolate Espresso Shortbread Cookies, spiced Chai Snickerdoodles and this creamy Ricotta Cheesecake.
They're lovely served with a simple Italian Affogato for dipping. They also pair well with ice cream, a little powdered sugar or just enjoyed plain with coffee.
How to Store Pizzelles
Store pizzelles in a single layer inside an airtight container at room temperature for up to a week. If you want to keep them longer, wrap tightly and freeze. You can flash freeze them on a cookie sheet first so they don't stick together.
If they lose crispness, warm them briefly in the oven at 250°F and let them cool on a cooling rack.
FAQs
A proper pizzelle press or iron is the only way to achieve the thin Italian waffle cookies and their intricate designs. A waffle iron or stovetop method won't produce the same result.
They may need a longer cooking time or more airflow while cooling. Make sure to cool in a single layer on a wire rack so steam can escape to achieve those crisp pizzelles.
Spray the plates with cooking spray before adding the batter. Most electric pizzelle irons don't require cooking spray, but older iron models sometimes do. Adding too much batter can also cause sticking.
Using too much batter can cause overflow. Start with a little bit and adjust the amount of batter until you find what works best with your iron.
Traditional Italian pizzelles are flavored with anise. You can also use almond extract, citrus zest, cocoa, or anise oil for different flavor profiles. Keep the same batter consistency for the best results.

Did you LOVE this recipe? Please leave a star ⭐️ rating and comment and tag your creations @ColeyCooks on Instagram!
Want to Save This Recipe?
Enter your email & I'll send it to your inbox.
By submitting this form, you consent to receive emails from Coley Cooks.

Best Pizzelle Recipe
Ingredients
- 1 ¾ cups all-purpose flour
- 2 teaspoons baking powder
- ¼ teaspoon kosher salt
- 3 large eggs
- ¾ cup granulated sugar
- ½ cup 1 stick unsalted butter (1 stick), melted and cooled
- 1 teaspoon pure vanilla extract
- ½ teaspoon anise extract optional
Instructions
- Preheat a pizzelle iron according to the manufacturer's instructions.
- In a small bowl, whisk together the flour, baking powder, and salt.1 ¾ cups all-purpose flour, 2 teaspoons baking powder, ¼ teaspoon kosher salt
- In a separate large bowl, beat the eggs and sugar with an electric mixer until pale and thick, about 2-3 minutes.3 large eggs, ¾ cup granulated sugar
- Add the melted butter, vanilla, and anise , then mix until smooth.½ cup 1 stick unsalted butter, 1 teaspoon pure vanilla extract, ½ teaspoon anise extract
- Use a rubber spatula to gently fold in the dry ingredients until just combined, being careful not to overmix. The batter should be spoonable and thicker than pancake batter but thinner than cookie dough.
- Drop small spoonfuls of batter (about a heaping teaspoon) onto the center of each pizzelle iron plate. You may need to adjust the amount based on your iron size.
- Close and cook according to the manufacturers directions or until lightly golden, about 45 seconds to a minute, depending on your machine. Adjust the timing as needed for your preferred level of color and crispness.
- Transfer the warm pizzelles to a wire rack and let cool completely. They'll crisp up as they cool. Dust with powdered sugar if desired.
Notes
- A proper pizzelle iron is necessary. Every model heats differently so the timing may vary.
- Let the cookies cool uncovered for several hours before storing so they stay crisp.
- If they soften, place them on a baking sheet in a 250°F oven for 3-4 minutes, then cool again completely.
- For the most even results, measure the amount of batter needed to make the perfect shape, then to scoop the same amount of batter each time.
- If your iron creates rough edges, trim them while the cookies are still warm.

My hats off to those that have perfected the timing and correct amount of batter! They are delicious and I will add more anise flavoring, we love that flavor!
It takes a few tries to get it right and depends on your pizzelle iron, but once you get it, write down what you did so you can replicate it again next time. I'm glad you like the recipe!