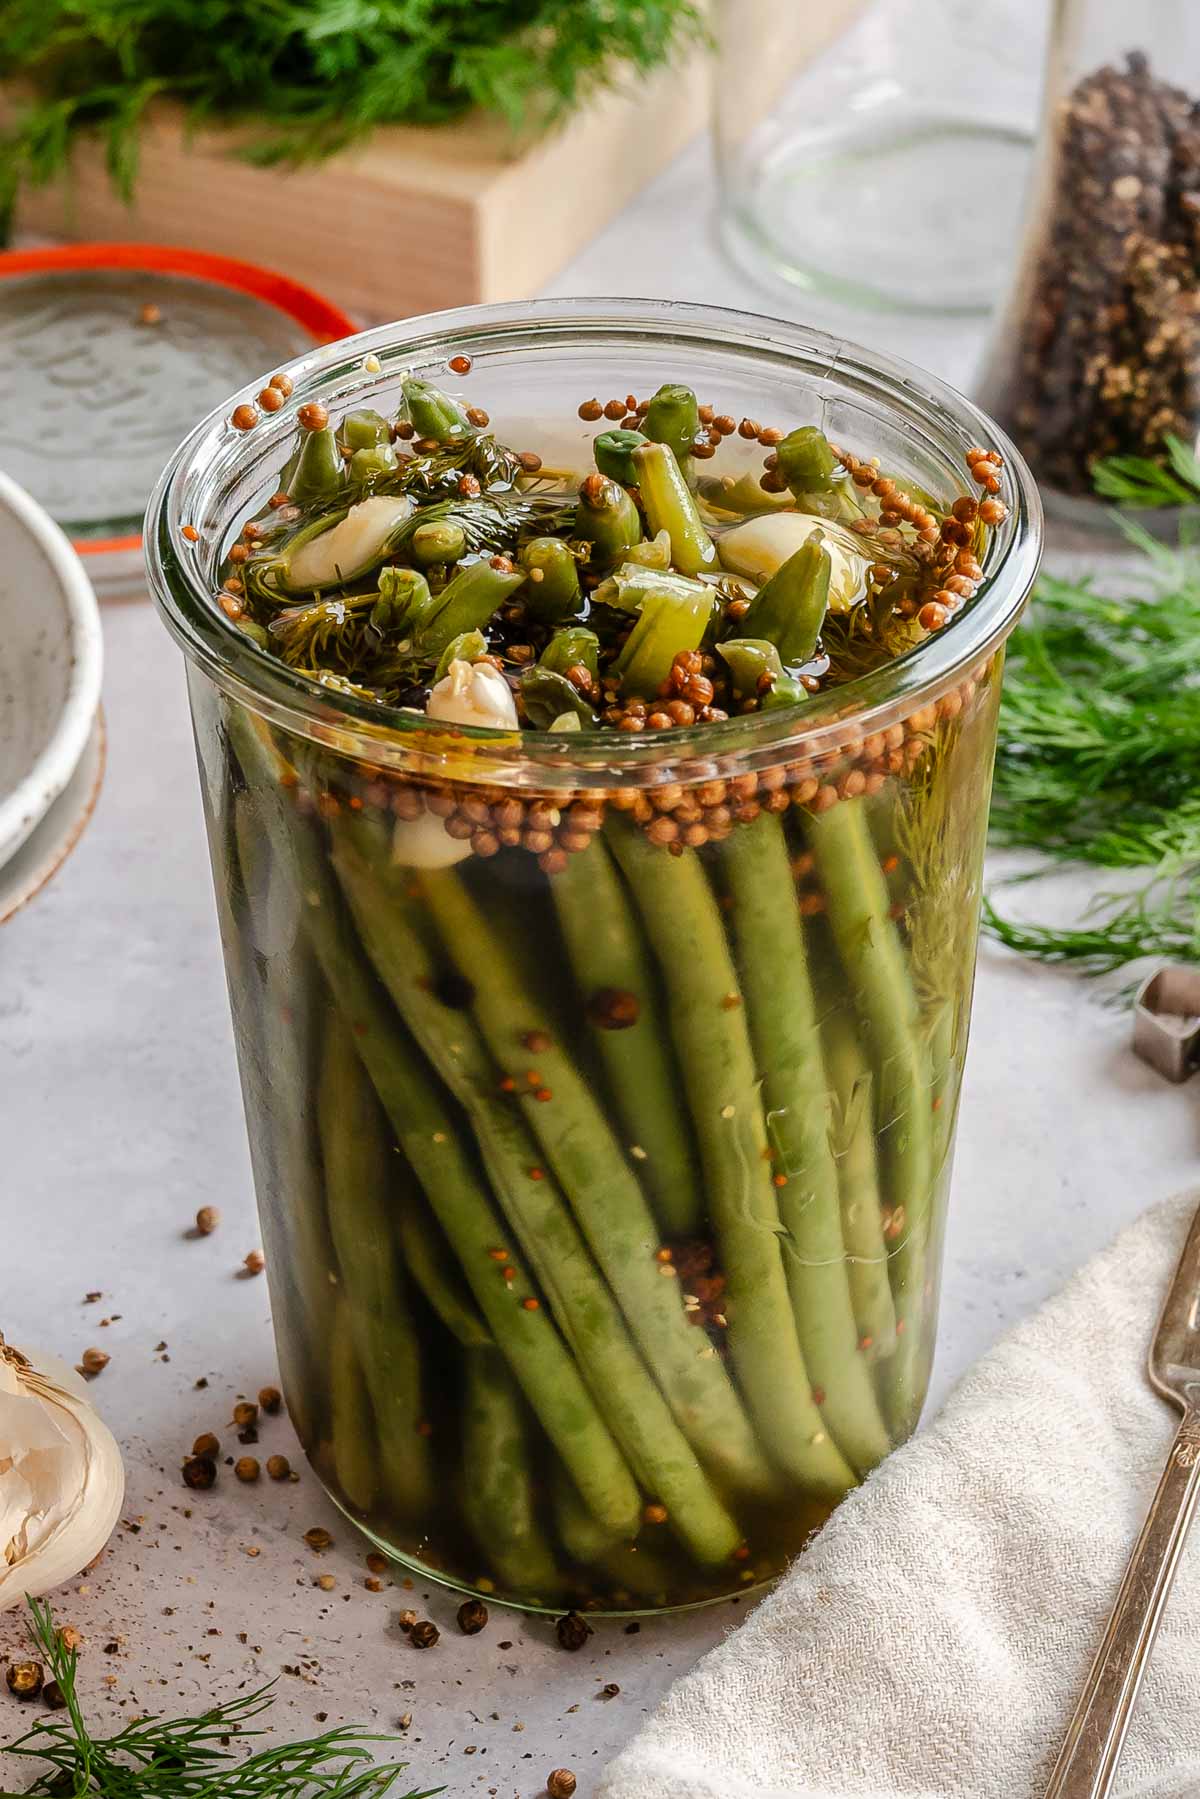
Easy Pickled Green Beans
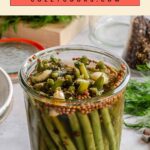
These pickled green beans are one of the easiest and most rewarding recipes you can make at home. The quick refrigerator pickling method skips canning and blanching, but still results in perfectly crisp, tangy, dilly beans in as little as 8 hours. Just pack a jar with beans, pour over the hot brine, and let them rest in the fridge!
This post may contain affiliate links.
Easy refrigerator pickles, no canning needed
I love making quick refrigerator pickles and have a few batches in my fridge at all times.
Refrigerator pickles are a quick pickling method that skips the traditional water bath canning process. Instead of sealing jars for pantry storage, these pickles are kept in the refrigerator, hence the name.
I never bother with canning pickles since these are so much easier and keep for over a month. No blanching, sterilizing, or processing needed. Just pour the brine over the veg and pop them in the fridge. Done.
What Are Dilly Beans?
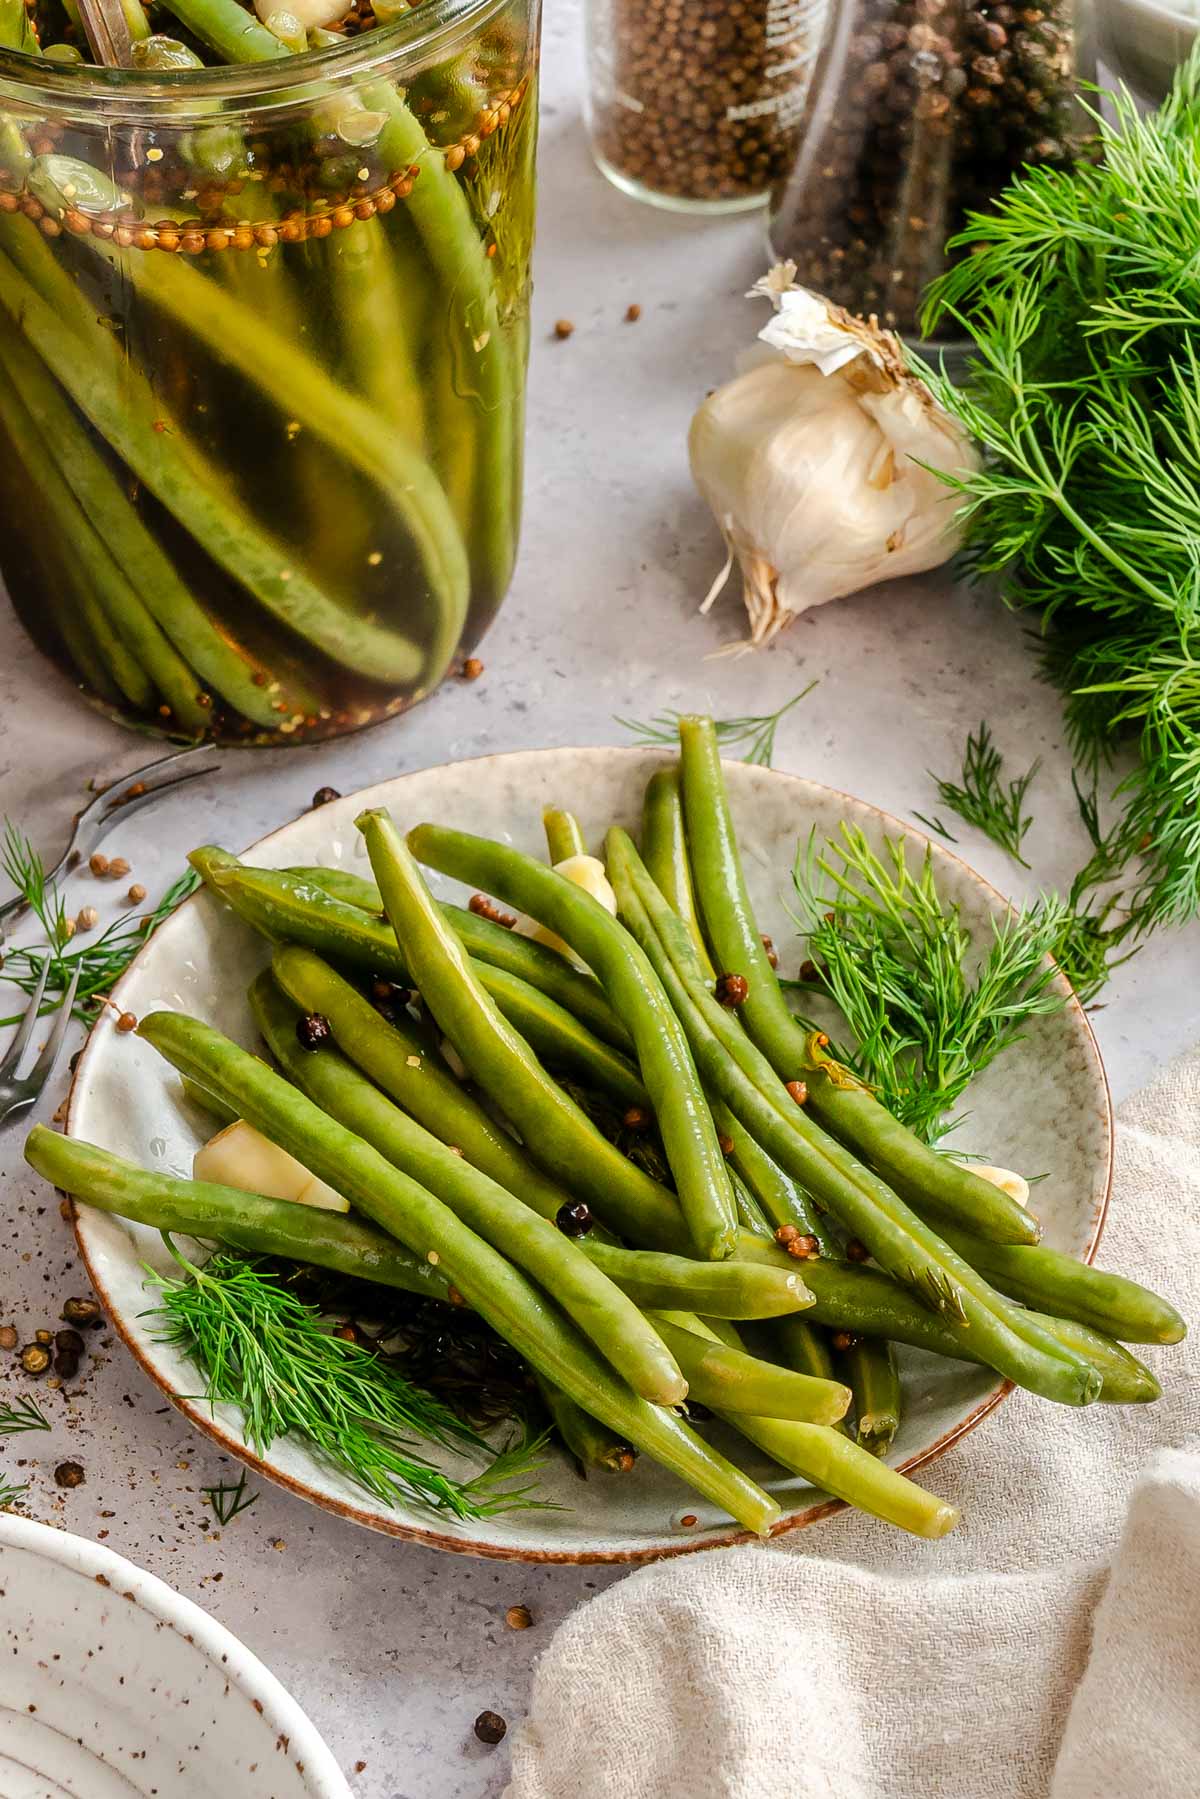
Dilly beans are green beans that are pickled in a dill vinegar brine. They are very common in Vermont and the Southern United States.
Like most quick pickles, homemade pickled green beans are so easy to make and adapt. You can easily adjust the sweetness, tartness, and flavor profile depending on what you're going for. Consider this a base recipe that you can play around with and have fun with.
This recipe is very similar to the garlicky dill brine I use for my cucumber quick pickle recipe. It has the same seasonings - garlic, fresh dill, coriander, mustard seed, and whole black peppercorns to give it that classic dilly bean flavor, only adjusted slightly for fresh green beans.
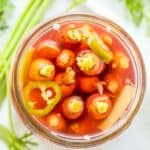
These aromatics can easily be swapped out for a completely different flavor profile, and you can also add sliced jalapenos or whole dried chilies for extra spice.
A lot of pickled green bean recipes call for blanching the beans first, but this recipe skips it. If they're not being canned, blanching isn't necessary.
The trick is to pour a hot brine over the beans to soften them just enough for the perfect tender crisp snap. It also helps the brine to penetrate.
Remember to pack the jars tightly so the beans stay fully submerged in the brine. This helps them pickle more evenly and prevents discoloration.
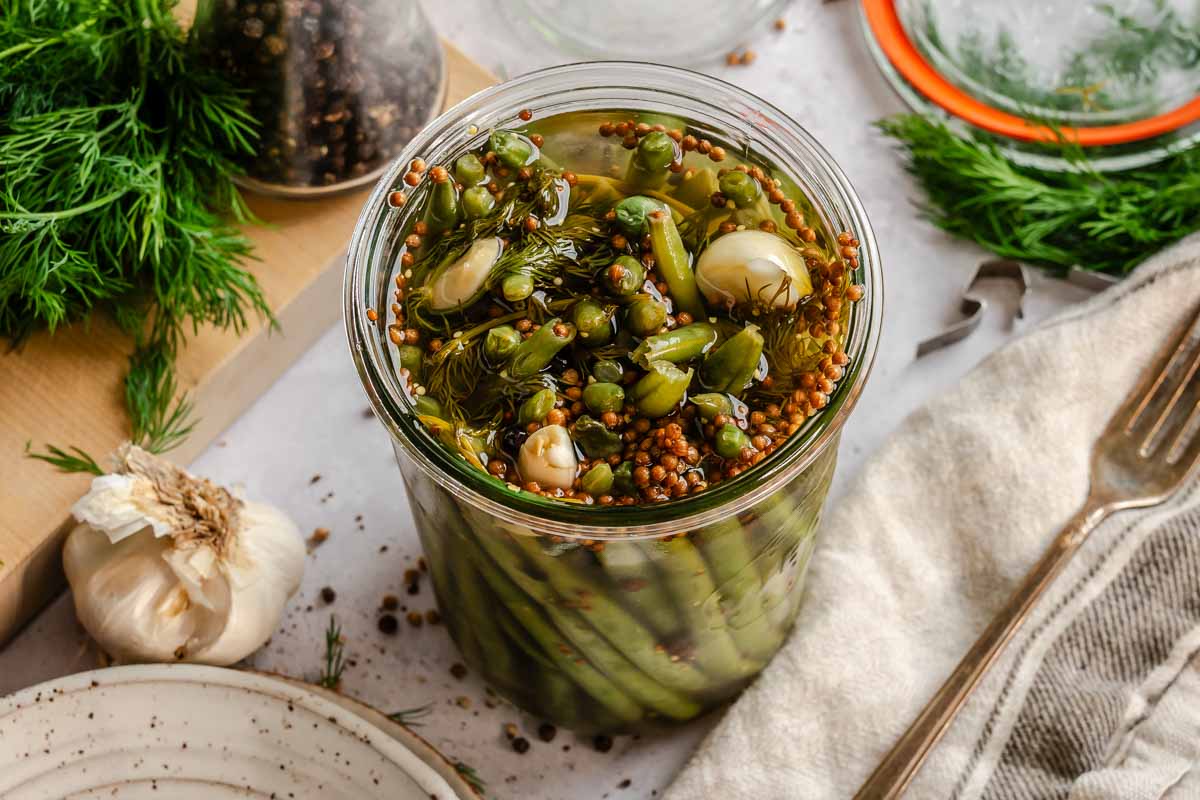
The green beans will be great after 8 hours, sufficiently pickled within 12-24 hours, but they're best after about 2-3 days.
These are my absolute favorite garnish for a Bloody Mary and they remind me of Mr. B's restaurant in New Orleans, where the bloodies are garnished with pickled green beans.
They're so simple, but so good, and there's just nothing like having a cocktail that automatically comes with a snack!
There are lots of other ways to enjoy these aside from Bloody Marys. They're great on their own as a snack (I love sneaking a few out of the fridge mid-day or sometimes midnight), but they're also great alongside sandwiches and fried food just like pickled cucumbers.
I also love adding them to charcuterie plates or antipasto platters in place of, or along with giardiniera.
Want more green bean recipes? Try these French classic green beans amandine, these tender crisp green beans with shallots and pancetta, or this light and fresh Italian potato salad with green beans.
Why You'll Love These Pickled Green Beans
- These skip the fussy canning process and are super easy to make!
- They're endlessly adaptable and customizable with different spices and aromatics.
- A hot brine softens the beans just enough while still having the perfect crunch.
- They'll get more pickled over time and stay crisp in the fridge for over a month!
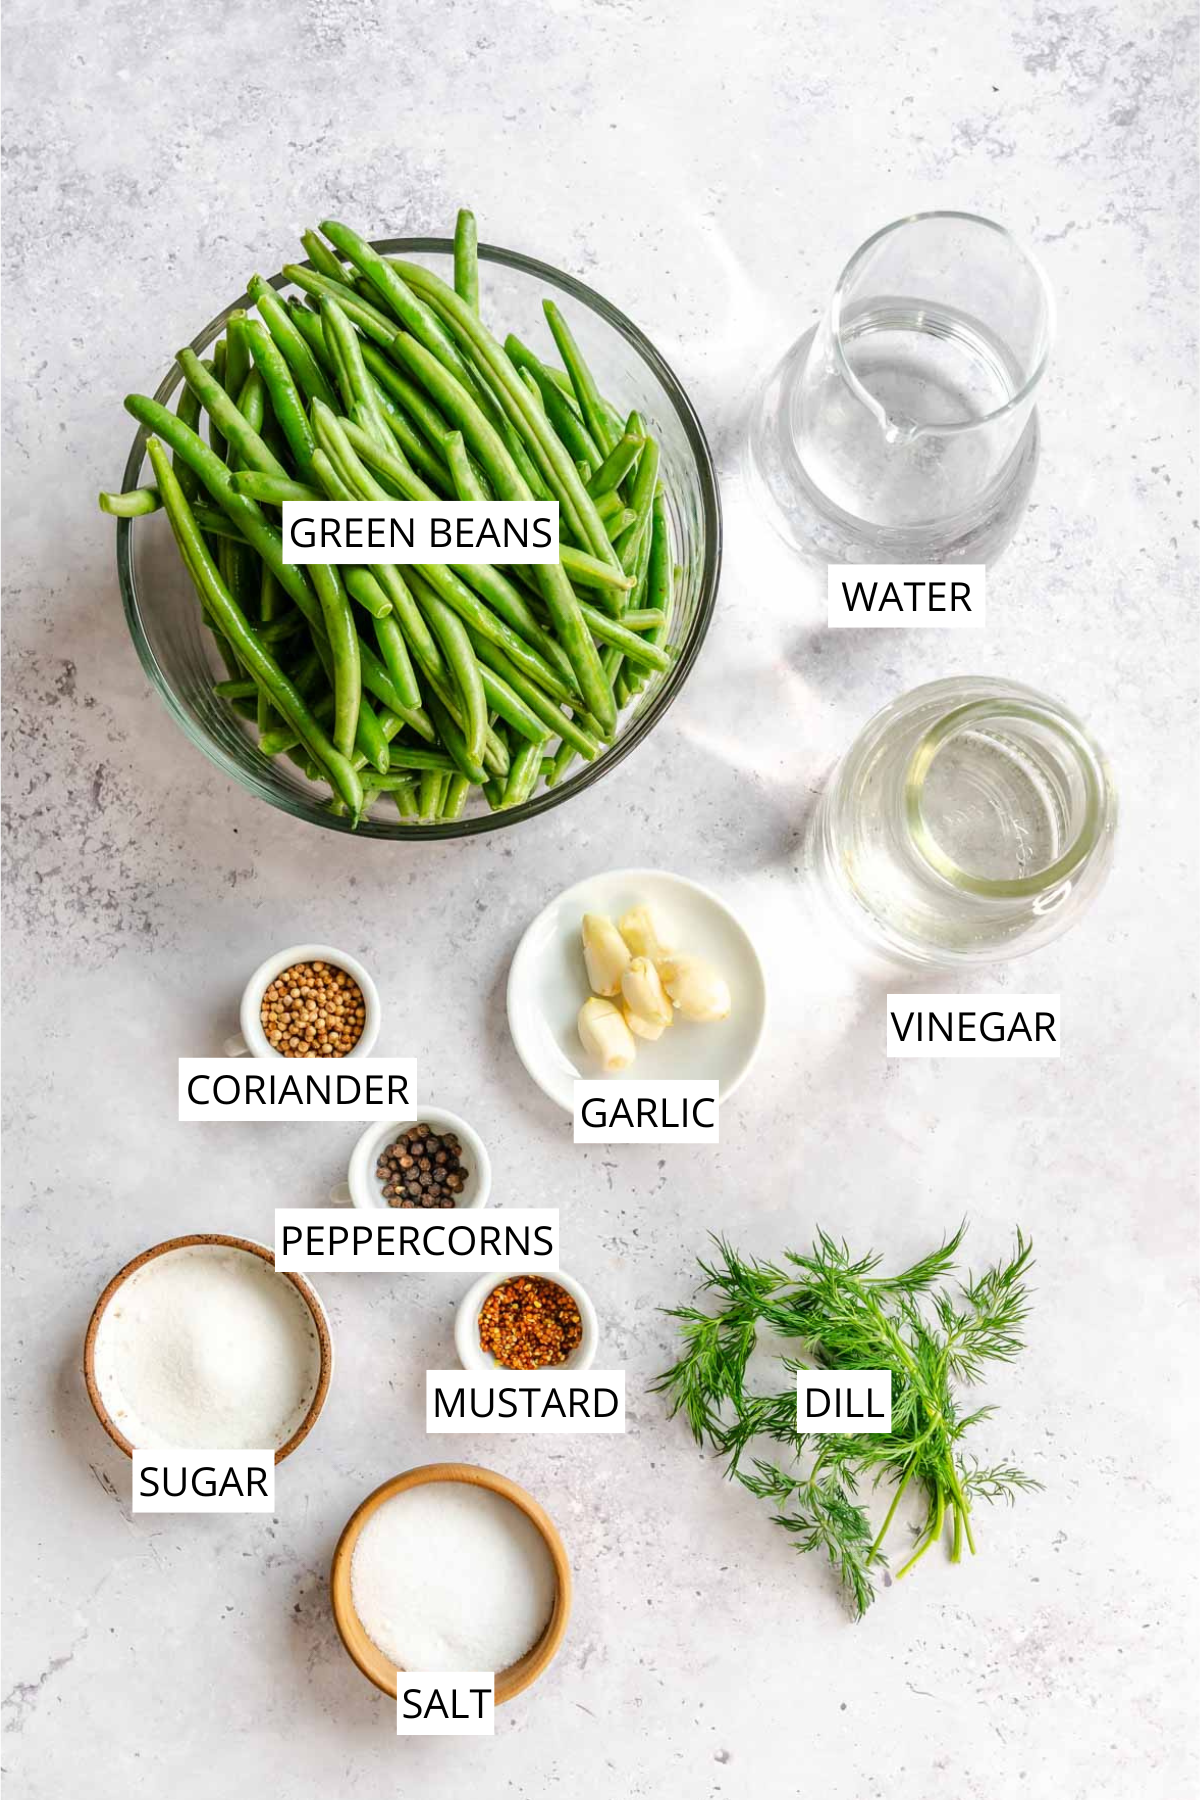
Ingredients for Dilly Beans
Green beans - Fresh green beans are a must - frozen or canned green beans will not work. Thin green beans, such as haricots verts, work better than thick green beans, and they take slightly less time to pickle.
Vinegar - White vinegar is classic, neutral, and sharp. White wine vinegar is a bit softer and has more depth. Rice vinegar, champagne vinegar, and apple cider vinegar also work. Avoid vinegars with color such as balsamic and sherry vinegar.
Dill - Fresh dill is a must for that classic dilly bean flavor. If you can't find fresh, dried dill or even dill seeds can work.
Garlic - Use whole fresh garlic cloves for a nice pungent bite. I like to lightly crush them with the side of my knife or slice them thickly, but you can also use whole garlic cloves for a milder flavor. Garlic may turn blue or green from the acidity, but don't worry, it's totally normal and safe to eat!
Spices - Coriander seeds, mustard seeds, black peppercorns, and red pepper flakes season the brine without it tasting too strong.
*Find the full ingredient list in the recipe card below!
Helpful Equipment
- Mason jar (quart jar)
- Small saucepan
How to Make Pickled Green Beans
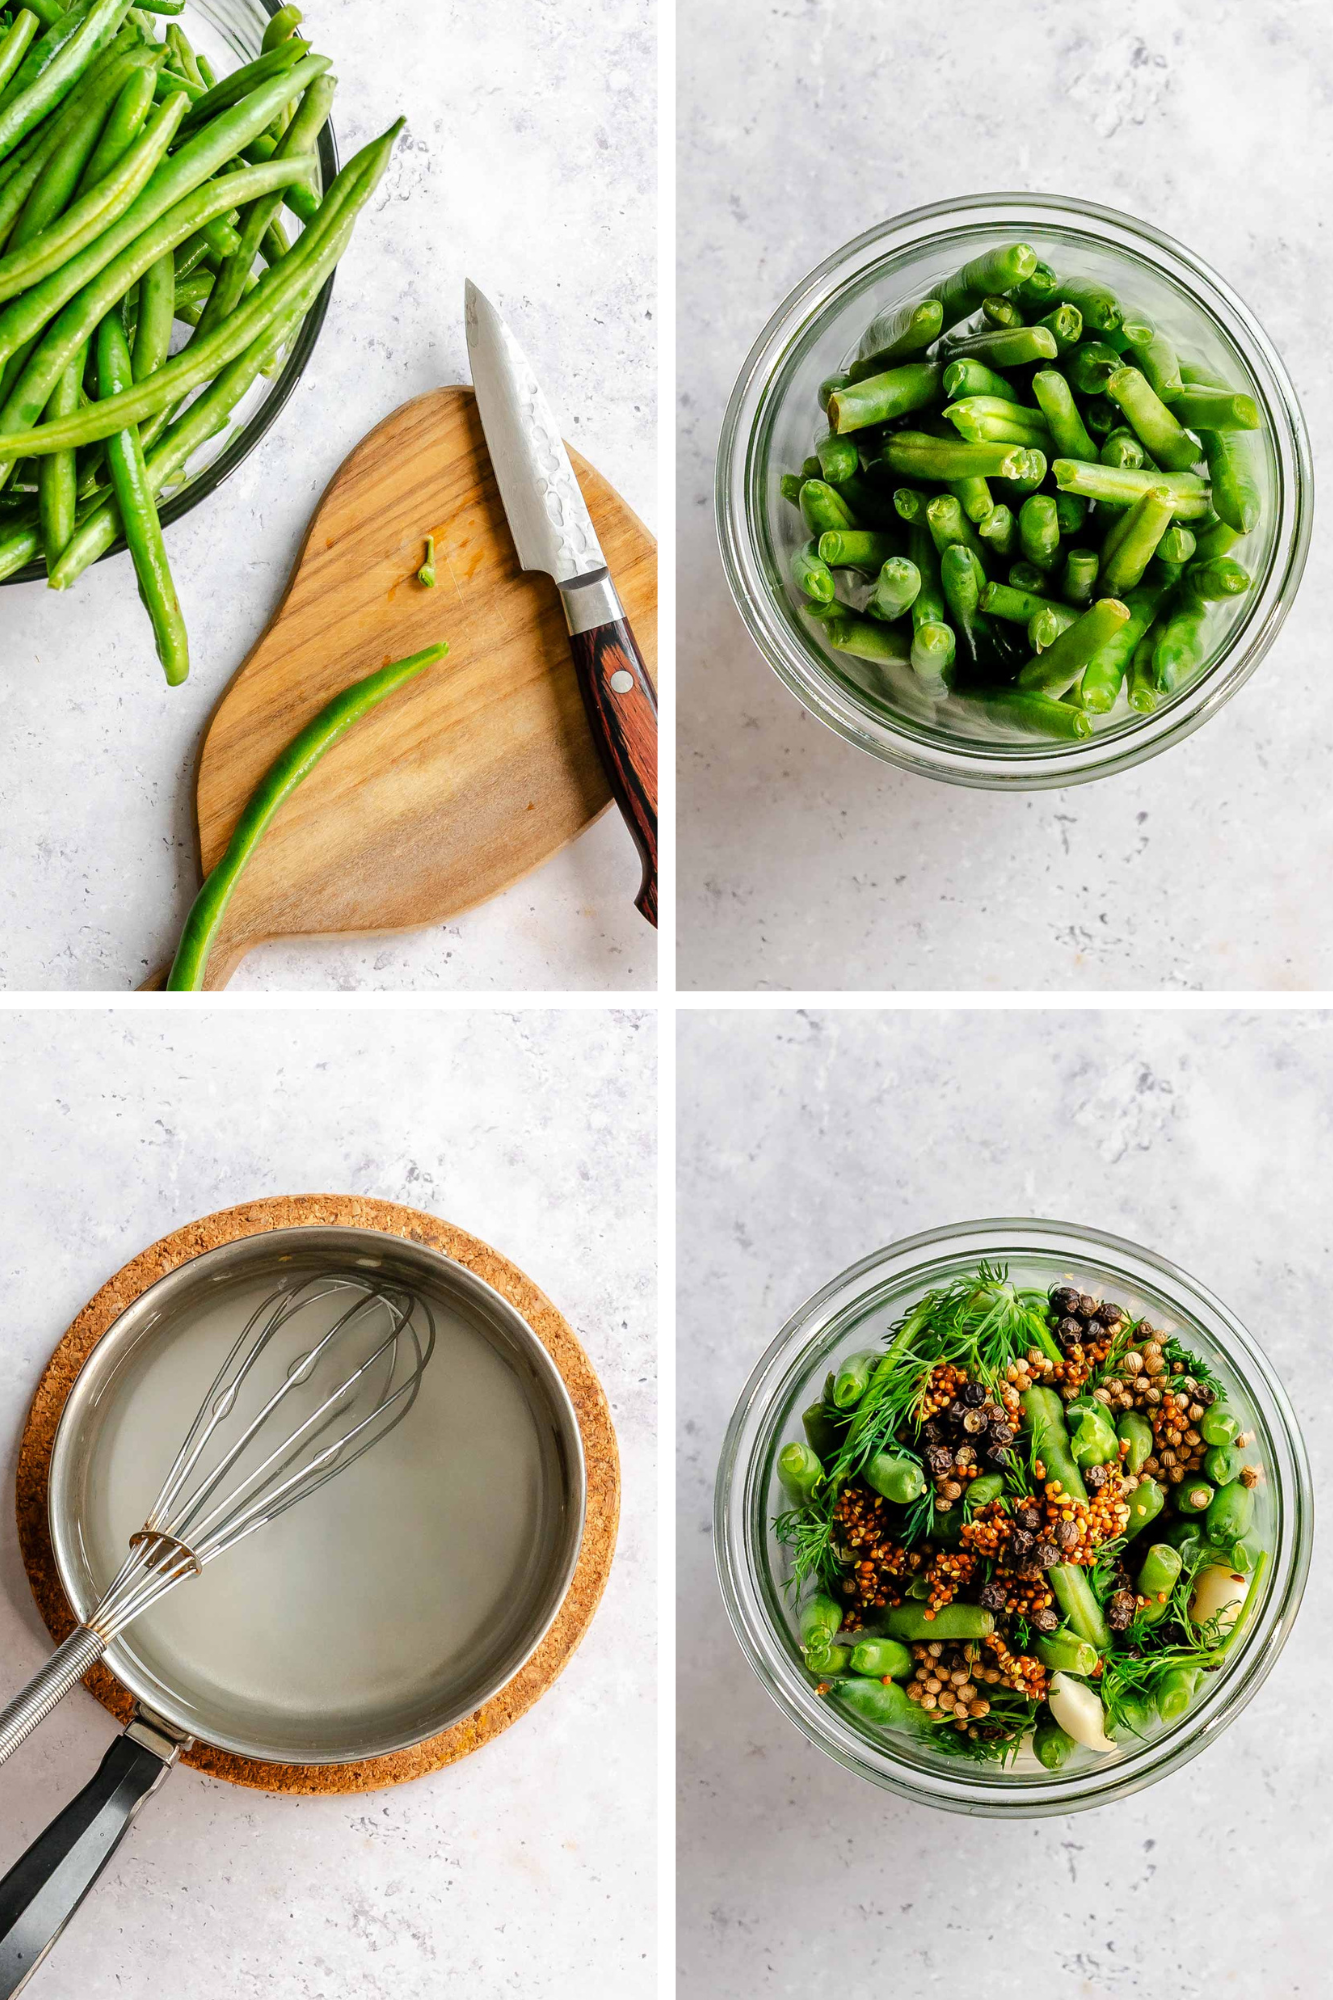
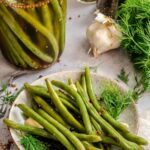
- Trim the stem ends from the green beans and cut them if needed so they fit neatly inside a quart jar. Pack them tightly into the jar, standing upright so they stay submerged.
- In a small saucepan, combine the vinegar, water, sugar, and salt. Bring to a simmer and stir until the salt and sugar are fully dissolved.
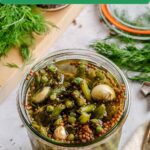
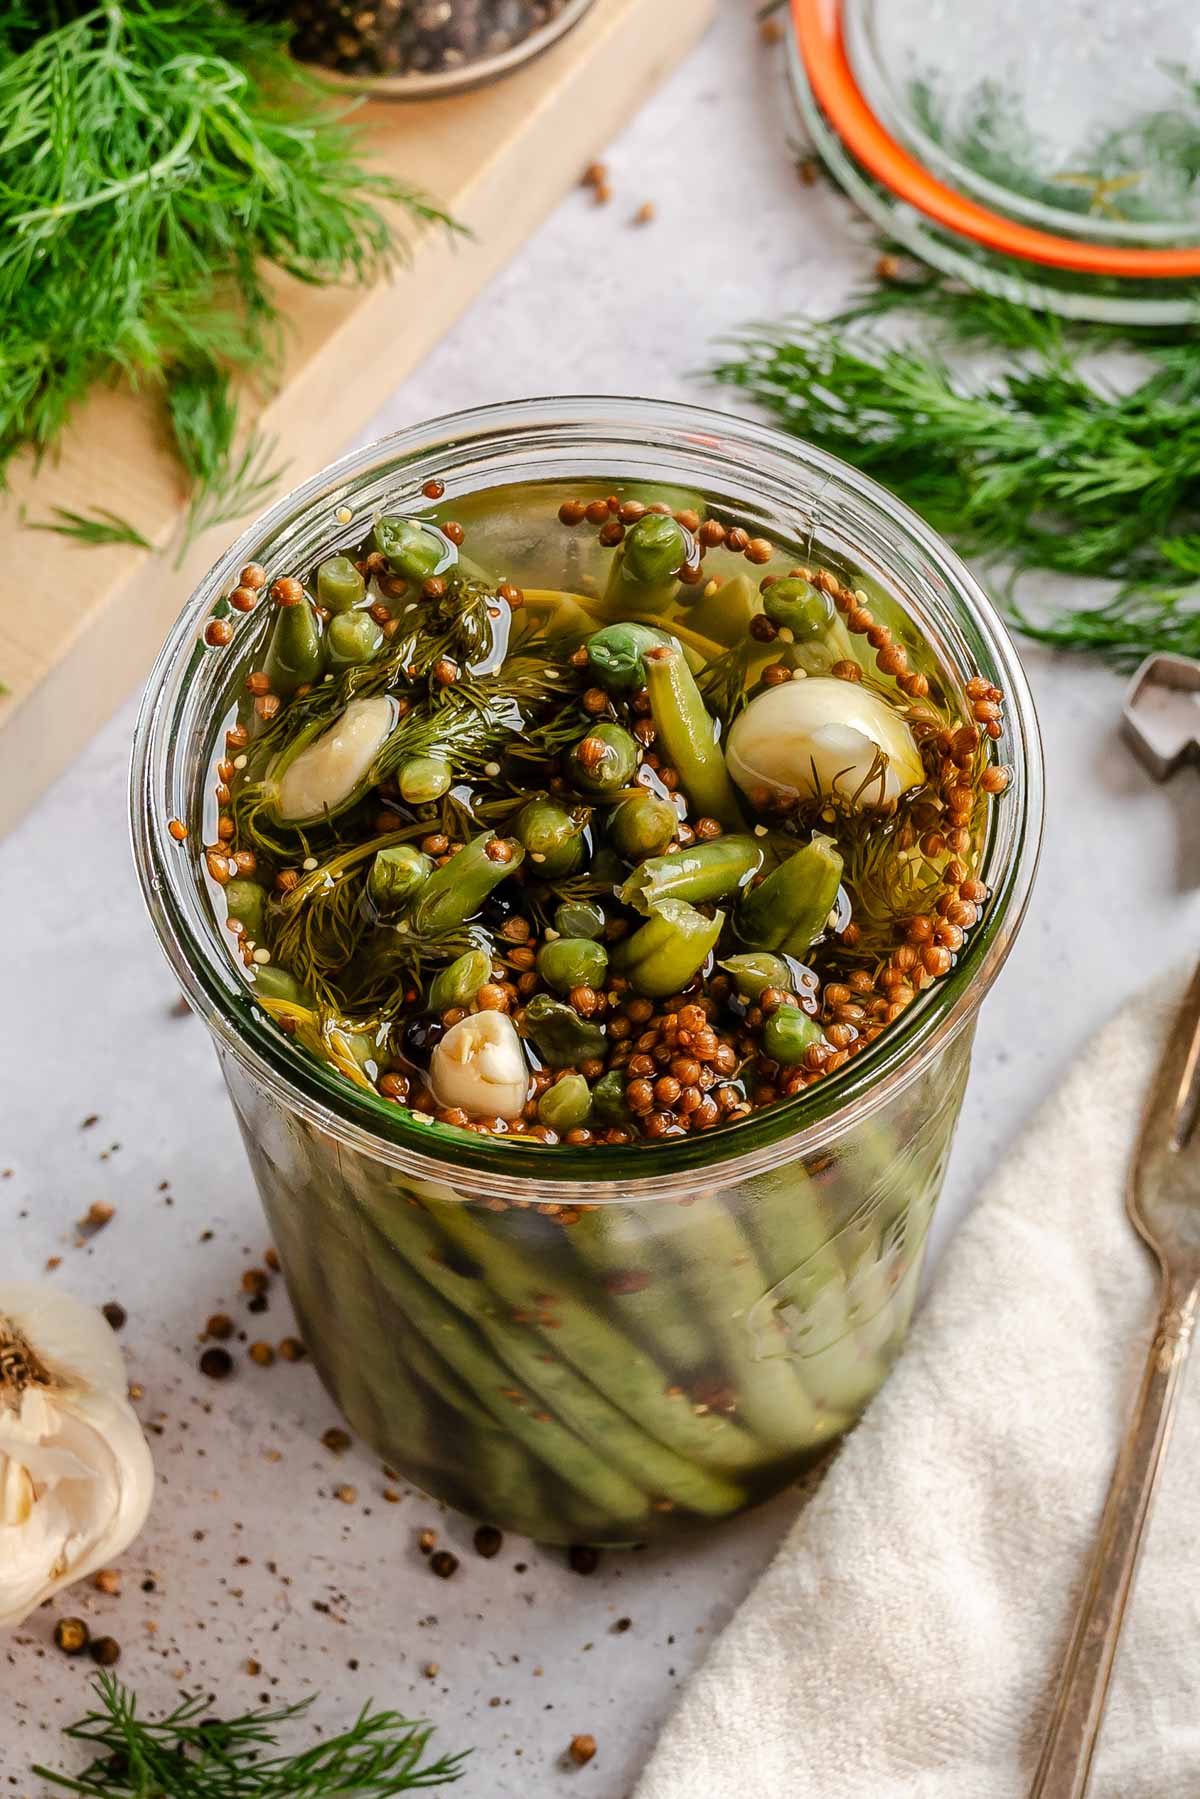
- Tuck the garlic and dill throughout the beans, then sprinkle in the coriander seed, mustard seed, peppercorns, and red pepper flakes.
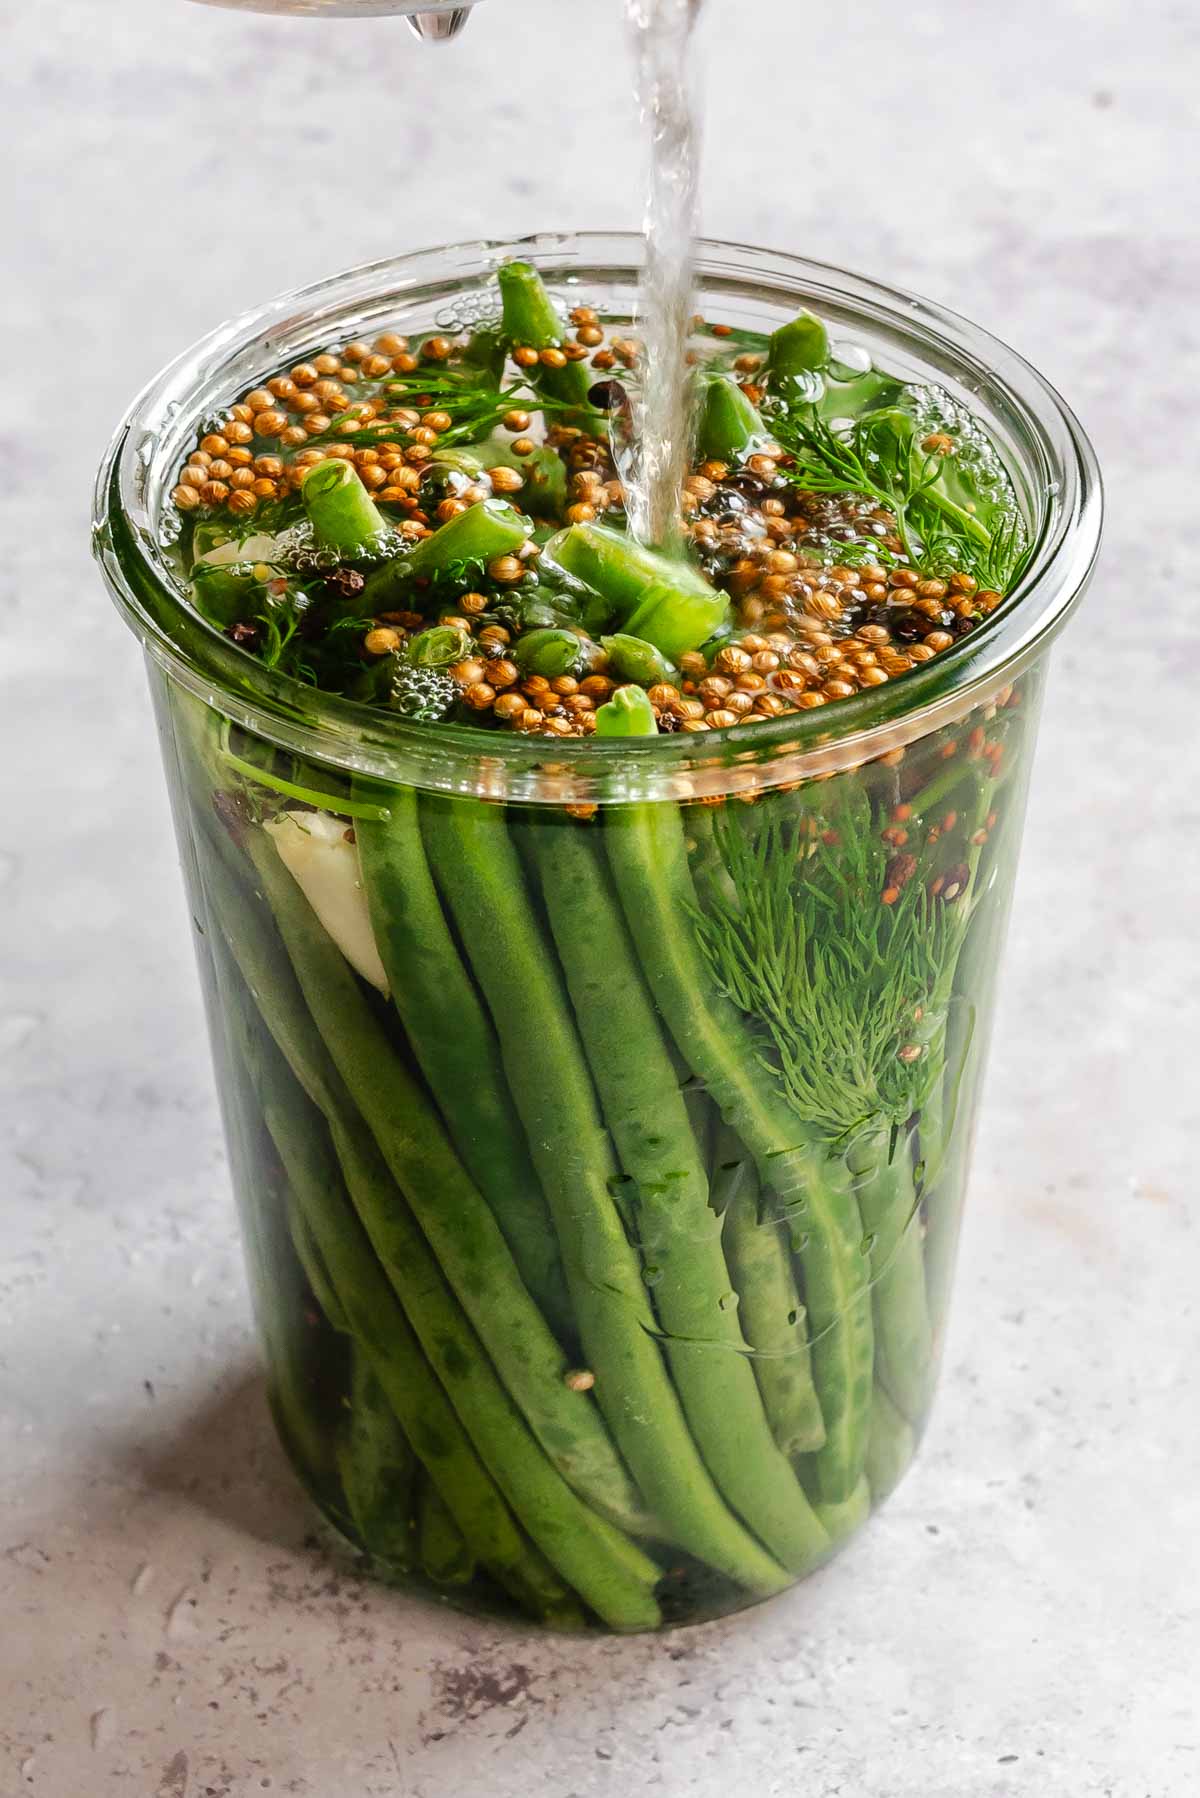
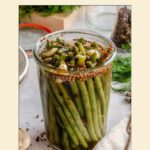
- Carefully pour the hot brine over the green beans, making sure everything is fully submerged. Press the beans down gently to release any air bubbles.
Pro Tip: If you have any extra room in your jars, cover the rest of the way with cold water so the beans are fully submerged.
- Let cool to room temperature, then cover and refrigerate for at least 8 hours, but longer is better.
Tips for Crunchy Pickled Green Beans
- Use the freshest green beans you can find. They should snap cleanly when bent and feel firm, not limp or rubbery. Thinner beans such as haricots verts will pickle more evenly than very thick ones.
- Packing the beans tightly is important so they stay submerged. If any pieces stick out above the brine, they can discolor.
- These will become more pickled over time. They'll taste good after a day, but the flavor is more pronounced after 3-4 days.
Pickled Green Bean Variations
- Add sliced jalapenos, crushed red pepper, or whole dried chilies for spice.
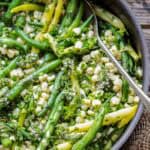
- Swap green beans for carrot or bell pepper sticks, celery, or even asparagus.
- Use white vinegar for a sharper, classic pickle flavor, or white wine vinegar for something a little softer and more rounded.
- For sweet, warm background notes, add whole cloves or allspice berries.
How to Serve Pickled Green Beans
Pickled green beans are so versatile! My favorite way to serve them is as a garnish for Bloody Marys, but you can enjoy them as a snack or next to sandwiches or fried dishes.
Serve them with crispy panko crusted fried fish, classic Maine lobster rolls, or juicy bacon cheddar burgers. They're also great as a side to summery BLTs, Cajun shrimp po' boy sandwiches, or flaky blackened fish sliders.
Storage and Shelf Life
These homemade green bean pickles will retain their fresh crunch in the fridge for up to a month! Just make sure the beans are always fully submerged in brine and the lids are sealed tightly.
FAQs
No, just make sure they're super clean and have tight lids.
While mason jars or quart jars are best, you can use any food-safe container. Just make sure it's non-reactive and seals well.
Yes, the sky is the limit! Try cucumbers, carrots, beets, radishes, onions, cauliflower, asparagus, bell peppers, zucchini, eggplant, etc.
Making homemade pickles means you control the flavor and ingredients, unlike pickles from the grocery store which are often overly processed. Homemade pickles are fresher, crisper and even better when made with fresh, high-quality produce.


Did you LOVE this recipe? Please leave a star ⭐️ rating and comment and tag your creations @ColeyCooks on Instagram!
Want to Save This Recipe?
Enter your email & I'll send it to your inbox.
By submitting this form, you consent to receive emails from Coley Cooks.

Quick Pickled Green Beans Recipe (Dilly Beans)
Ingredients
- 1 pound green beans fresh, trimmed
- 1½ cups white vinegar or white wine vinegar
- 1½ cups water
- 4 teaspoons granulated sugar
- 2 tablespoons kosher salt
- 4 cloves garlic lightly crushed or thickly sliced
- 6 sprigs dill fresh
- 2 teaspoons coriander seed
- 1 teaspoon mustard seed
- ½ teaspoon black peppercorns
- 1 pinch red pepper flakes optional
Instructions
- Trim the stem ends from the green beans and cut them if needed so they fit neatly inside a quart jar. Pack them tightly into the jar, standing upright so they stay submerged.1 pound green beans
- In a small saucepan, combine the vinegar, water, sugar, and salt. Bring to a simmer and stir until the salt and sugar are fully dissolved.1½ cups white vinegar, 1½ cups water, 4 teaspoons granulated sugar, 2 tablespoons kosher salt
- Tuck the garlic and dill throughout the beans, then sprinkle in the coriander seed, mustard seed, peppercorns, and red pepper flakes.4 cloves garlic, 6 sprigs dill, 2 teaspoons coriander seed, 1 teaspoon mustard seed, ½ teaspoon black peppercorns, 1 pinch red pepper flakes
- Carefully pour the hot brine over the green beans, making sure everything is fully submerged. Press the beans down gently to release any air bubbles.
- Let cool to room temperature, then cover and refrigerate for at least 8 hours, but longer is better.
Notes
- If you have any extra room in your jars, cover the rest of the way with cold water so the beans are fully submerged.
- Use the freshest green beans you can find. They should snap cleanly when bent and feel firm, not limp or rubbery. Thinner beans such as haricots verts will pickle more evenly than very thick ones.
- Packing the beans tightly is important so they stay submerged. If any pieces stick out above the brine, they can discolor.
- These will become more pickled over time. They'll taste good after a day, but the flavor is more pronounced after 3-4 days.