Homemade Ice Cream Sandwiches
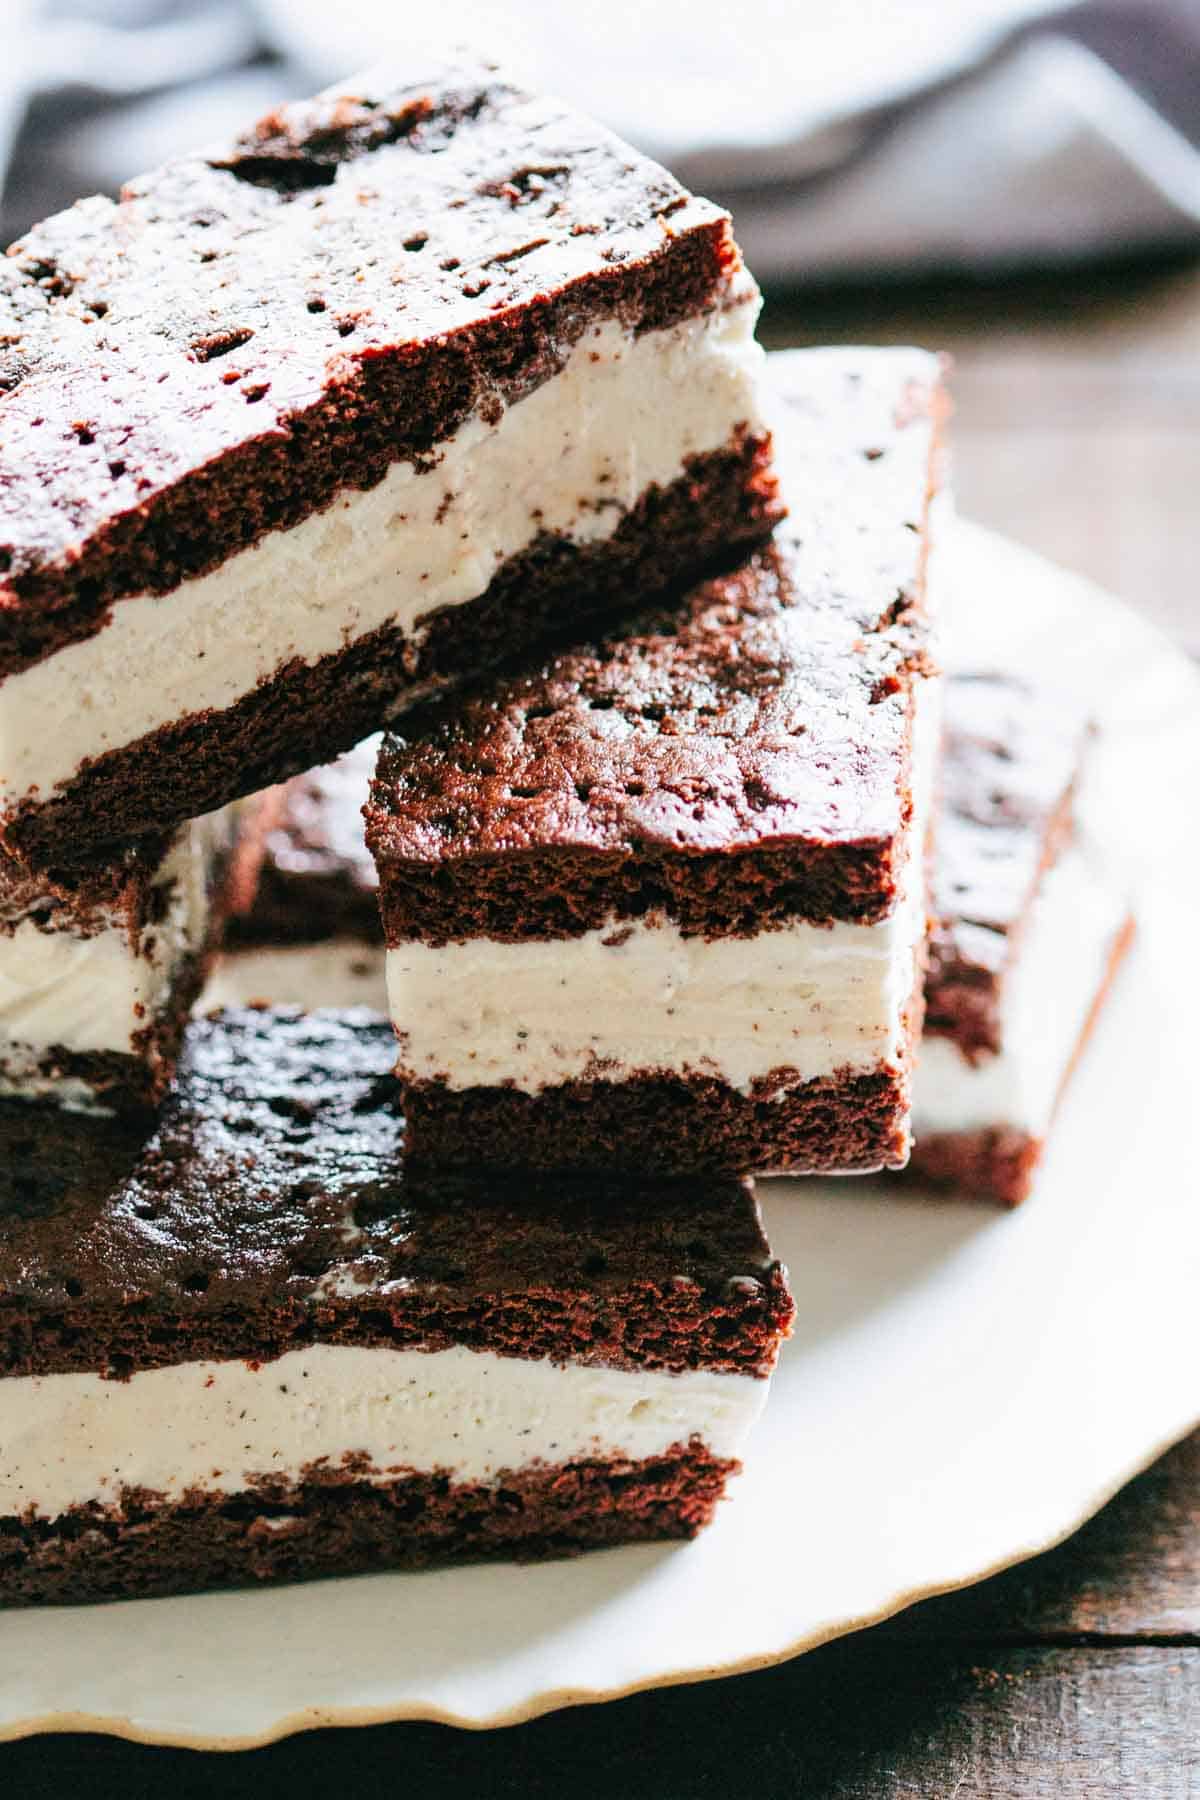
This homemade ice cream sandwich recipe is easy to make, endlessly customizable, and makes the best summer dessert. Made with a simple cake-like chocolate cookie and filled with whatever ice cream flavor your heart desires, they're super nostalgic and so much fun!
This post may contain affiliate links.
This recipe was inspired by the old school ice cream sandwiches we all grew up with. I adore them, but my only issue is that the quality of both the cookie and the ice cream is usually not very good.
When you make ice cream sandwiches from scratch, they taste sooo much better and can be filled with whatever flavor of ice cream you want. You can't go wrong with the classic creamy vanilla ice cream, but they can be customized to use your favorite ice cream flavor. They are next level with mint chocolate chip!
The key is to make a softer, more tender cookie so that it doesn't get too hard in the freezer. What may seem too soft at room temperature will be a perfectly textured, delicious cookie once frozen!
These are the best make-ahead summer dessert since they can be made up to a few weeks in advance and kept individually wrapped in the freezer. I love to hand them out at summer parties and BBQs after the meal. Everyone gets so excited! They're the ultimate summer treat that both kids and adults love!
Want more great ice cream recipes? Try my refreshing homemade lemon ice cream, my over the top chocolate caramel homemade ice cream cake, or my ultra-smooth ricotta gelato with pistachio and figs.
Why This Recipe Works
- A better version of the old-school ice cream sandwich with rich ice cream and a deeper chocolate flavor.
- A soft, cakey cookie ensures it's easy to bite through when frozen (without ice cream squishing out!)
- Easily customizable with any ice cream, homemade or store-bought.
- Minimal effort with a big payoff. People go crazy for these!
Ingredient Notes
Cocoa Powder - It's important to use high quality Dutch process cocoa powder, which creates a smoother, richer flavor and interacts correctly with the leavening. Unlike regular (natural) cocoa powder, which is acidic, Dutch process cocoa is treated to neutralize its acidity. This not only results in a deeper chocolate flavor but also affects how it reacts with baking soda. Using natural cocoa in this recipe can negatively impact texture and rise.
Ice Cream - Any creamy ice cream will work, but the higher the quality, the better your own ice cream sandwiches will taste. Mix and match different flavors for variety or stick with nostalgic classics like creamy vanilla ice cream or strawberry ice cream.
Vanilla Extract - Use real vanilla extract to enhance the cookie's flavor and complement the ice cream.
*Find the full ingredient list in the recipe card below!
Helpful Equipment
- Half sheet pan
- Sheet of parchment paper
- Offset spatula
- Electric or stand mixer
- Mixing bowls (large and medium)
- Plastic wrap
- Sharp knife
Tips for Success
- Be sure to the batter smoothly and evenly onto the sheet of parchment paper, as it doesn't spread while baking.
- Let your ice cream soften before spreading. A cold scoop of ice cream is hard to spread and can tear the cookie.
- For best results, keep the cookie slabs cold before assembly to keep the ice cream from melting.
- Work quickly as you spread the ice cream. If things get melty, pause and freeze again before continuing.
- Use multiple ice cream flavors to create a variety of individual sandwiches in one batch!
How to make homemade ice Cream sandwiches

Make the Cookie
- Preheat the oven to 350°F, then line a half sheet pan or baking sheet with parchment paper.
- Using an electric mixer over a medium bowl or a stand mixer fitted with a paddle attachment, beat together the butter, granulated sugar, and brown sugar on medium-high speed until light and fluffy.
- Add the vanilla extract, salt, and milk, then mix on low speed until incorporated.
- In a separate bowl, whisk together the all purpose flour, Dutch process cocoa powder, and baking soda, then add it to the mixture and beat on low speed until combined. Don't overmix.
Pro Tip: Overmixing will cause the cookie to become tough, which will be hard to bite through when frozen. Mix until just combined, then stop to achieve chewy cookies rather than tough.
- Transfer the batter to the parchment-lined pan, then use an offset spatula to spread the batter all over to every edge, making it as even and smooth as possible. This batter won't spread out during baking, so it's important to get a smooth layer now to avoid wonky ice cream sandwiches later. It can be finicky, so just do your best. They'll be delicious no matter what.
- Bake the giant cookie slab for about 10 minutes, or until a toothpick inserted in the center comes out clean.
- Allow the cookie to cool, then (optionally) use a fork to prick the top in neat rows, just like the tops of the cookies on old-school ice cream sandwiches.
- Cut the cooled cookie slab crosswise into 2 even halves, making sure they're as close in size as possible, then trim the edges if desired to make more uniform sandwiches.
- Wrap each half, parchment still attached, tightly in plastic wrap, and freeze until solid (preferably on a cookie sheet, if your freezer has the room). A cold work surface will make assembly easier.
Pro Tip: Assembling on a frozen sheet pan or cold surface helps keep the ice cream from melting too quickly while you work, which is especially important during the hot summer months!
Assemble the Sandwiches
- Take the ice cream out of the freezer to soften about 15 minutes before you're ready to assemble.
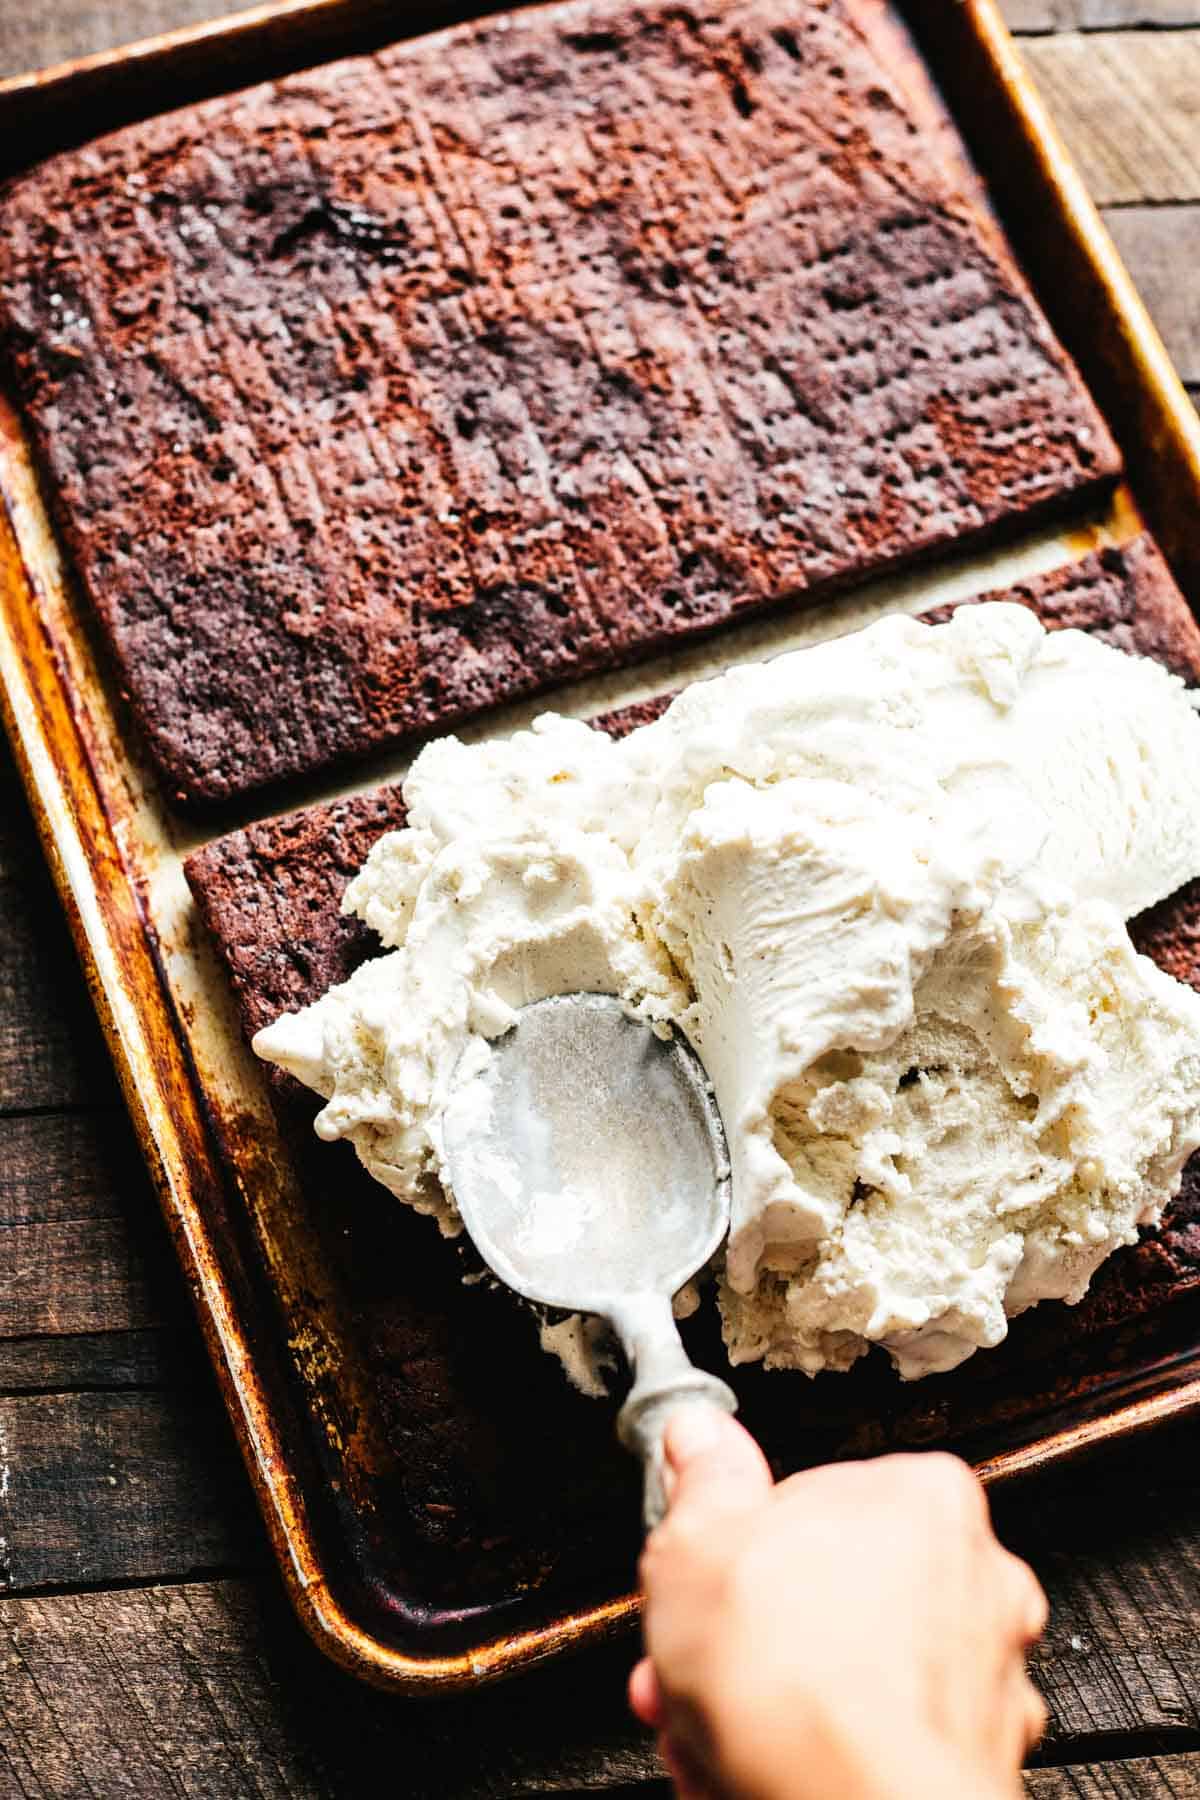
- Unwrap the frozen cookie halves and carefully peel off the parchment from the backs. Place one half, bottom up, on the frozen sheet pan or other cold surface.
- Spread with ice cream, making the layer as even as possible. You can use an ice cream scoop or cookie scoop for even portions.
- Place the second piece over the ice cream, top-side-up. Press down gently to distribute the ice cream evenly between the two halves. Wrap the whole thing in plastic wrap, then freeze until firm.
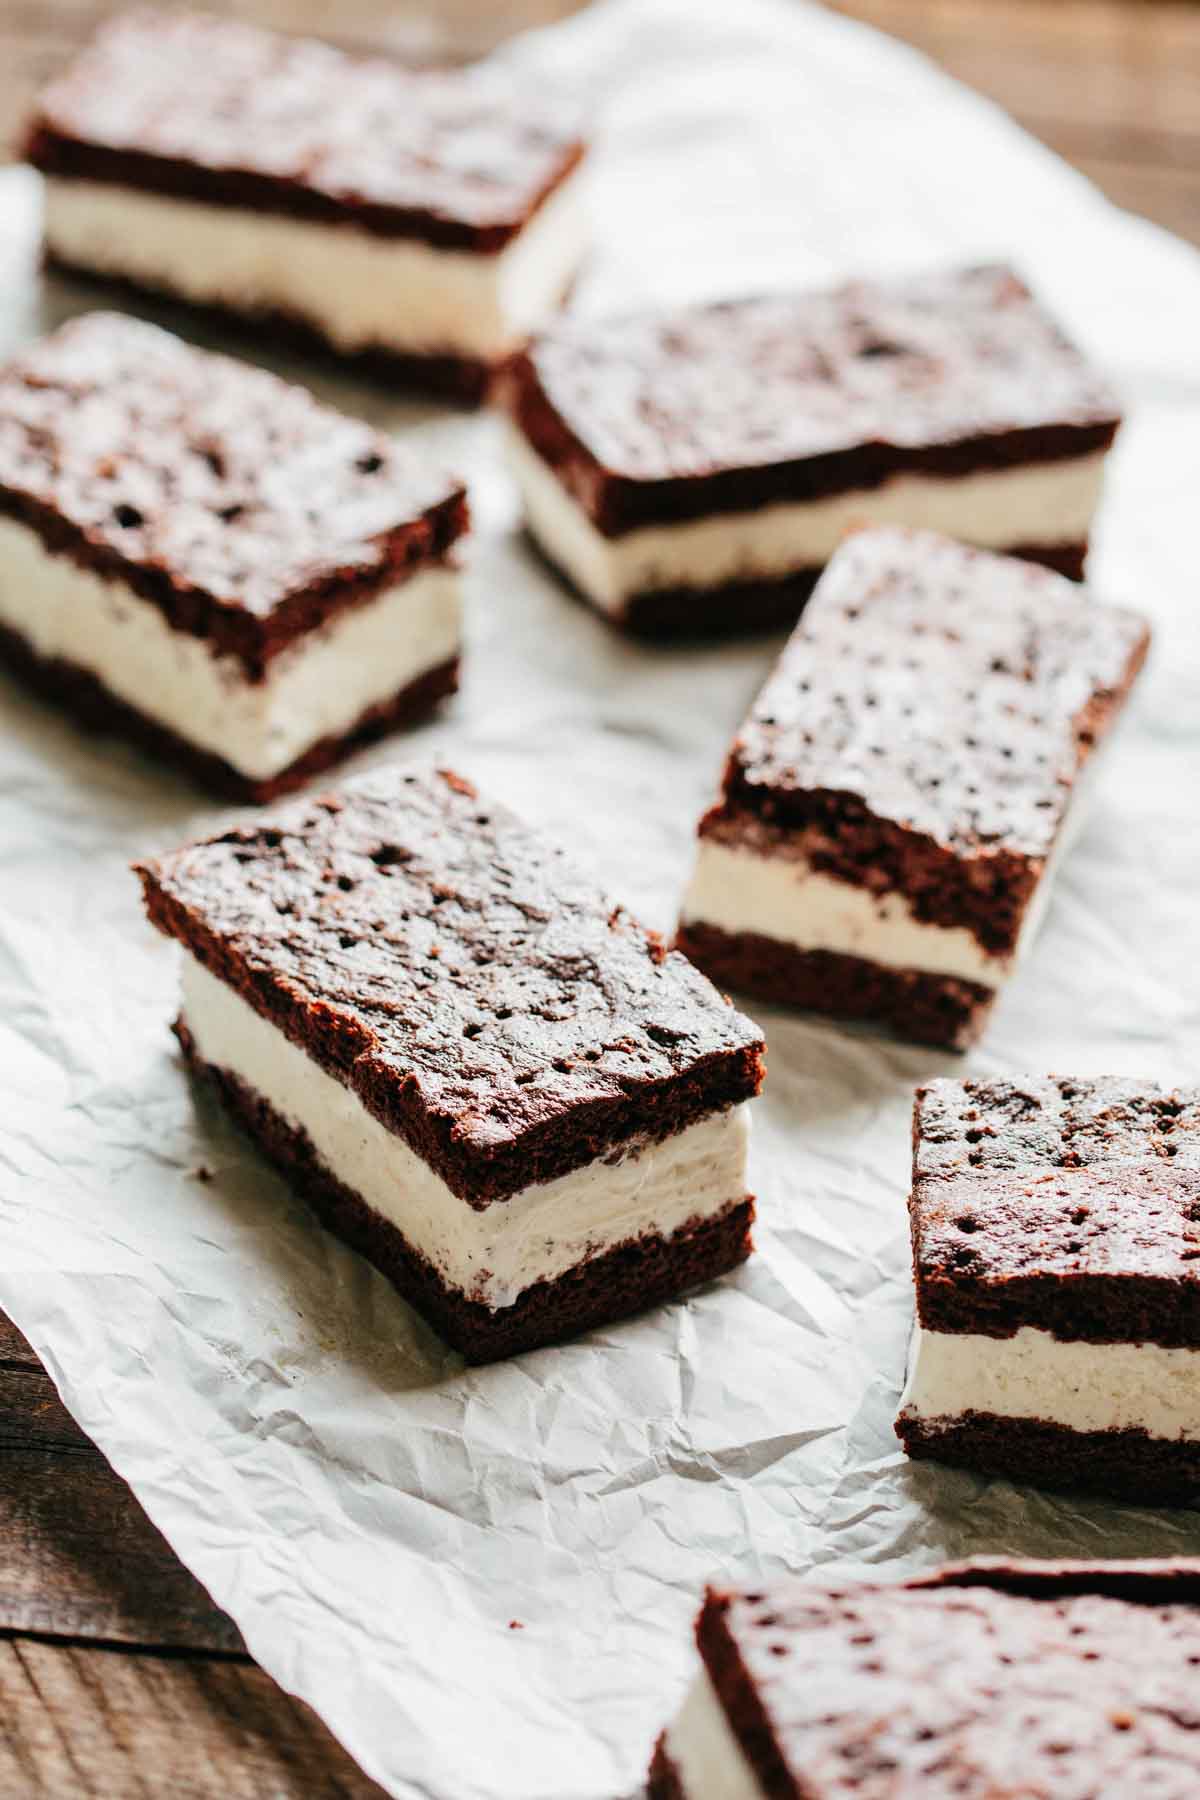
- Use a very sharp knife to trim the edges, if desired, then cut the slab into 10 individual sandwiches. First, cut down the middle lengthwise, then cut each half into 5 even bars.
- Serve immediately, or wrap each bar in plastic wrap and store in a zip-top bag in the freezer for up to a month.
Variations
- Try mint chocolate chip for a refreshing twist that pairs perfectly with the chocolate base.
- Go fruity with flavors like cherry or passionfruit to contrast the chocolate cookies.
- Use chocolate ice cream and coat the outside in mini chocolate chips for a chocolate explosion.
- Swap out the chocolate cookie for peanut butter cookies or your favorite cookie recipes.
- A coffee or espresso-flavored ice cream gives these a grown-up twist!
Serving Suggestions
These are perfect after a casual summer meal! They're great after a juicy bacon cheddar burger, a melty French onion grilled cheese, or a classic BLT.
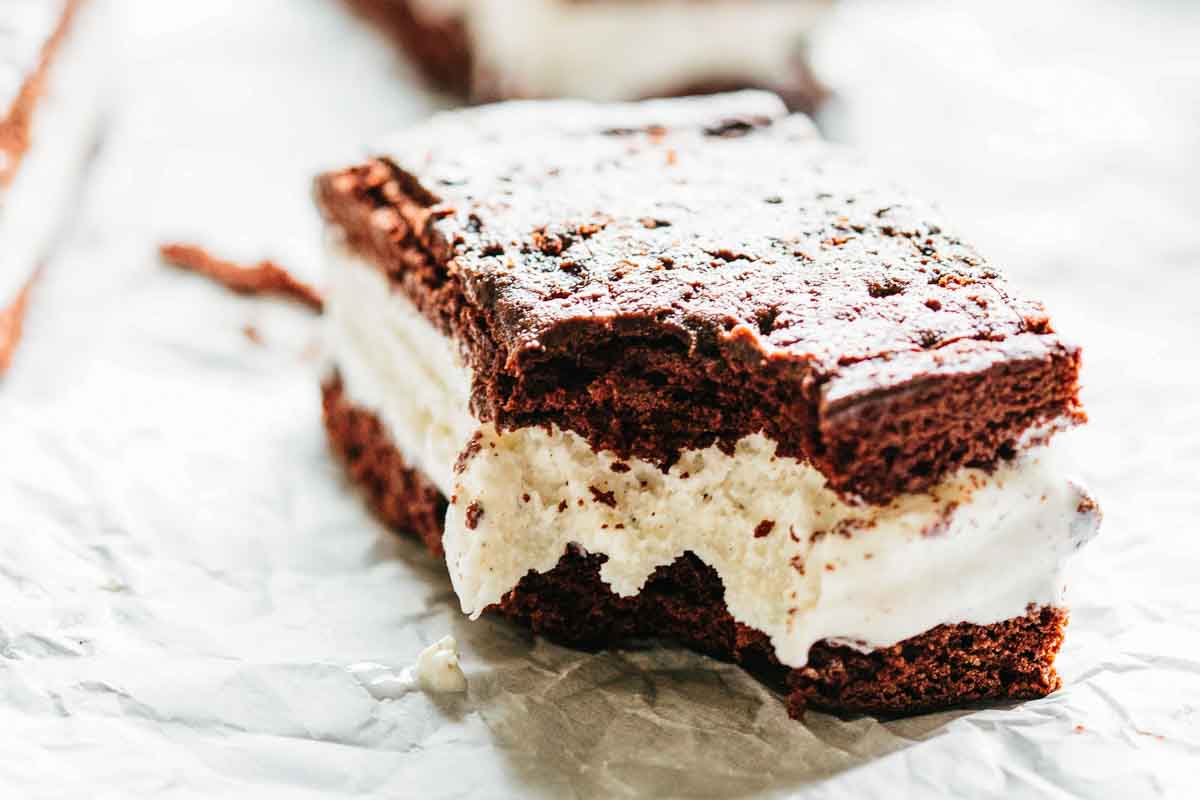
Serve straight from the freezer or let them sit for a minute or two so the cookies soften slightly for that perfect bite. It's the best part!
Storage Tips
Wrap each ice cream sandwich in plastic wrap and place in a freezer bag or airtight container. They'll stay fresh in the freezer for up to a month. Use wax paper or aluminum foil to separate layers if stacking.
FAQs
No, it's important to use Dutch process cocoa powder for proper leavening and flavor. Natural cocoa may result in a dry or off-textured cookie.
Not at all! You can use any high-quality store-bought ice cream or churn ice cream at home if you prefer, just go with your favorite flavor.
Yes, use a circular cookie cutter or any shape you like! Just freeze the assembled slab first so it's firm enough to cut cleanly.
A jelly roll pan or similar baking sheet with edges will work, just make sure it's large enough to spread the cookie dough into a thin, even layer.
Use a very sharp knife to cut the homemade cookies, run it under hot water, and wipe with a paper towel between cuts for the cleanest edges.
Homemade baked cookies that stay chewy when frozen work well. Using the classic chocolate flavored soft cookies is the best way keep the ice cream inside when biting into the sandwich. For chocolate chip cookie ice cream sandwiches, just make sure to use chewy chocolate chip cookies.


Did you LOVE this recipe? Please leave a star ⭐️ rating and comment and tag your creations @ColeyCooks on Instagram!
Want to Save This Recipe?
Enter your email & I'll send it to your inbox.
By submitting this form, you consent to receive emails from Coley Cooks.
Homemade Ice Cream Sandwiches
Ingredients
- 6 tablespoons unsalted butter softened
- ½ cup granulated sugar
- ¼ cup light brown sugar
- 1 teaspoon vanilla extract
- ½ teaspoon kosher salt
- ⅔ cup whole milk
- 1 ¼ cups all purpose flour
- ½ cup Dutch process cocoa powder
- ½ teaspoon baking soda
- 1 gallon vanilla ice cream or any flavor of your choice (mint chocolate chip is especially good)
Instructions
- Preheat the oven to 350°F, then line a half sheet pan with parchment paper.
- Using an electric mixer or stand mixer fitted with a paddle attachment, beat together the butter, granulated sugar and brown sugar on medium-high speed until light and fluffy. Add the vanilla extract, salt and milk, then mix on low speed until incorporated.
- In a separate bowl, whisk together the flour, cocoa powder and baking soda, then add it to the mixuture and beat on low speed until combined. Don't overmix.
- Transfer the batter to the parchment lined pan, then use an offset spatula to spread the batter all over to every edge, making it as even and as smooth as you can because this batter doesn't spread.
- Bake the giant sheet cookie for about 10 minutes, or until a toothpick inserted in the center comes out clean.
- Allow the cookie to cool. Optionally, use a fork to prick the top in neat rows, just like the top of an old school ice cream sandwich.
- Cut the cookie slab crosswise into 2 even halves - make sure they're as close to the same size as possible! Then trim the edges if desired to make more uniform sandwiches.
- Wrap each half (with the parchment still attached) tightly with plastic wrap, then freeze until solid - preferably on a sheet pan, if your freezer has the room. Having a cold work surface will help with assembly.
- Take the ice cream out of the freezer to soften about 15 minutes before you're ready to assemble.
- Unwrap the cookie halves, then carefully peel the parchment from the backs. Place one half, bottom up, on the frozen sheet pan or other cold surface. Spread with ice cream, making the layer as even as you can. Place the second half over the ice cream, top-side-up. Press down gently to push the ice cream evenly between the cookie halves. Wrap with plastic wrap, then freeze until firm.
- Use a very sharp knife to trim the edges, if desired, then cut the slab into 10 individual sandwiches. First, cut down the middle lengthwise, then then cut each half into 5 even bars.
- Serve immediately, or wrap each bar in plastic wrap and store in a zip-top bag, in the freezer, for up to a month.
Notes
- Be sure to the batter smoothly and evenly onto the sheet of parchment paper, as it doesn't spread while baking.
- Let your ice cream soften before spreading. A cold scoop of ice cream is hard to spread and can tear the cookie.
- For best results, keep the cookie slabs cold before assembly to keep the ice cream from melting.
- Work quickly as you spread the ice cream. If things get melty, pause and freeze again before continuing.
- Use multiple ice cream flavors to create a variety of individual sandwiches in one batch!

These are so fun! My family would love um!
Thanks Karly, enjoy!