Louisiana-Style Blackened Shrimp
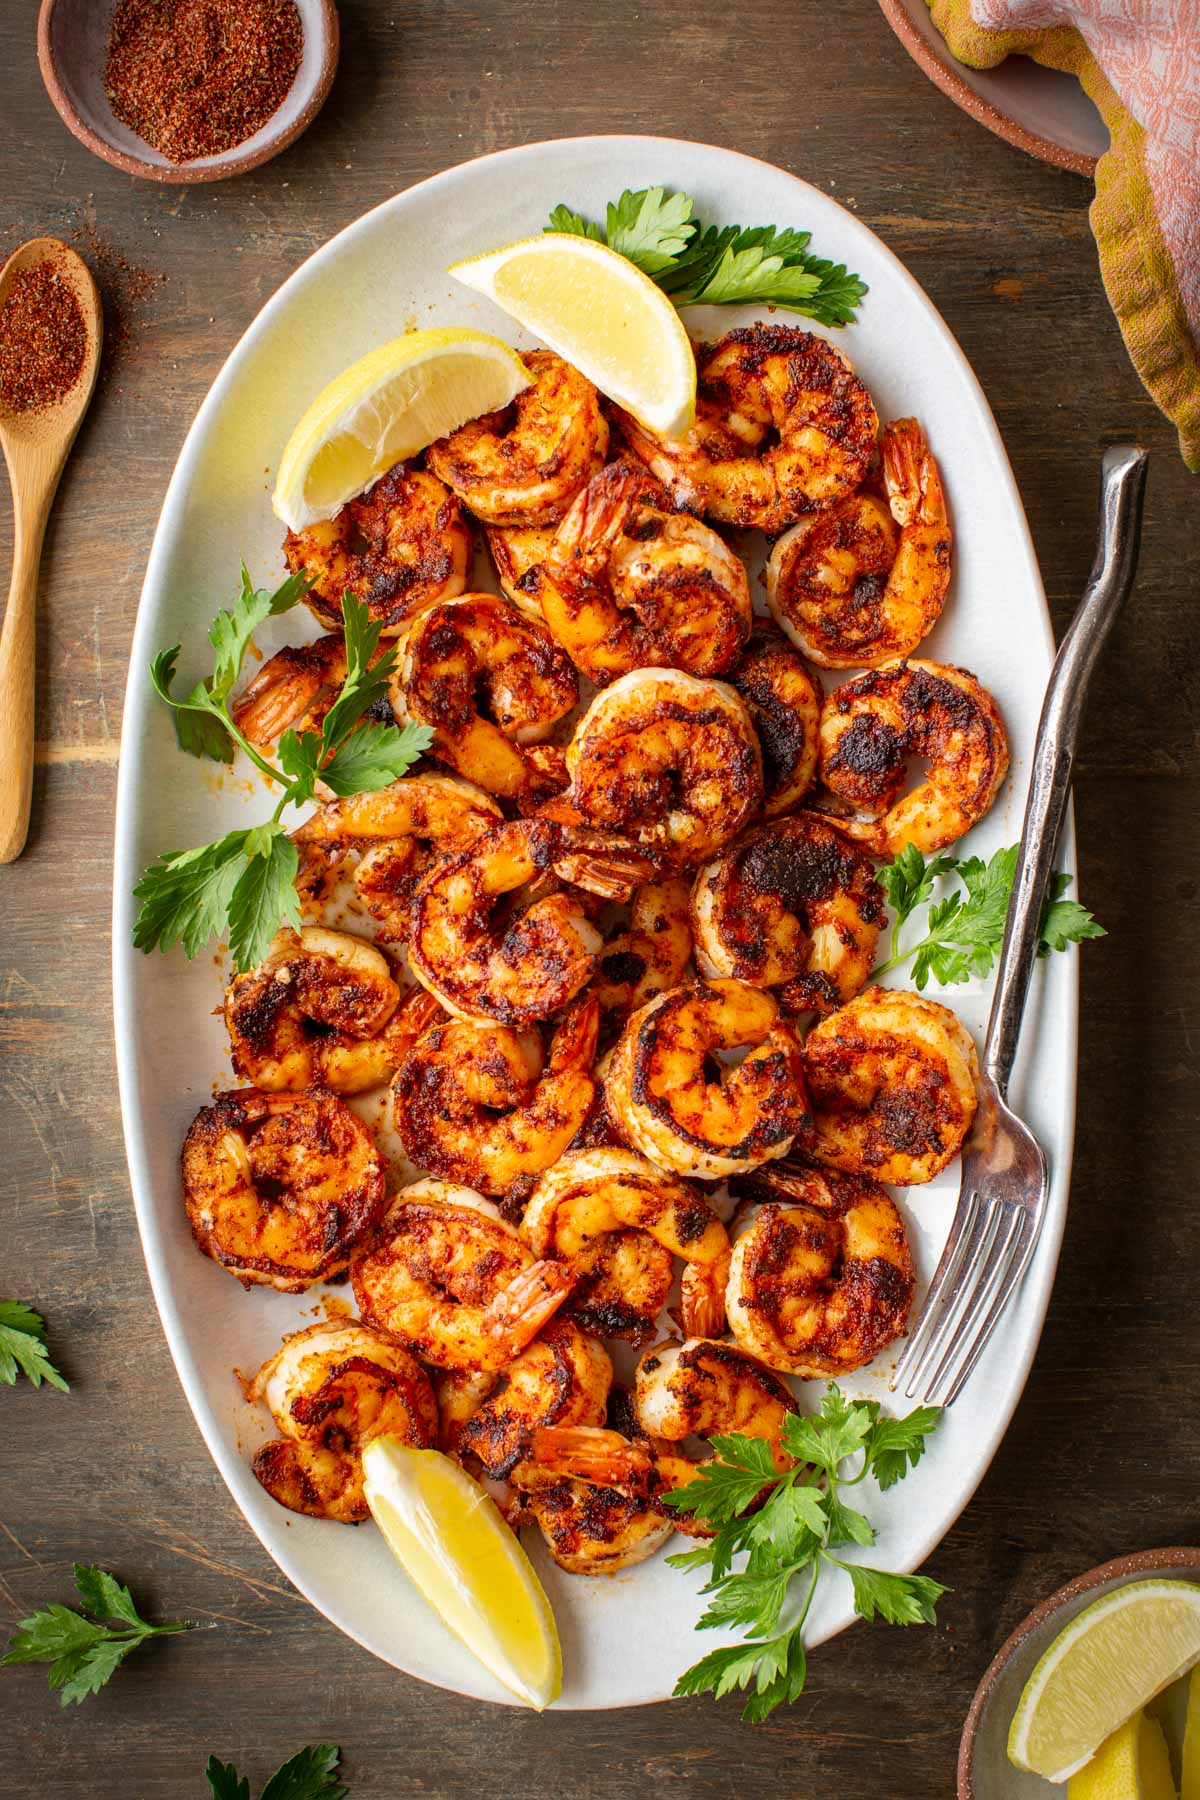
These easy blackened shrimp are tender, flavorful, and perfect for quick weeknight meals. They're quick, versatile, and packed with flavor, making them perfect for everything from tacos and salads to pasta, grain bowls, and more!
This post may contain affiliate links.
All About Blackened Shrimp
Blackening is a cooking technique that originated in Louisiana and is a staple of Cajun-inspired cooking. It can be used on everything from chicken to fish, but blackened shrimp is arguably the most iconic.
Getting the blend of spices just right is key to great blackened shrimp. There are tons of different commercial blackening seasonings available, but I highly recommend taking the time to make one from scratch. It makes a big difference, but using a store-bought blend can still work in a pinch.
My blackening seasoning was developed specifically to be used on seafood, and shrimp are one of my favorites. The sweetness and buttery flavor of shrimp are perfectly contrasted by the spiciness and intensity of the seasoning.
Blackened vs Cajun
While the terms are often used interchangeably, blackened shrimp and Cajun shrimp aren't the same. Blackening is a cooking method, while Cajun is a flavor profile.
Blackening refers to a technique where shrimp are coated in seasoning and cooked over high heat until a dark crust forms. Cajun shrimp simply refers to shrimp seasoned with Cajun spices. It's the cooking technique that makes them blackened.
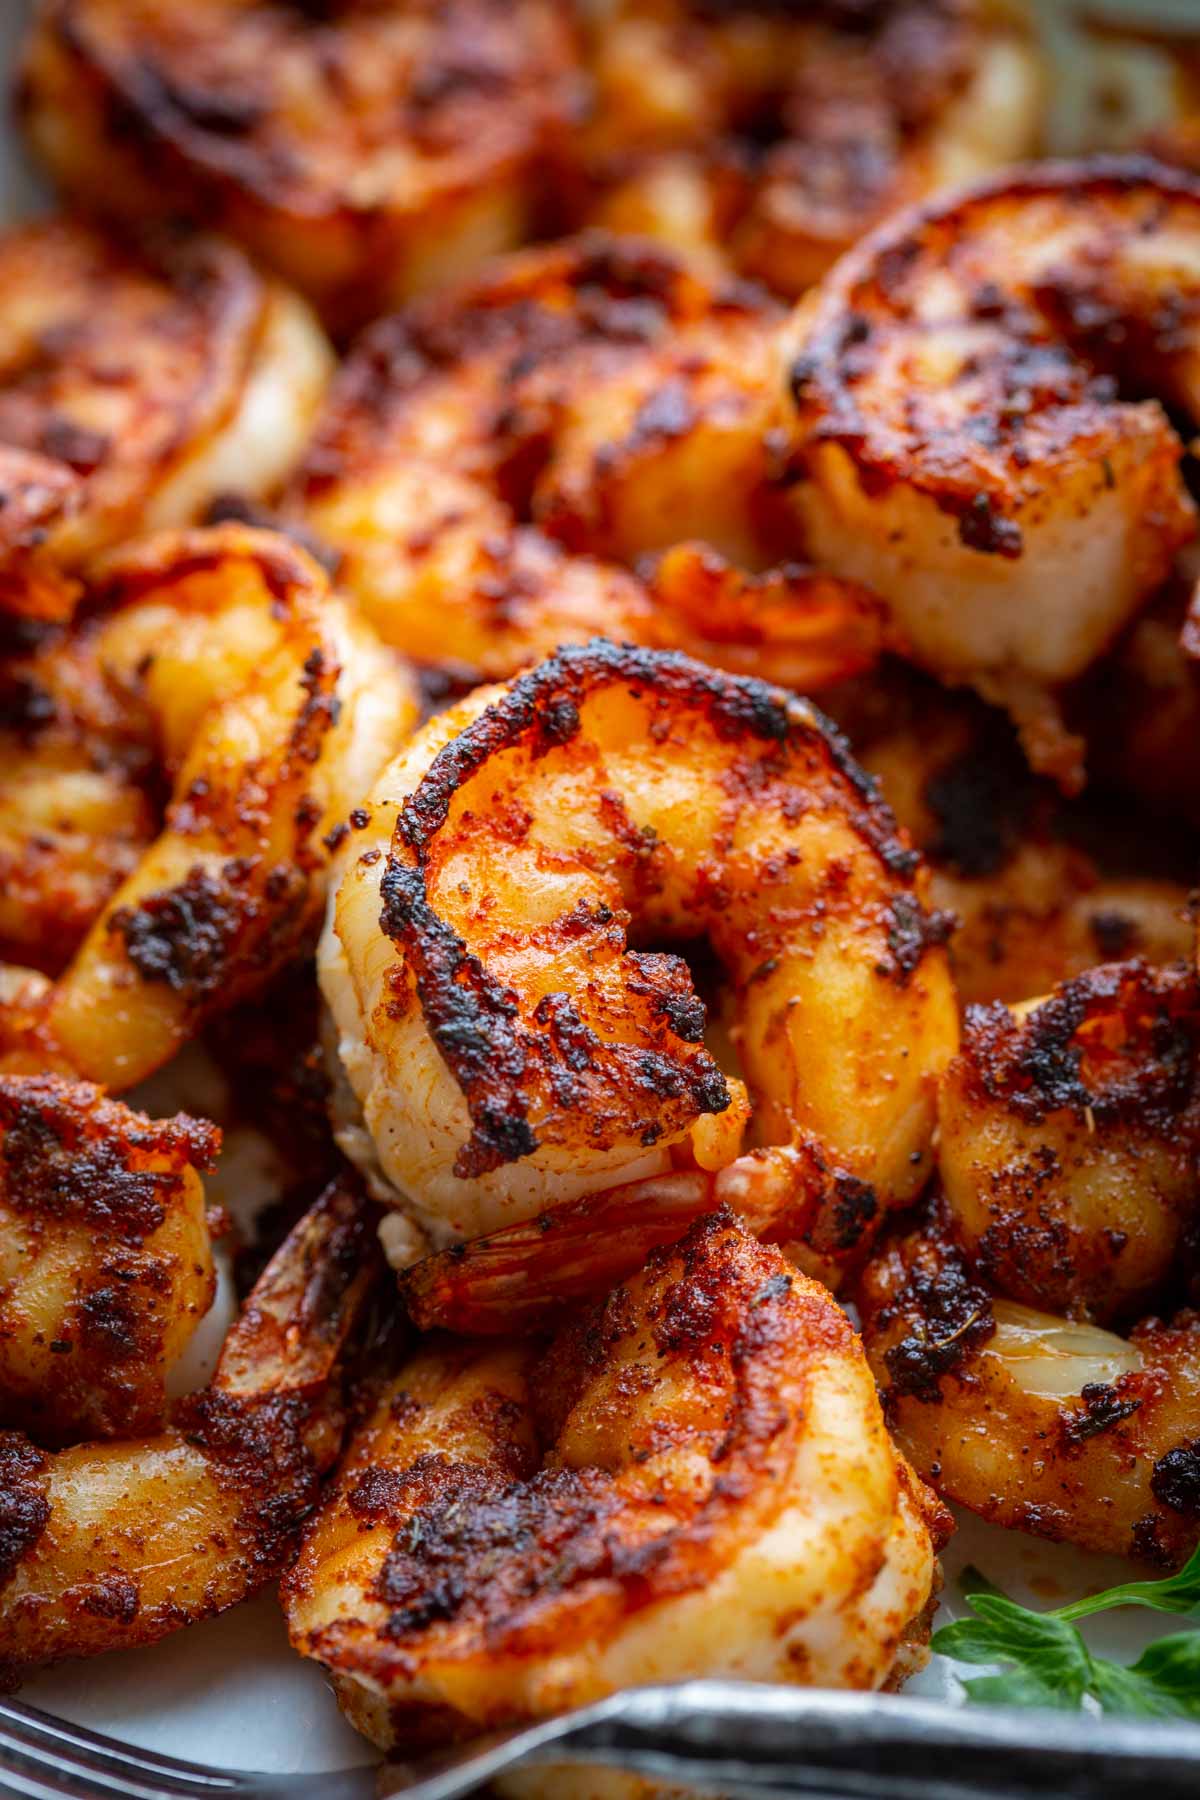
How to Get the Perfect Blackened Crust
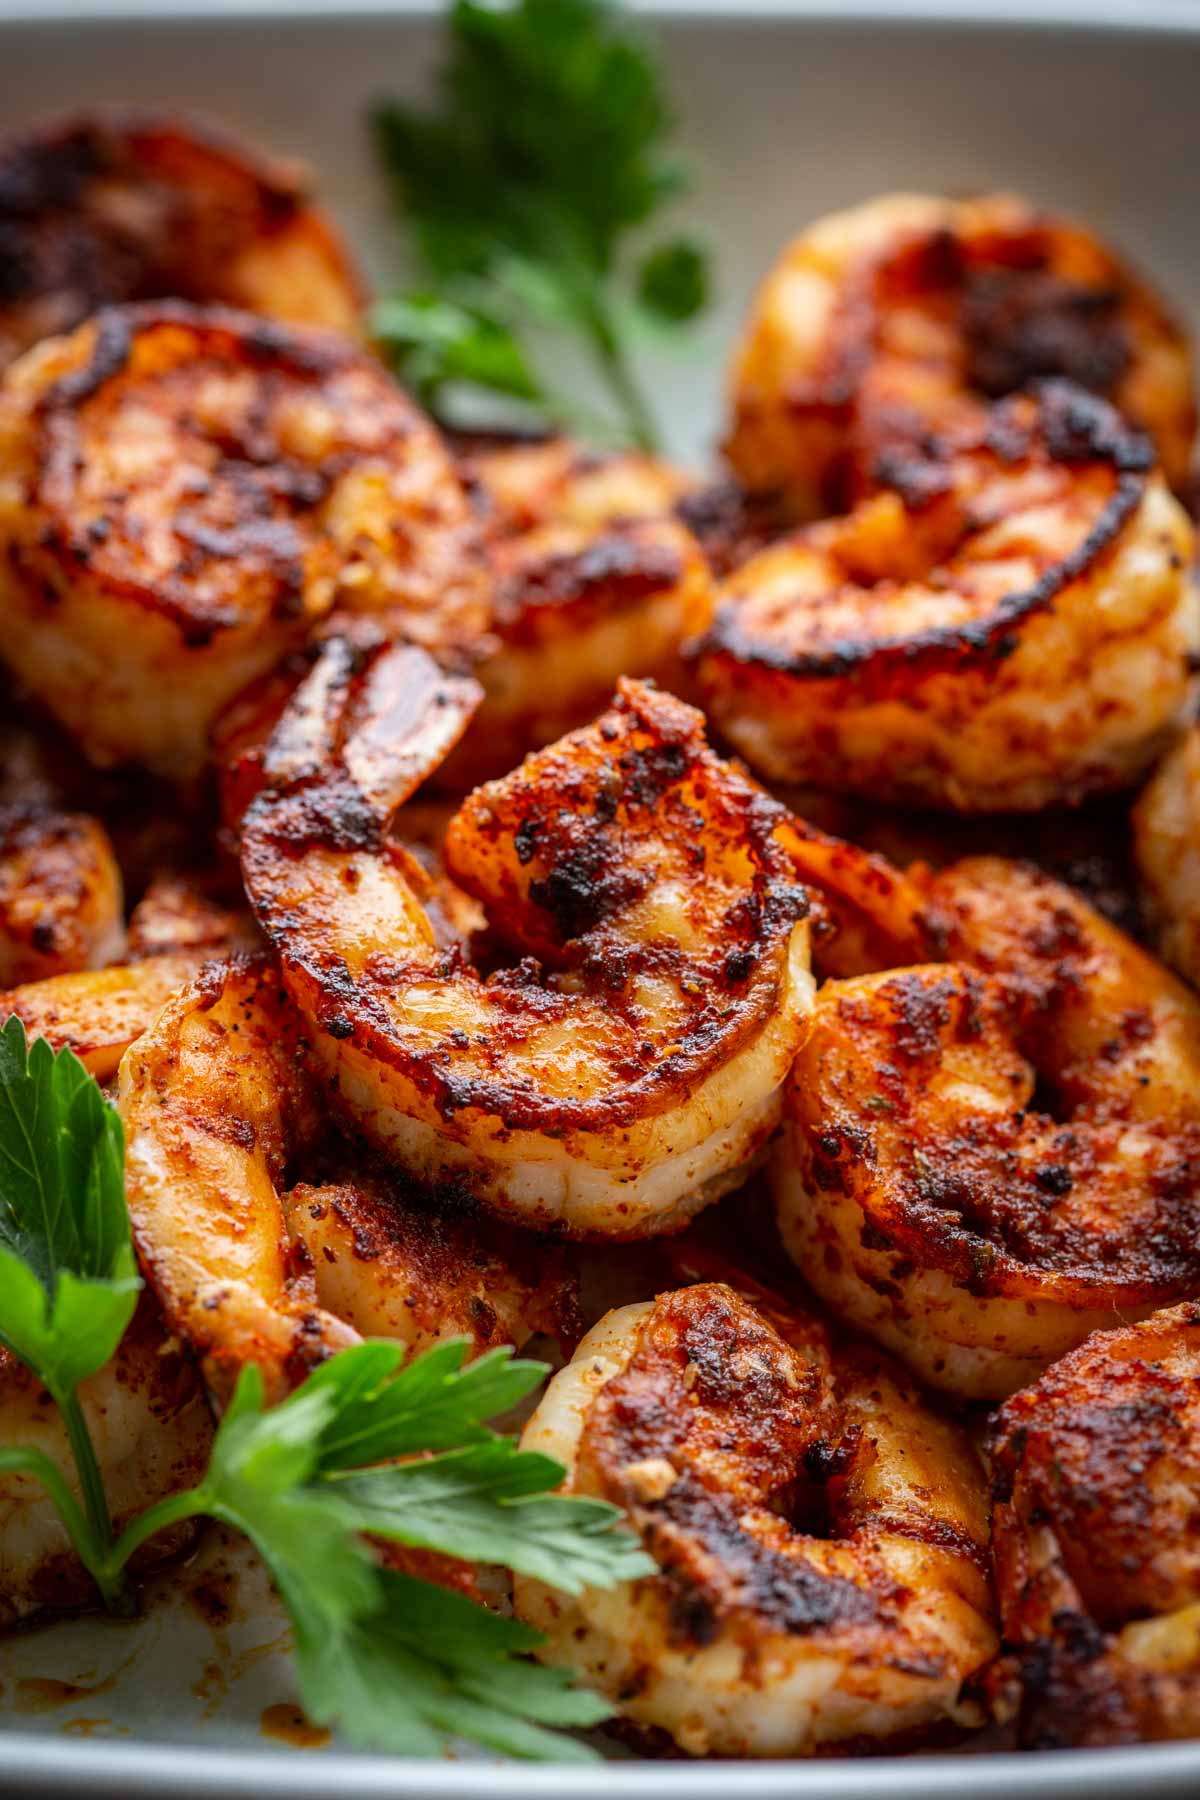
Traditionally, blackened seafood is first coated in melted butter, then the blackening seasoning. This helps it to adhere and also helps to create a nice crust. You need the fat for a good crust, but butter also contains milk solids which assist in browning.
You can substitute a neutral oil such as avocado oil or canola oil instead, but you will sacrifice that buttery flavor.
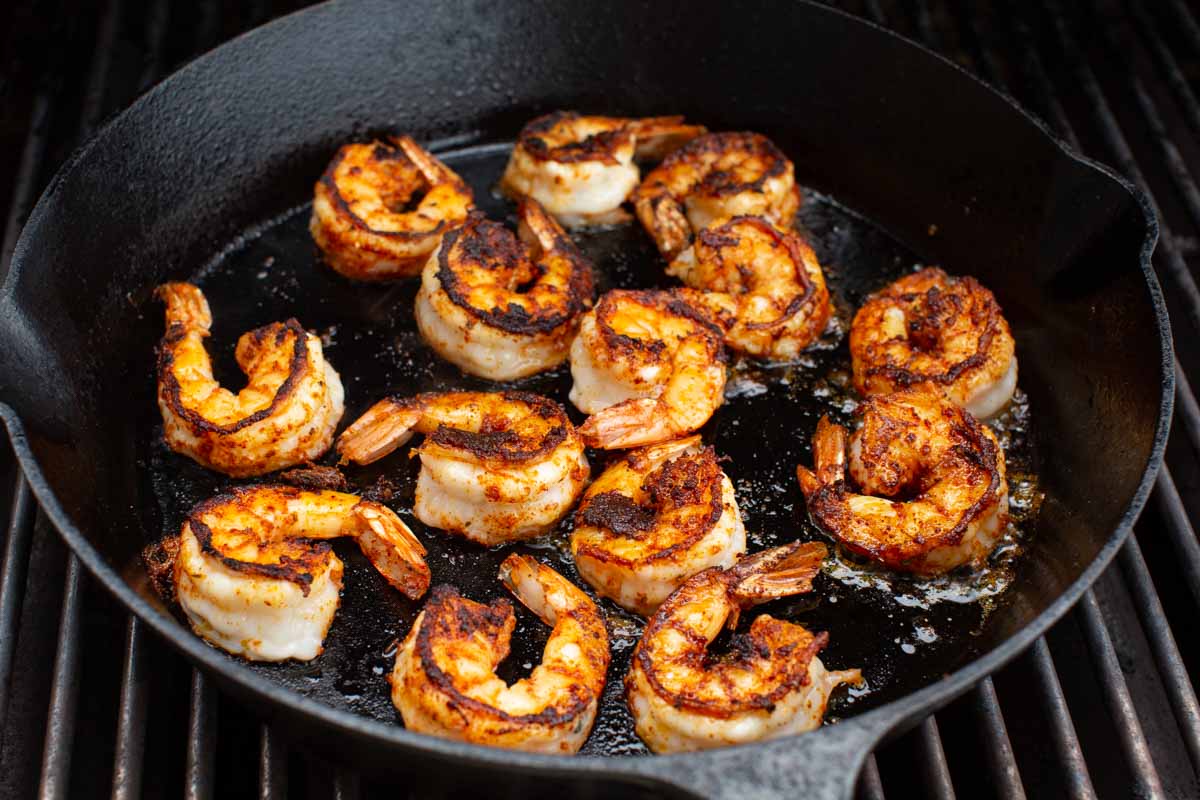
The blackening process always results in a good bit of smoke - that's just part of the technique. For this reason, I like to cook them in a cast iron pan over my outdoor grill. It gets ultra hot, and since it's outside, the smoke doesn't fill the house or set off any alarms.
These are still perfectly fine made indoors, and you can lower the heat of your pan as needed to control the smoke.
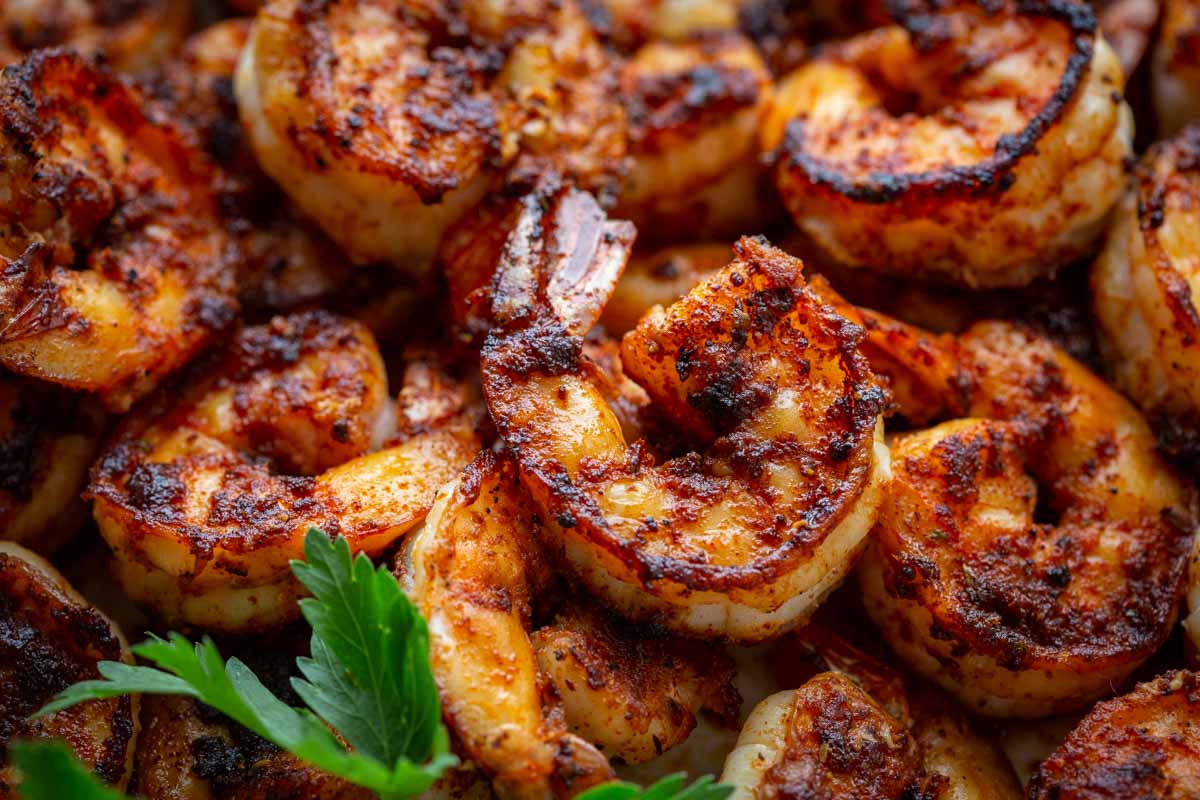
Common Mistakes When Making Blackened Shrimp
The main thing is getting your skillet piping hot before adding the shrimp, otherwise they will overcook before the blackening can develop. You also don't want to overcrowd the pan because that can lead to steaming and prevent crust formation.
Cast iron is ideal for blackening since it gets ultra hot and retains its heat after adding the food.
You should pat the shrimp very dry and allow them to come to room temperature before tossing with melted butter, otherwise the fat will seize up instead of coating the shrimp.
These blackened shrimp are incredibly versatile. I love making a batch and keeping them in my fridge to add to salads for lunch all week.
They're delicious in tacos and sandwiches. They're great on pasta or even on their own as a high-protein snack!
For more Cajun shrimp recipes, try these buttery New Orleans BBQ shrimp, crispy shrimp po' boy sandwiches, or bright, tangy Southern-style pickled shrimp.
Why This Recipe Works
- My homemade blackening seasoning ensures a fresh and balanced blend of spices.
- Melted butter helps the seasoning adhere and creates a nice dark crust.
- A piping hot pan guarantees a nice crust with tender and juicy meat.
- Cooking in batches avoids overcrowding and steaming.
- Using a cast iron pan over the grill keeps the smoke outdoors rather than in your kitchen.
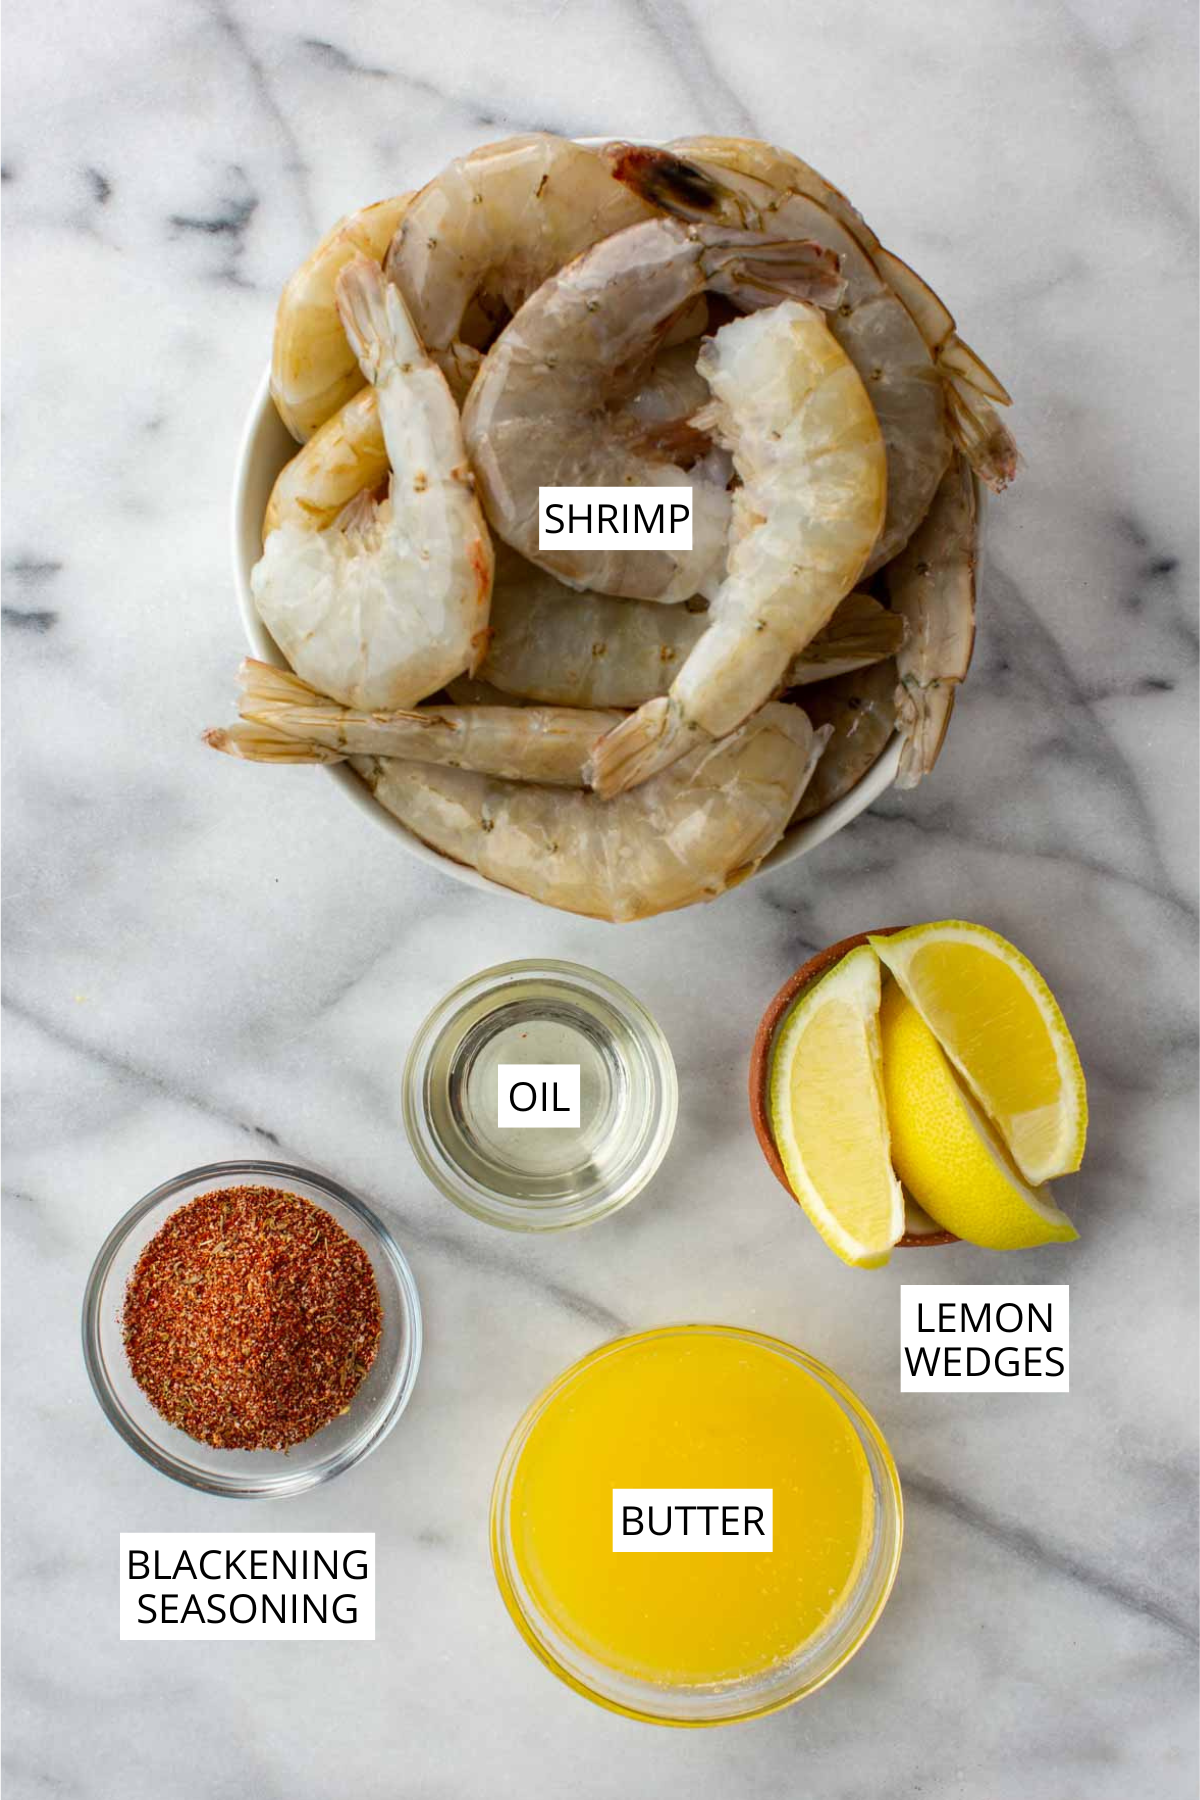
Blackened Shrimp Ingredients
Shrimp - Use large shrimp that have been peeled and deveined. Look for EZ peel shrimp to make peeling easier and save the shells to make stock! I like using 16/20 count (meaning 16-20 per pound) or larger shrimp, but any size works. Frozen shrimp work perfectly as long as they're wild-caught and sustainably sourced. Make sure they're fully defrosted before using.
Blackening seasoning - My homemade blackening seasoning is well balanced and specifically developed for seafood. You can also use a store-bought mix in a pinch.
Butter - Both salted and unsalted butter work here depending on preference and how salty your blackening seasoning is. Smaller shrimp are more susceptible to getting oversalted, so in that case use unsalted butter.
*Find the full ingredient list in the recipe card below!
Helpful Equipment
- Paper towels
- Large cast iron skillet or stainless steel pan
- Tongs
How to Make Blackened Shrimp
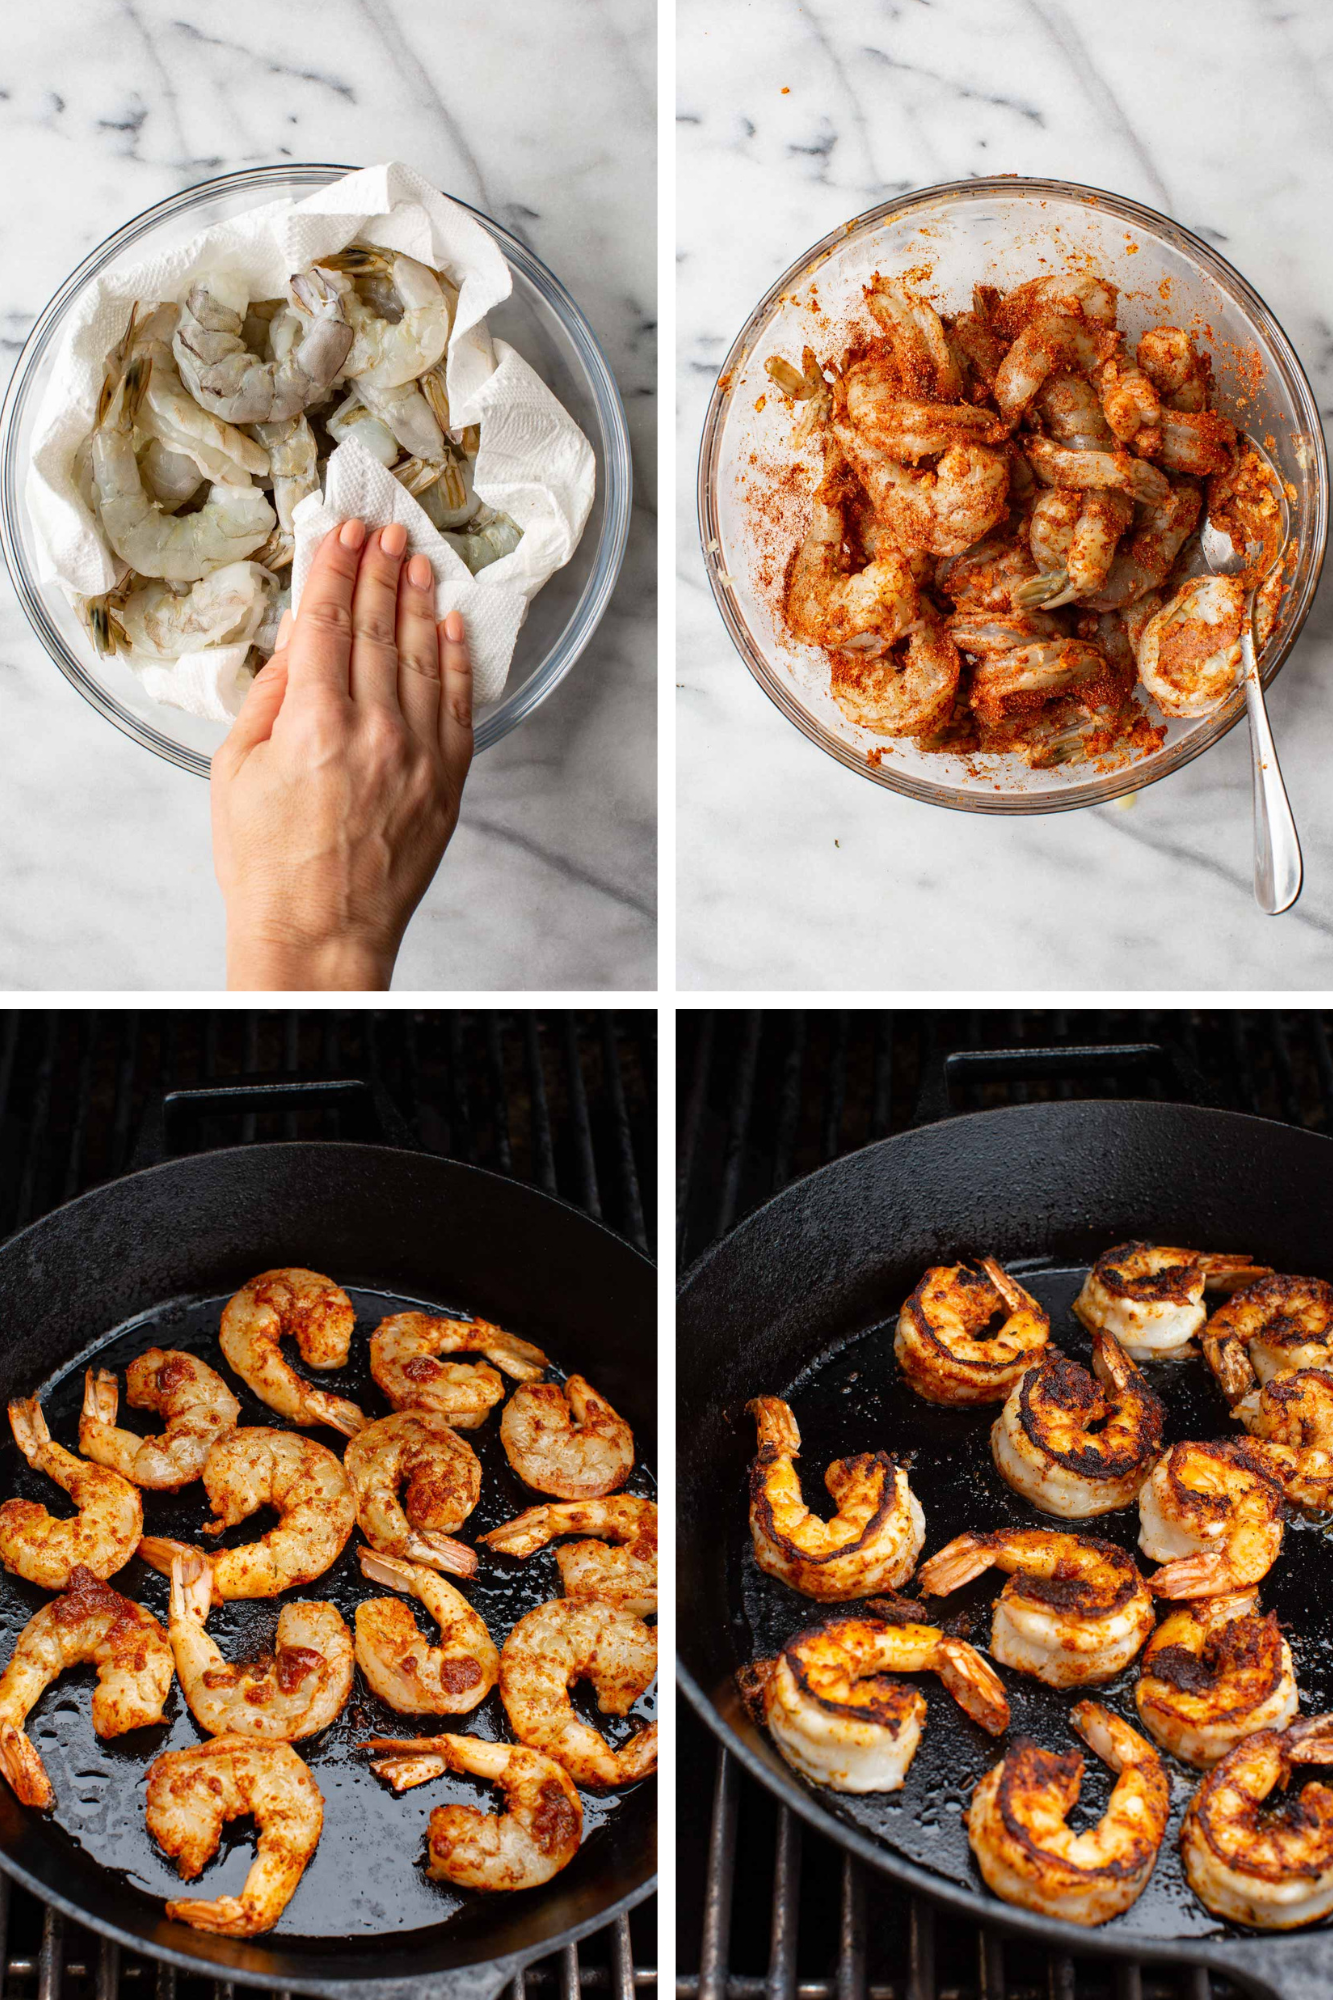
- Pat the shrimp very dry with paper towels, then transfer to a bowl. Add the melted butter and sprinkle the blackening seasoning over the top, then toss until well coated.
- Heat a large cast iron skillet over medium-high heat until very hot and just starting to lightly smoke. Add the oil and swirl to coat.
Pro Tip: To reduce smoke for indoor cooking, lower the heat slightly and cook in smaller batches. You will still get great color, just a slightly lighter crust. Add a small pinch of sugar to the seasoning to help with browning if you want.
- Arrange the shrimp in a single layer, leaving space between each piece. Cook undisturbed until deeply browned and a crust forms, about 1-2 minutes.
Pro Tip: Cook in batches if needed. Overcrowding will drop the temperature of the pan and prevent a proper crust from forming.
- Flip and cook just until opaque and cooked through, about 1 more minute. Transfer immediately to a plate and repeat with remaining shrimp.
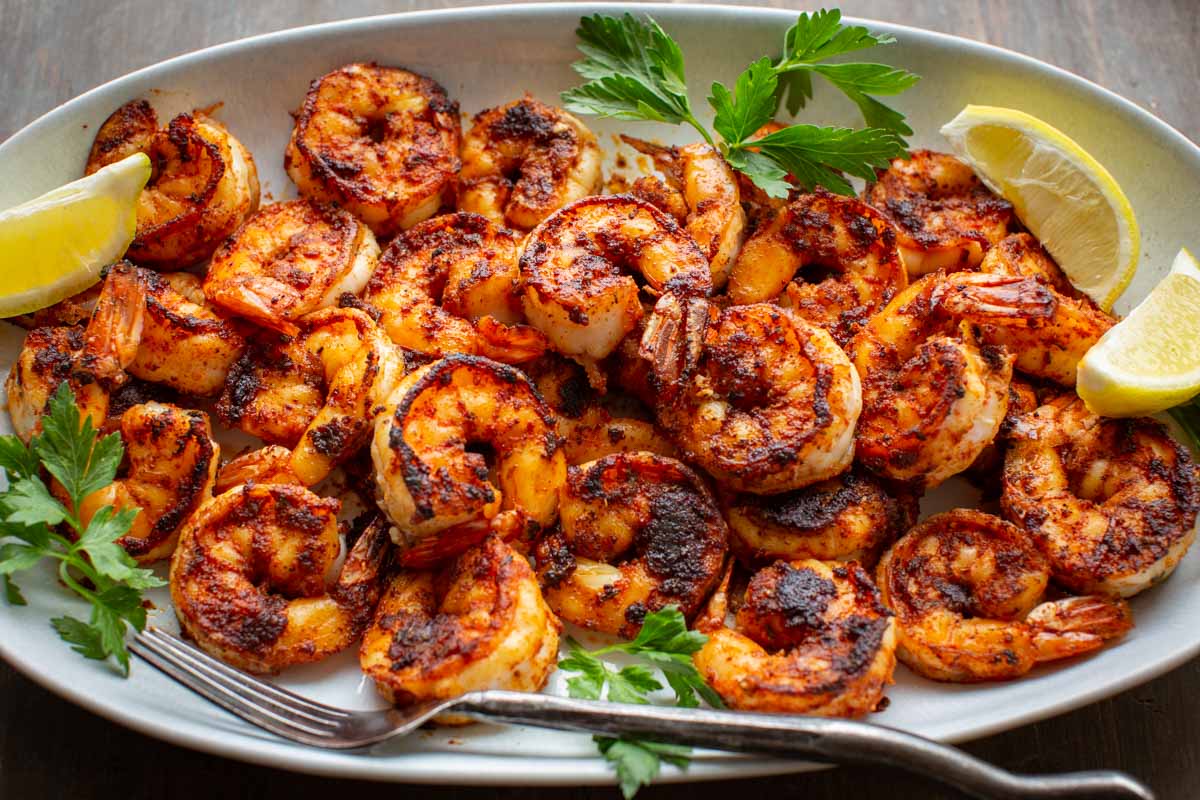
- Serve right away with lemon wedges.
Tips for Blackening
- Make sure your shrimp are not cold when tossing with the melted butter, otherwise it will seize up. Let them sit out at room temperature for about 20 minutes before seasoning to take the chill off.
- Shrimp cook very quickly, so have everything ready before they hit the pan.
- Cook time will depend on the size of shrimp you use. Smaller shrimp will cook faster, and larger shrimp will take slightly longer. Adjust as needed.
- The shrimp should be firm, opaque, and just cooked through, about 2-3 minutes total. Overcooking will make them tough and dull the flavor.
- For the best crust, the shrimp must be very dry and the pan must be hot enough to sear. If they release liquid or steam, they will not blacken properly.
- Cast iron is ideal because it retains heat and creates a more even crust. Stainless steel can work, but avoid nonstick pans.
- If the spices smell bitter or begin to burn, the pan is too hot. Remove it from the heat briefly before continuing.
- If the shrimp are pale and not forming a crust, the pan is not hot enough. Let it heat longer before cooking the next batch.
What to Serve with Blackened Shrimp
Serve these flavorful blackened shrimp with a few sauces like a classic cocktail sauce, a zippy Creole remoulade, an herby chimichurri, or an elegant beurre blanc.
They're great for adding protein to salads. Try them on a classic Caesar salad, my easy arugula salad, a smoky grilled romaine wedge salad, or a steakhouse-inspired warm spinach salad.
How to Store and Reheat Blackened Shrimp
Cooked shrimp can be stored for up to three days in the refrigerator in an airtight container.
To reheat, gently warm them in a covered pan on the stove until just warmed through, or serve cold. You run the risk of overcooking shrimp when warming back up, so serving cold will help them stay tender.
FAQs
Blackening is a cooking technique where meats are coated in melted butter, tossed with spices, and seared at a very high temperature in a cast iron skillet to develop a dark crust.
Yes, you can blacken any kind of firm fish fillets, scallops, lobster tails, and more.
Yes, this cooking method is known to produce a lot of smoke due to the use of very high heat for "blackening" or creating that delicious brown spice crust. To avoid filling your house with smoke, cook outside in a cast iron pan over a very hot grill. Otherwise, make it indoors at a relatively lower heat as needed to control the smoke. Make sure your fan is on and open windows if needed.
Did you LOVE this recipe? Please leave a star ⭐️ rating and comment and tag your creations @ColeyCooks on Instagram!
Want to Save This Recipe?
Enter your email & I'll send it to your inbox.
By submitting this form, you consent to receive emails from Coley Cooks.
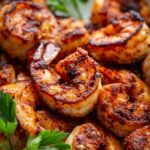
Easy Blackened Shrimp
Ingredients
- 2 pounds shrimp large size, peeled and deveined
- 2 ½ tablespoons blackening seasoning see recipe above
- 4 tablespoons butter melted
- 1 tablespoon neutral oil such as avocado, grapeseed or vegetable
- lemon wedges for serving
Instructions
- Pat the shrimp very dry with paper towels, then transfer to a bowl. Add the melted butter and sprinkle the blackening seasoning over the top, then toss until well coated.2 pounds shrimp, 4 tablespoons butter, 2 ½ tablespoons blackening seasoning
- Heat a large cast iron skillet over medium-high heat until very hot and just starting to lightly smoke. Add the oil and swirl to coat.1 tablespoon neutral oil
- Arrange the shrimp in a single layer, leaving space between each piece. Cook undisturbed until deeply browned and a crust forms, about 1-2 minutes. Cook in batches if needed. Overcrowding will drop the temperature of the pan and prevent a proper crust from forming.
- Flip and cook just until opaque and cooked through, about 1 more minute. Transfer immediately to a plate and repeat with remaining shrimp.
- Serve right away with lemon wedges.lemon wedges
Notes
- Make sure your shrimp are not cold when tossing with the melted butter, otherwise it will seize up. Let them sit out at room temperature for about 20 minutes before seasoning to take the chill off.
- Shrimp cook very quickly, so have everything ready before they hit the pan.
- Cook in batches if needed. Overcrowding will drop the temperature of the pan and prevent a proper crust from forming.
- Cook time will depend on the size of shrimp you use. Smaller shrimp will cook faster, and larger shrimp will take slightly longer. Adjust as needed.
- The shrimp should be firm, opaque, and just cooked through, about 2-3 minutes total. Overcooking will make them tough and dull the flavor.
- For the best crust, the shrimp must be very dry and the pan must be hot enough to sear. If they release liquid or steam, they will not blacken properly.
- Cast iron is ideal because it retains heat and creates a more even crust. Stainless steel can work, but avoid nonstick pans.
- If the spices smell bitter or begin to burn, the pan is too hot. Remove it from the heat briefly before continuing.
- If the shrimp are pale and not forming a crust, the pan is not hot enough. Let it heat longer before cooking the next batch.
- To reduce smoke for indoor cooking, lower the heat slightly and cook in smaller batches. You will still get great color, just a slightly lighter crust. Add a small pinch of sugar to the seasoning to help with browning if you want.