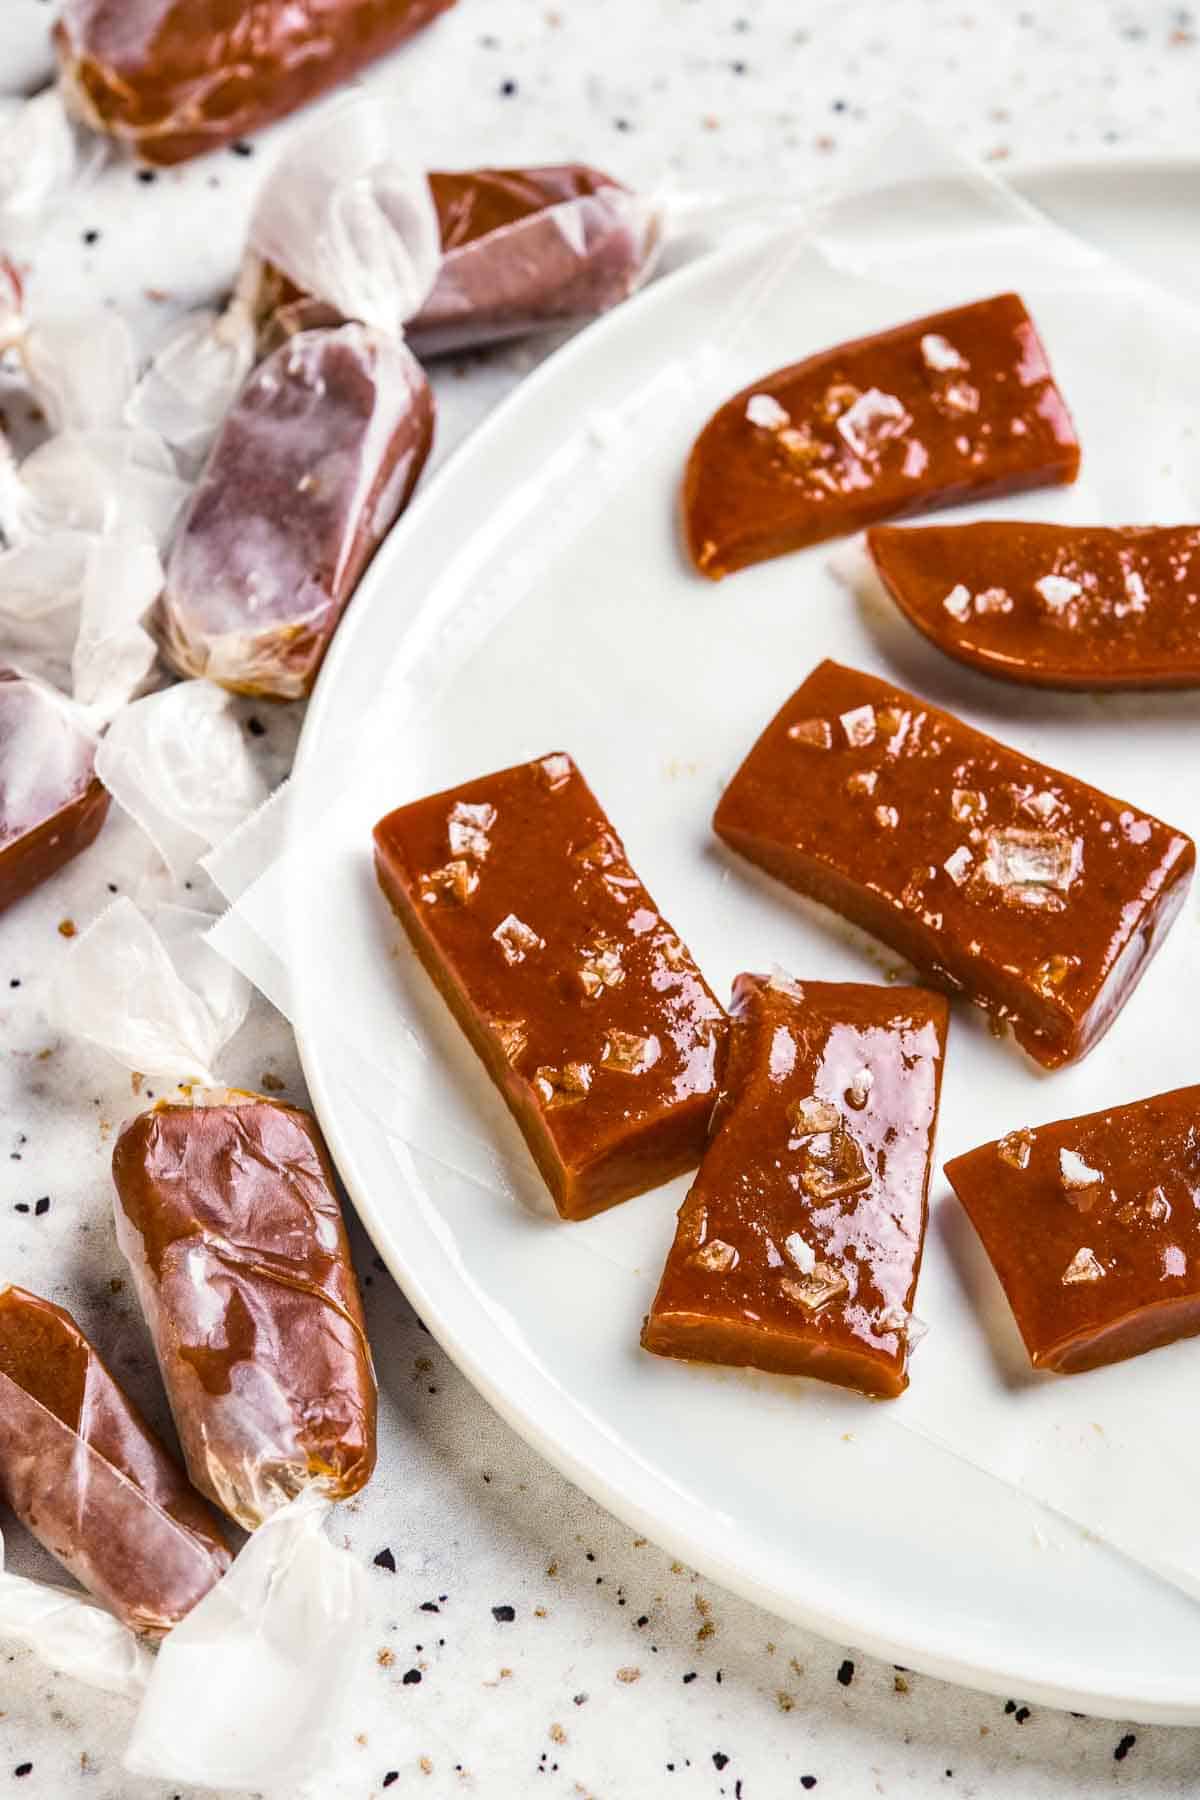
Chewy Homemade Sea Salted Caramels
These soft and chewy Sea Salted Caramels are possibly the easiest homemade treats you can make using simple pantry ingredients. They are sweet and buttery with just the perfect amount of saltiness to keep you coming back for more! Make a batch to keep on days when you are hankering for something sweet or to give away to friends and family on special occasions or holidays.
Print
Pin
Servings: 55 candies
Calories: 47kcal
Ingredients
- 1 ½ cups granulated sugar
- ¼ cup light corn syrup
- ¼ cup water
- 1 cup heavy cream
- 4 tablespoons unsalted butter
- 1 teaspoon salt
- Flaky sea salt like Maldon or Fleur de Sel for sprinkling
- cooking spray
- wax paper for wrapping candies
Instructions
Make the Sugar Syrup Mixture
- In a medium to large saucepan, combine the sugar, corn syrup, and water. Use a small spoon to stir until everything is combined, and then ditch the spoon. You don't want to stir anymore or else it will cause the sugar to crystalize. If using a candy thermometer, which is recommended, clip it to the side of the pot and be sure it's completely immersed in the sugar mixture.
- Bring the sugar syrup to a boil over medium-high heat until it starts to turn golden in color. Don't take your eyes off of it. If it appears to be browning unevenly, give it a gentle swirl to help it caramelize evenly.
Add the Cream and Butter
- When it turns a deep golden brown (around 300 degrees or so), lower the heat and then whisk in the butter and the cream. It will bubble up like crazy, so be very careful and be sure you're using a large enough pot so it doesn't spill over the sides.
- Once everything is combined, stop whisking and turn the heat back up to medium-high. Continue cooking until it becomes a few shades darker and reaches about 250 degrees (hardball stage) on the thermometer. Remove from the heat.
Pour and Chill to Set
- Pour the molten caramel into an 8x8 pan that's been lined with parchment paper and coated with cooking spray.
- Sprinkle with a few generous pinches of flaky sea salt. Bang the pan against the counter a few times to release any trapped air bubbles. Cool the caramel completely for several hours so that it's firm. This process can be sped up by placing the pan into the refrigerator or freezer.
Slice, Wrap and Enjoy!
- While the caramels are setting, cut several pieces of wax paper into small rectangles and set them aside. When the caramels are set, remove them from the pan, peel off the parchment, and then cut them into long strips. If the caramels stick to your knife, spray it with cooking spray before proceeding. Sprinkle the strips with more salt if desired, then cut them into small pieces (I like a 2-bite size, but cut them however you like).
- Wrap the individual caramels in pieces of wax paper, twisting the ends to seal. Store at room temperature for up to 2 weeks, or freeze in an airtight ziplock bag for longer storage.
Video
Notes
- Stop stirring the sugar syrup mixture once it is fully combined. This will prevent crystals from forming on the sides of the pan due to splashes. If you need to do so because the mixture is not evenly browning, use a gentle swirling motion only. You can use a wet silicone brush to remove the sugar splashes if necessary.
- Once the sugar syrup mixture starts to turn brown, make sure to pay attention to it. It can quickly burn if you leave it unattended and will make the caramel bitter and too dark. You will not be able to fix it at this point and would have to start again.
- I highly recommend using a tall wooden spoon or spatula to prevent any burns on your hands as the mixture can get hot, especially when the cream and butter are added. A tall, heavy-bottomed pot will help in cooking the caramel mixture evenly with less mess.
- The caramels will be much easier to cut when they're cold. If it is still sticking when you slice, just spray a bit of oil on the knife.
- While a candy thermometer is not necessary for making great caramels, it is highly recommended to achieve consistent results. A regular instant read thermometer does not reach temperatures high enough to work for this application.
Nutrition
Calories: 47kcal | Carbohydrates: 7g | Protein: 0.1g | Fat: 2g | Saturated Fat: 2g | Polyunsaturated Fat: 0.1g | Monounsaturated Fat: 1g | Trans Fat: 0.03g | Cholesterol: 7mg | Sodium: 45mg | Potassium: 4mg | Sugar: 7g | Vitamin A: 89IU | Vitamin C: 0.03mg | Calcium: 3mg | Iron: 0.01mg